Halloween like every holiday this year looks and feels so different due to the pandemic. Some parents are not even comfortable taking their children trick- or- treating! We are those parents and will find some alternative fun for Aeryn.
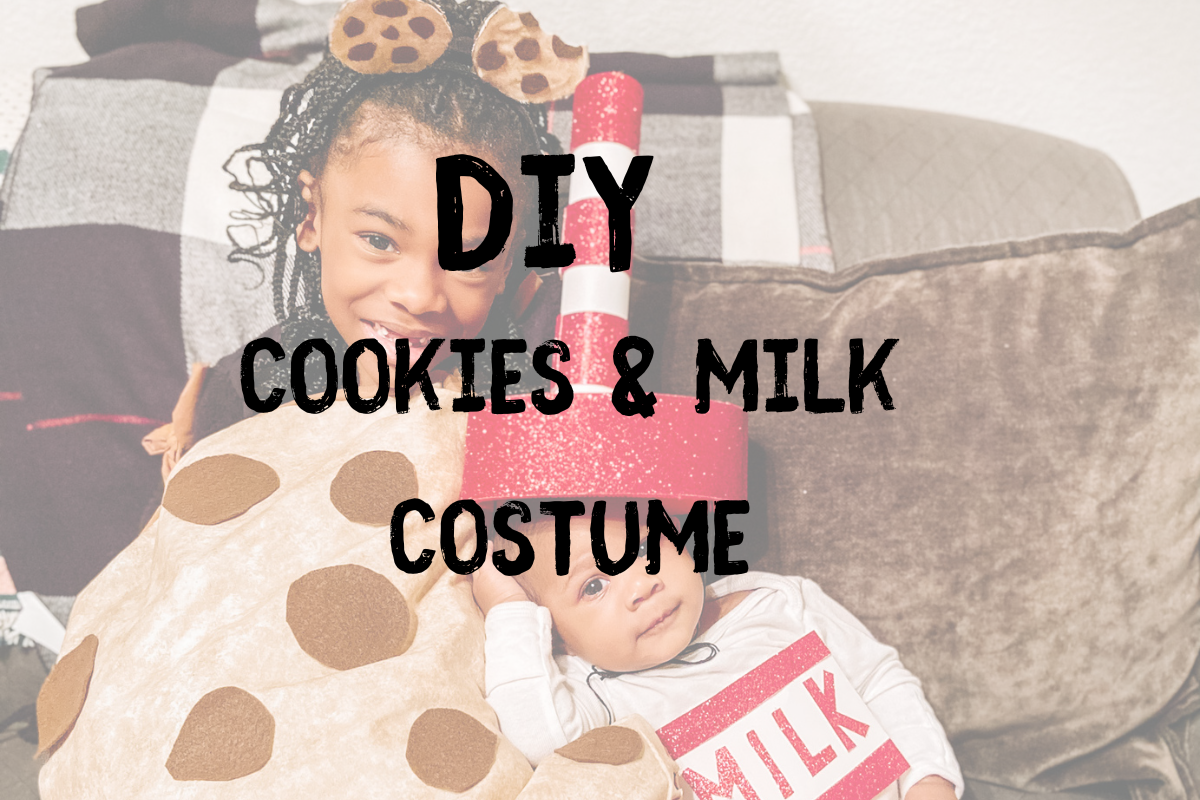
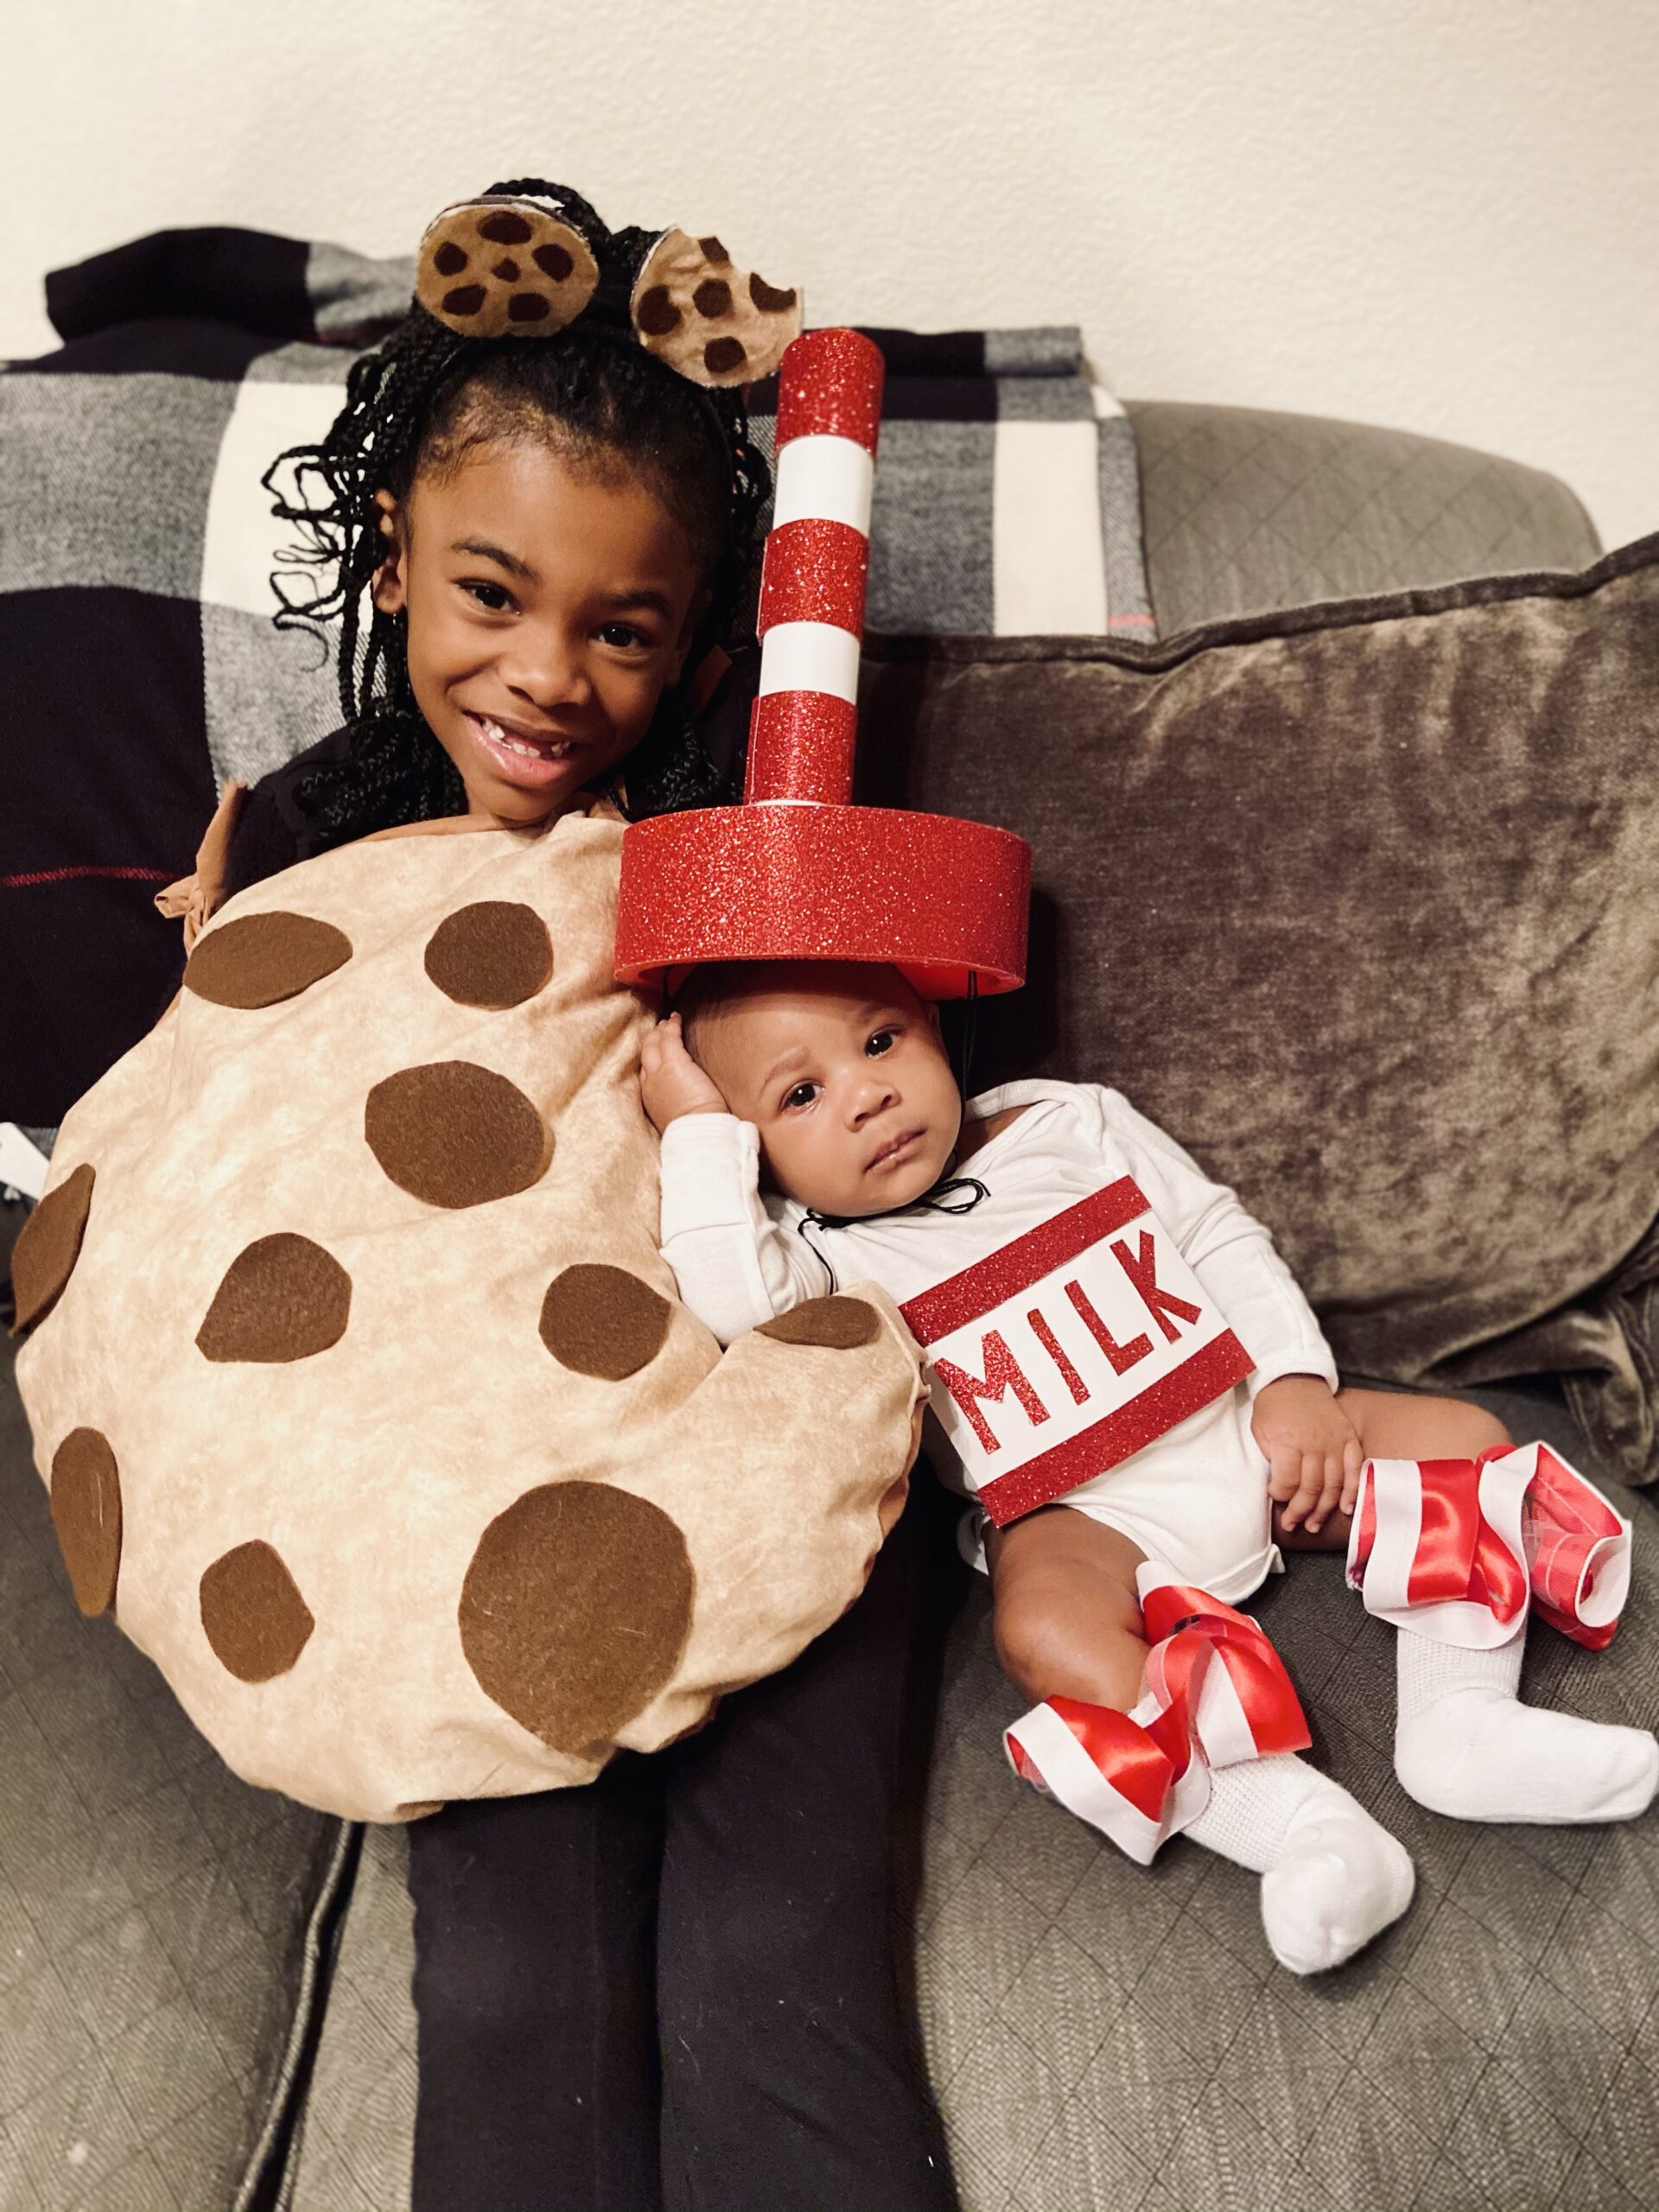
Halloween is still such a fun holiday. I’m not sure if my favorite part is the candy or being able to dress up as anything I possibly want and it be appropriate. Just because we will not be trick-or-treating this year, I think she still deserves to be able to dress up as who/what she wants. This year since she has a sibling to dress up with, we thought it would be a good idea to do a duo costume! And what better duo than cookies and milk!
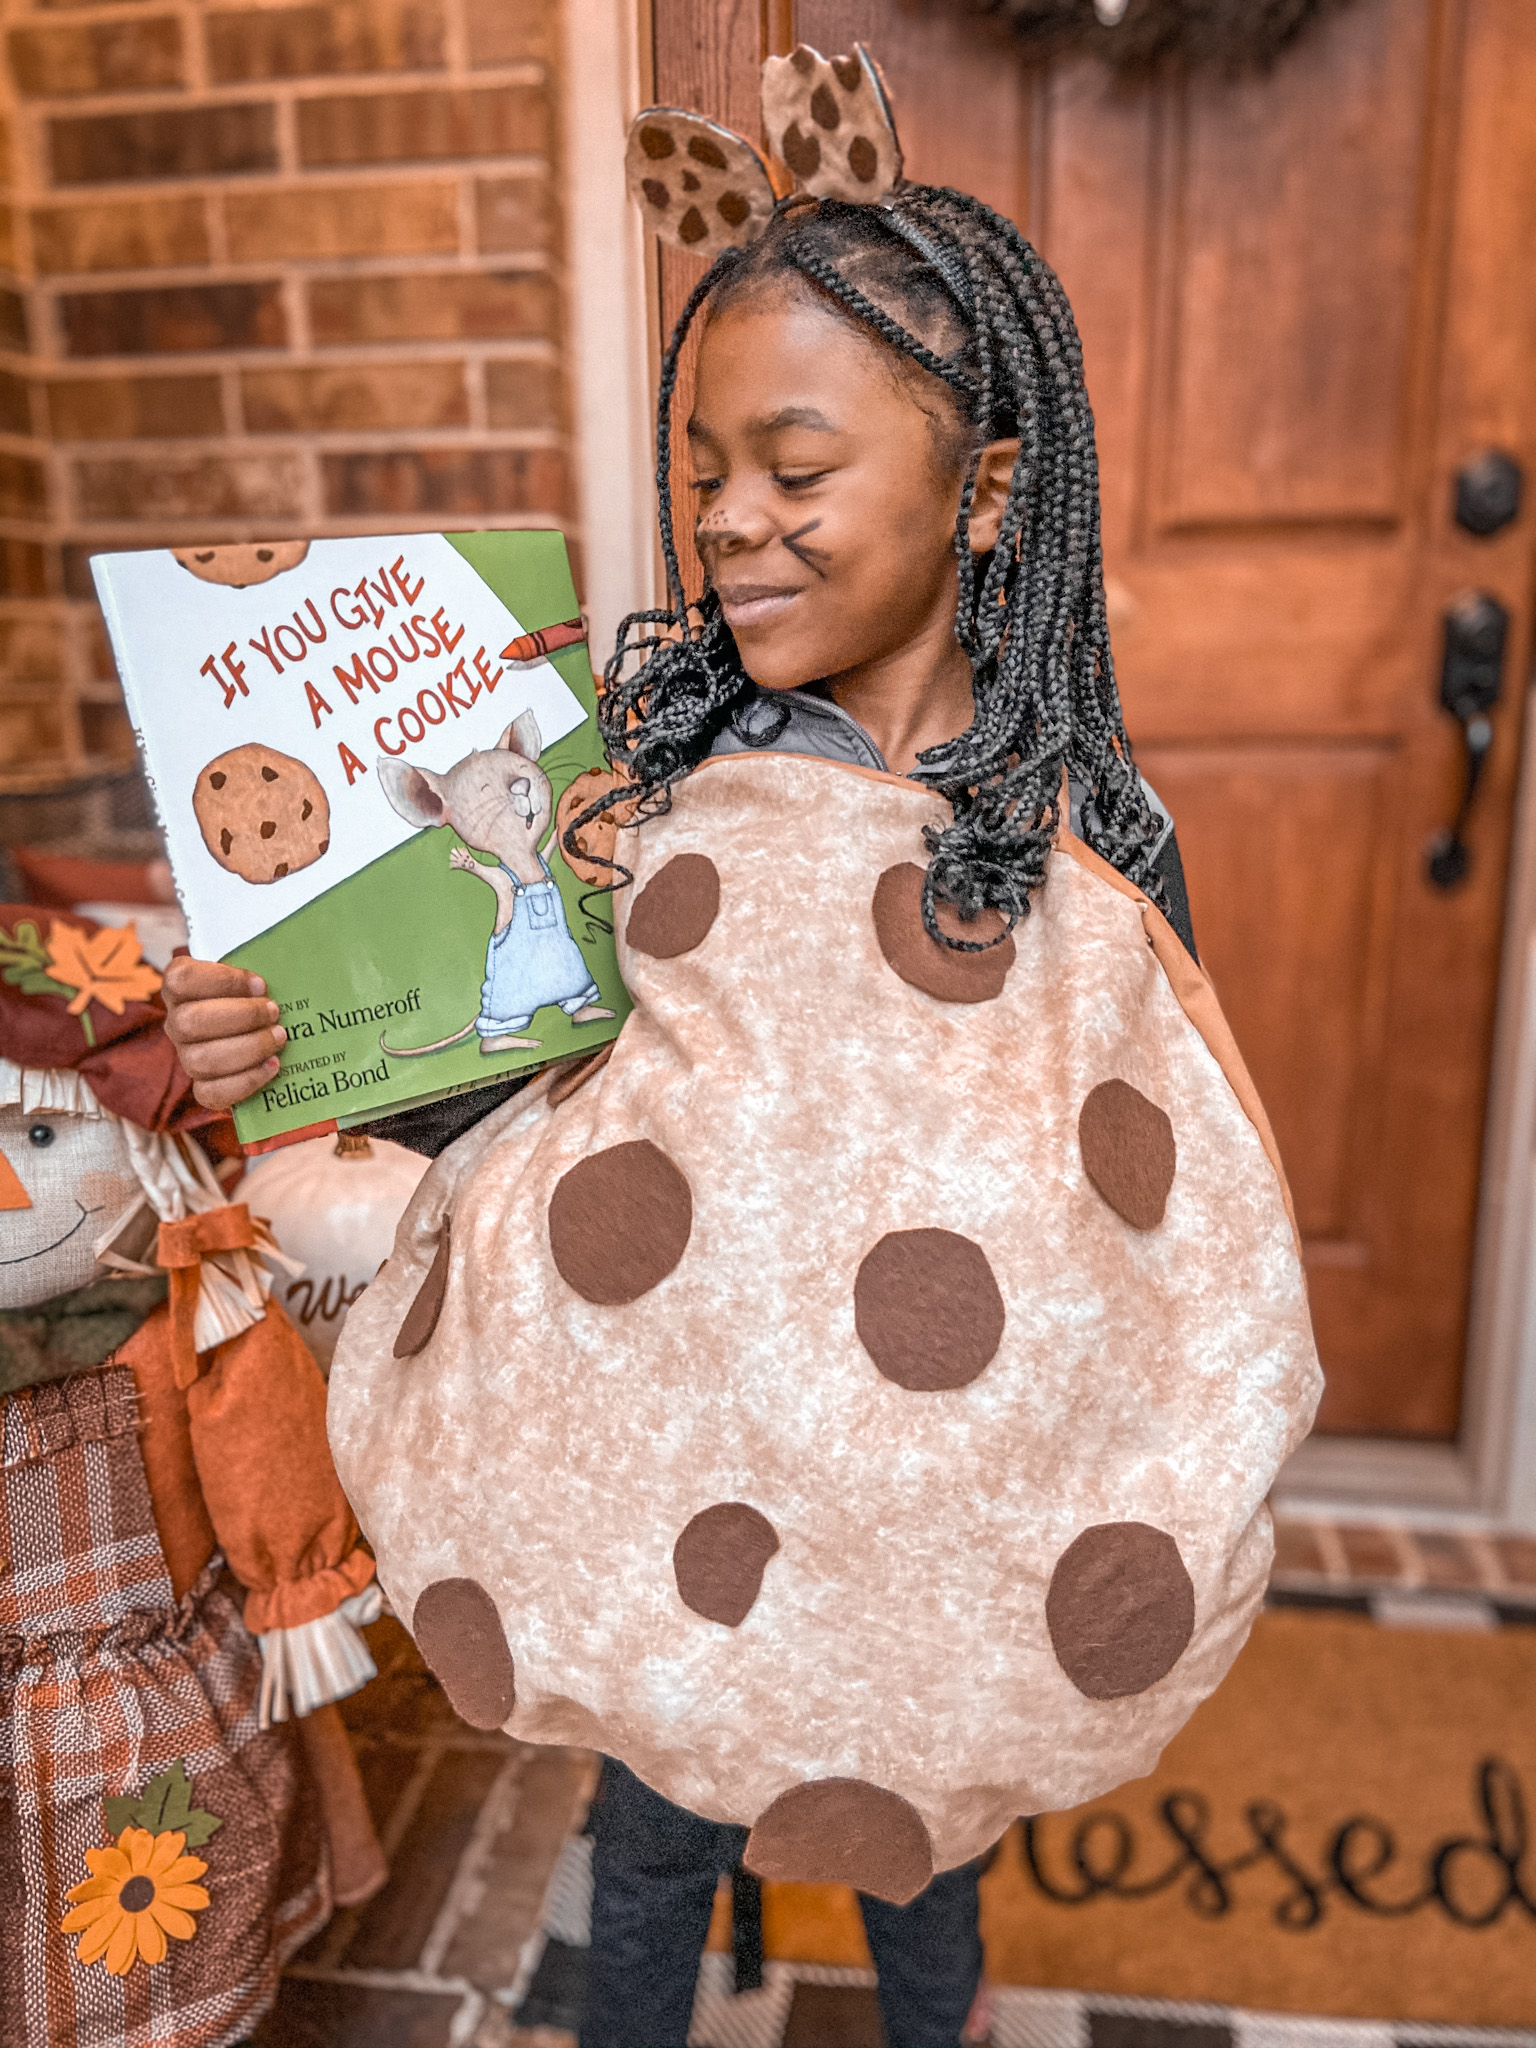
We also had her storybook character dress up day for school. So being that I love things with dual purposes, we picked one of her favorite stories, “If You Give A Mouse A Cookie” by Laura Joffe Numeroff. That’s 1 costume, 2 uses, equals #momwin! See her storybook character photo below.
Instead of going out to buy a cookies and milk costume, I figured I try to DIY their costumes to save some money. I was able to do both costumes for under $20!
Here’s how I achieved the cookie costume:
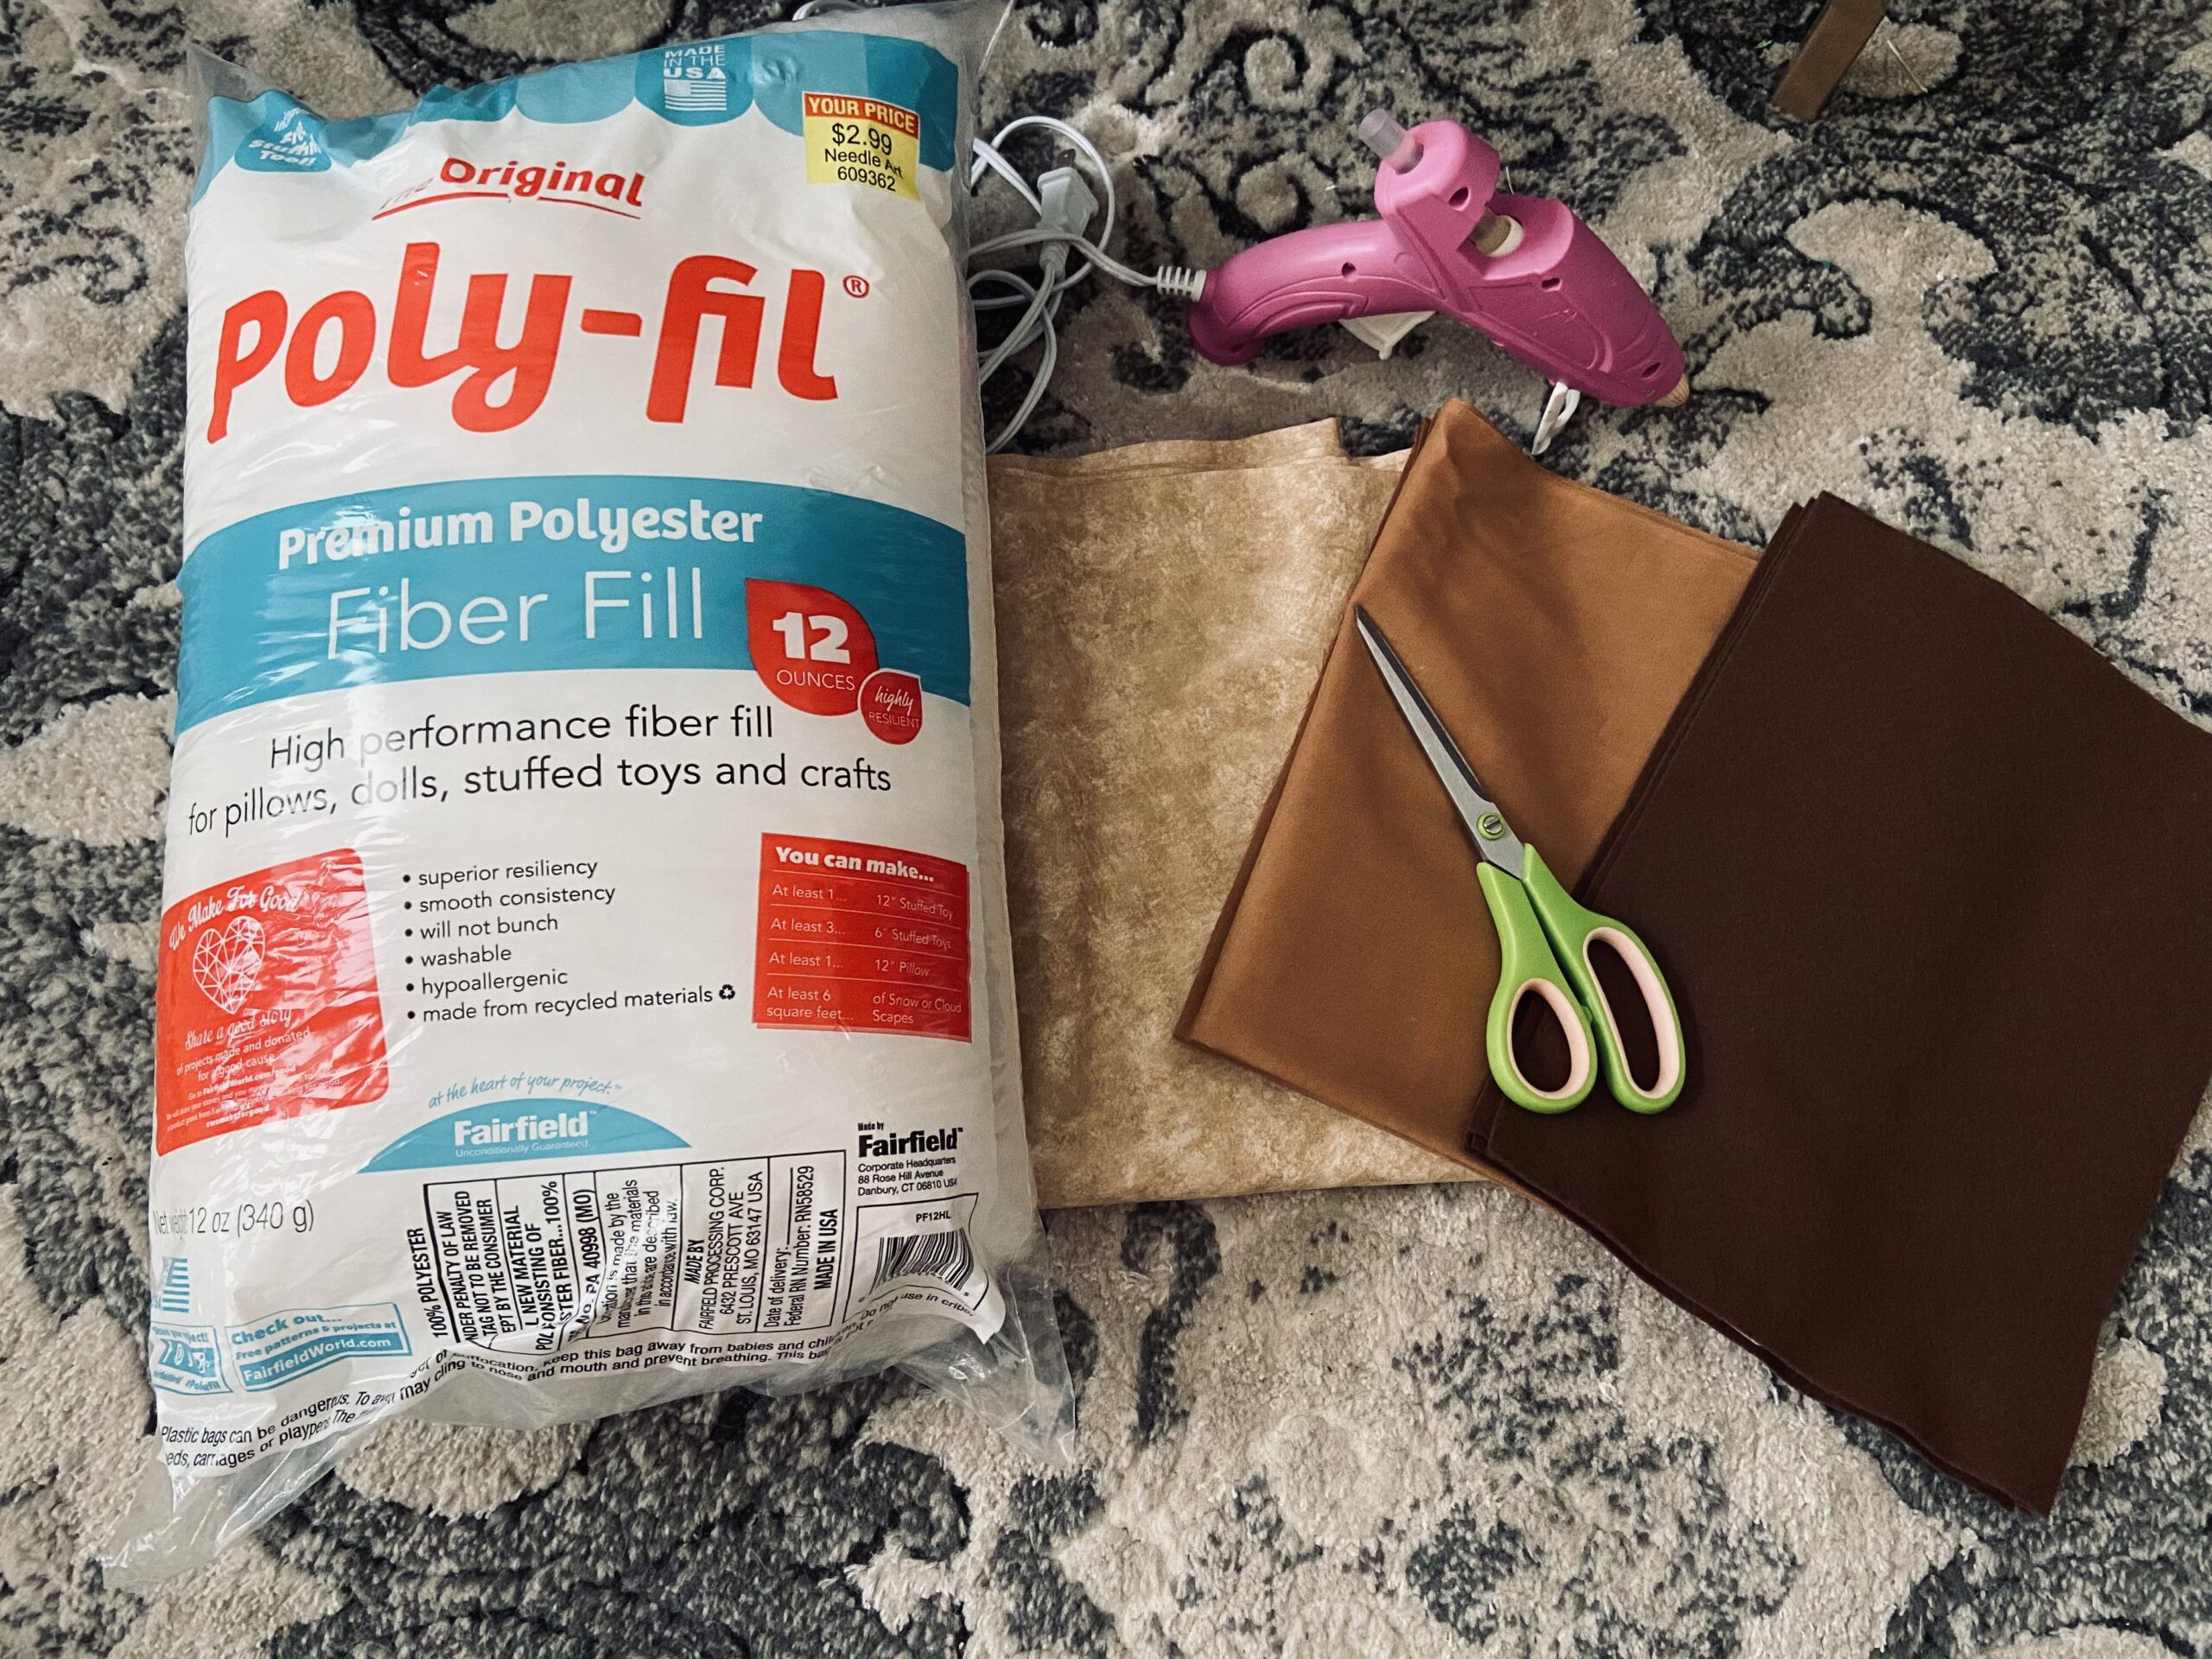
Materials:
- Fabric– I chose to use fabric as I got the idea from Raven Elyse’s youtube video. But you can use brown poster board (saw some at Hobby Lobby), or cardboard. For the Fabric, we chose a lighter brown fabric with some discoloration and a plain medium tone brown for the back of the cookie
- Dark brown felt
- 1 bag of Poly-fil– We only used half of the bag
- Scissors
- Hot glue gun
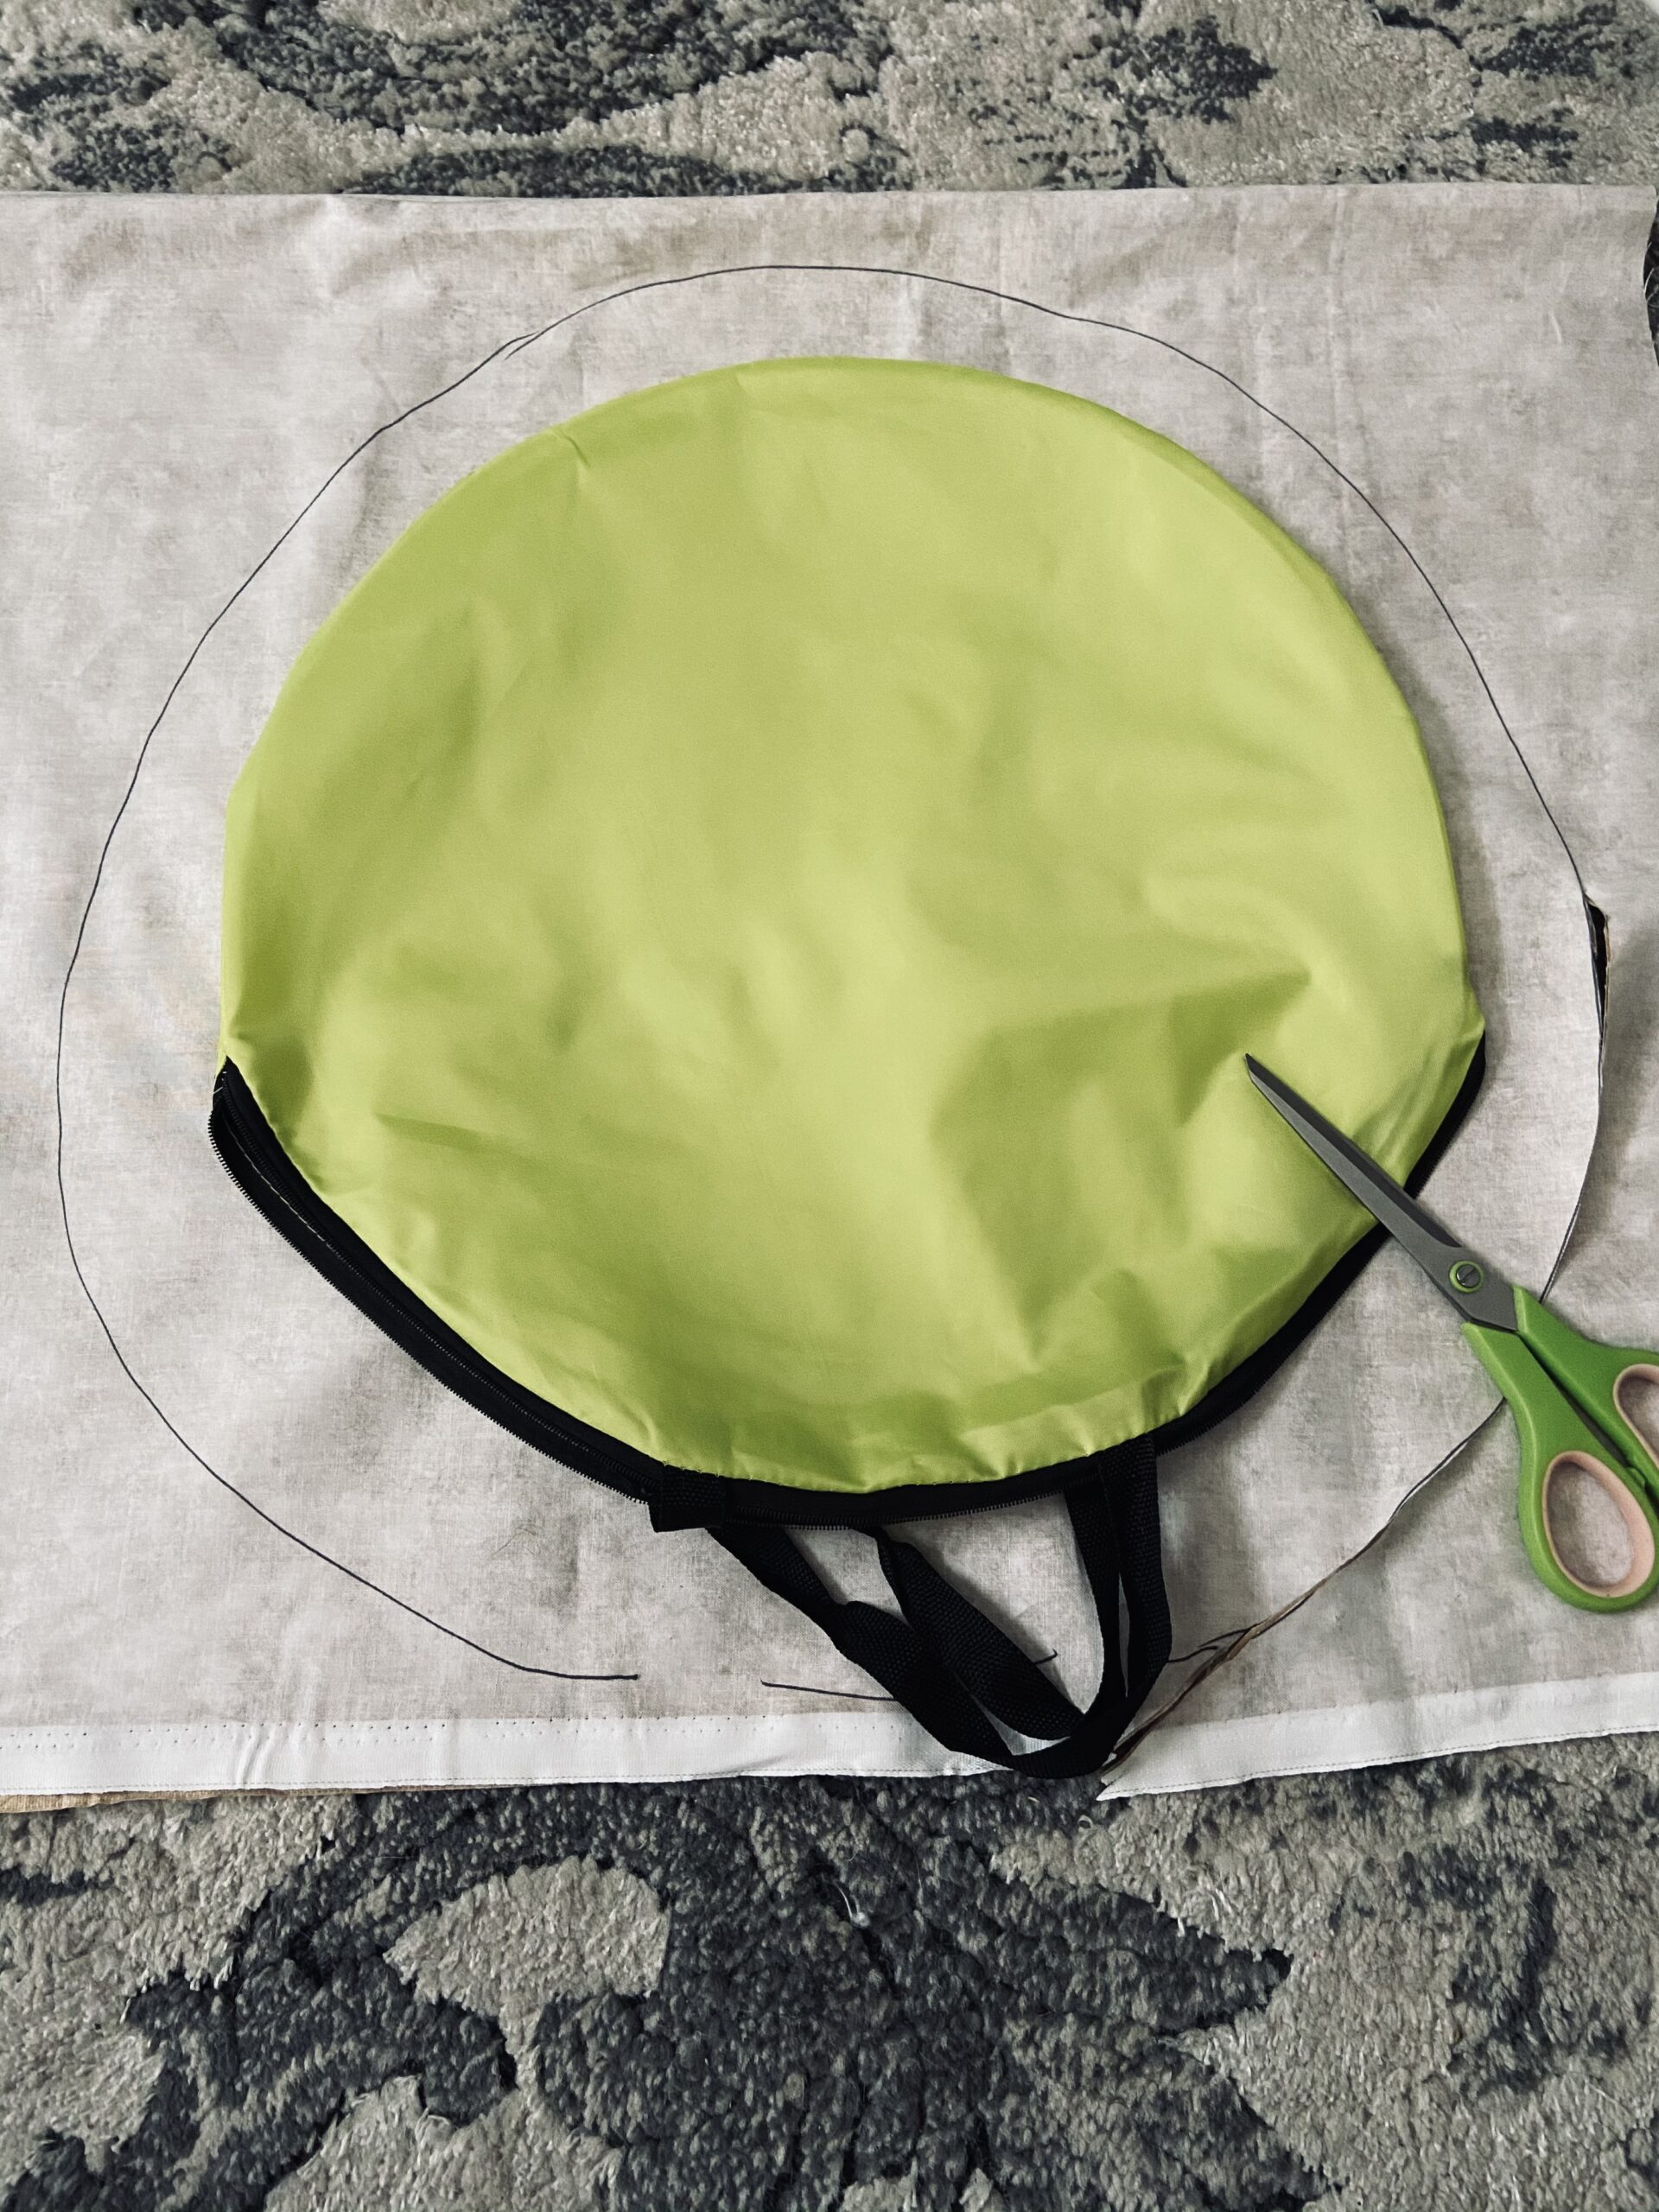
Step 1: Cut the fabric into a circle. I used some contraption I found in Aeryn’s toys to trace, but you could free hand it. I actually ended up having to make the circle bigger so I used the contraption as a guide. You should have 4 circles. 2 of the light brown and 2 of the medium.
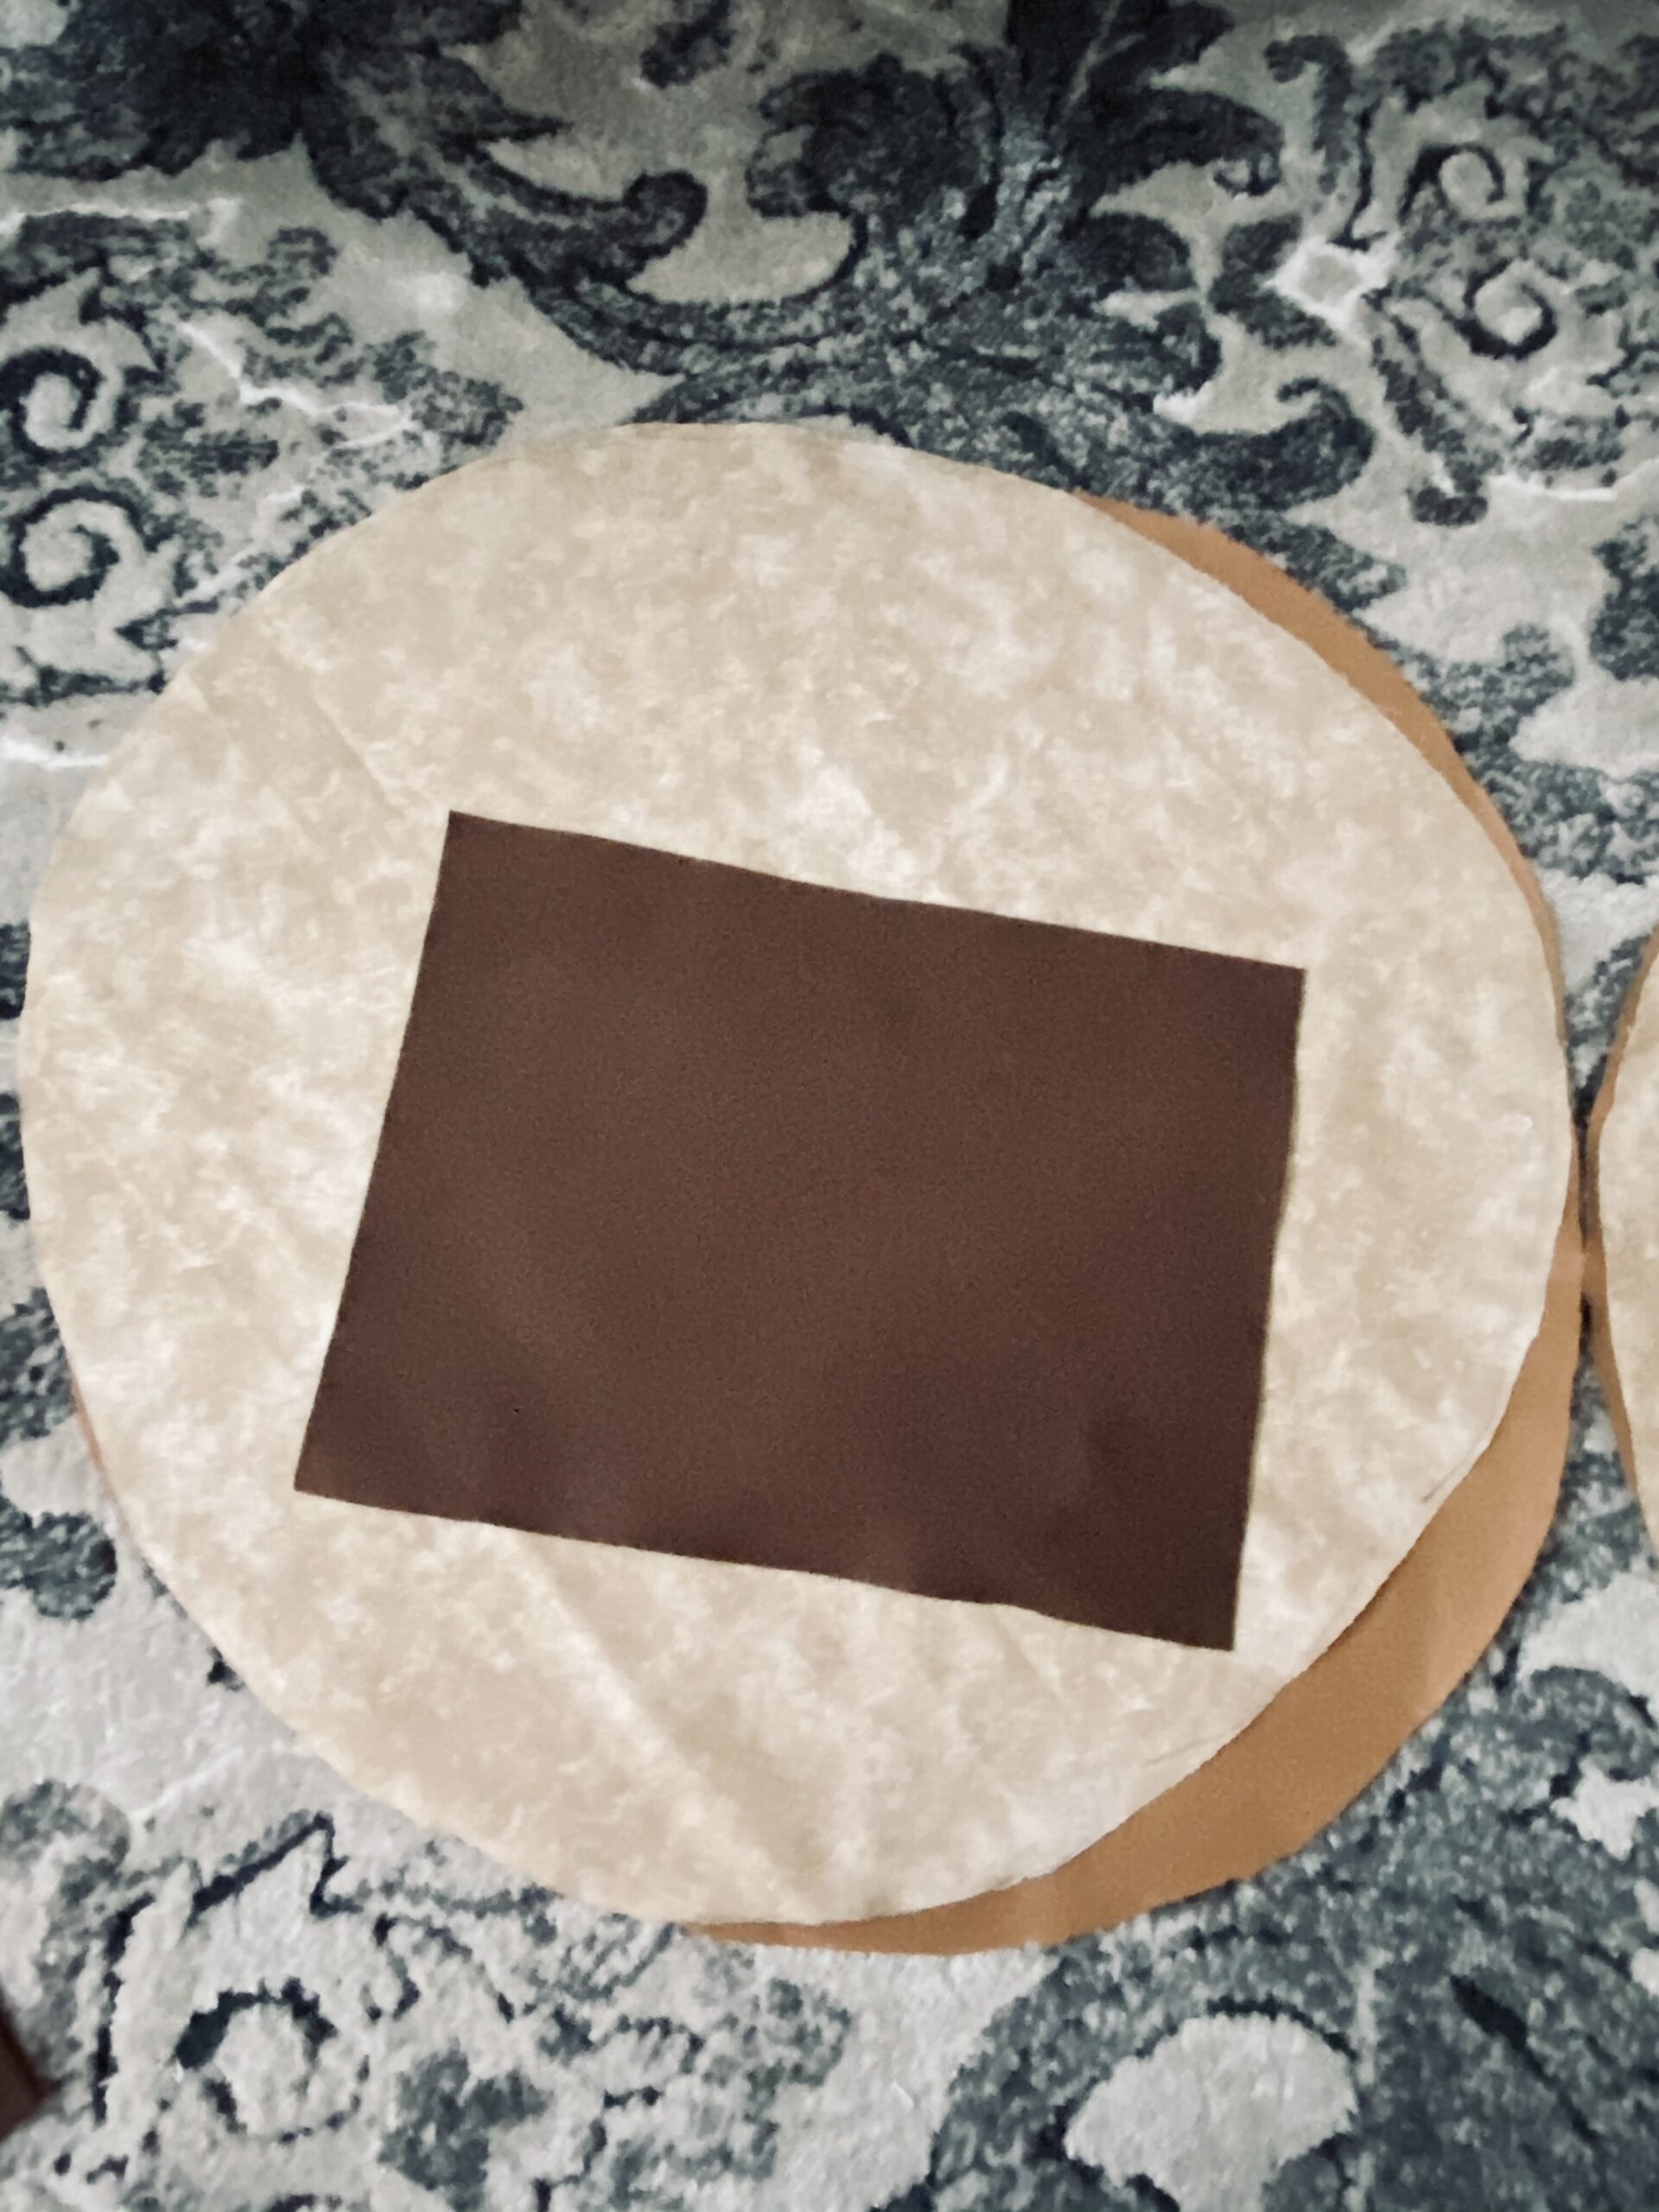
Step 2: Take the brown felt and cut smaller circles for the “chocolate chips.” I didn’t make mines perfect circles to make it look realistic. Do this 2x.
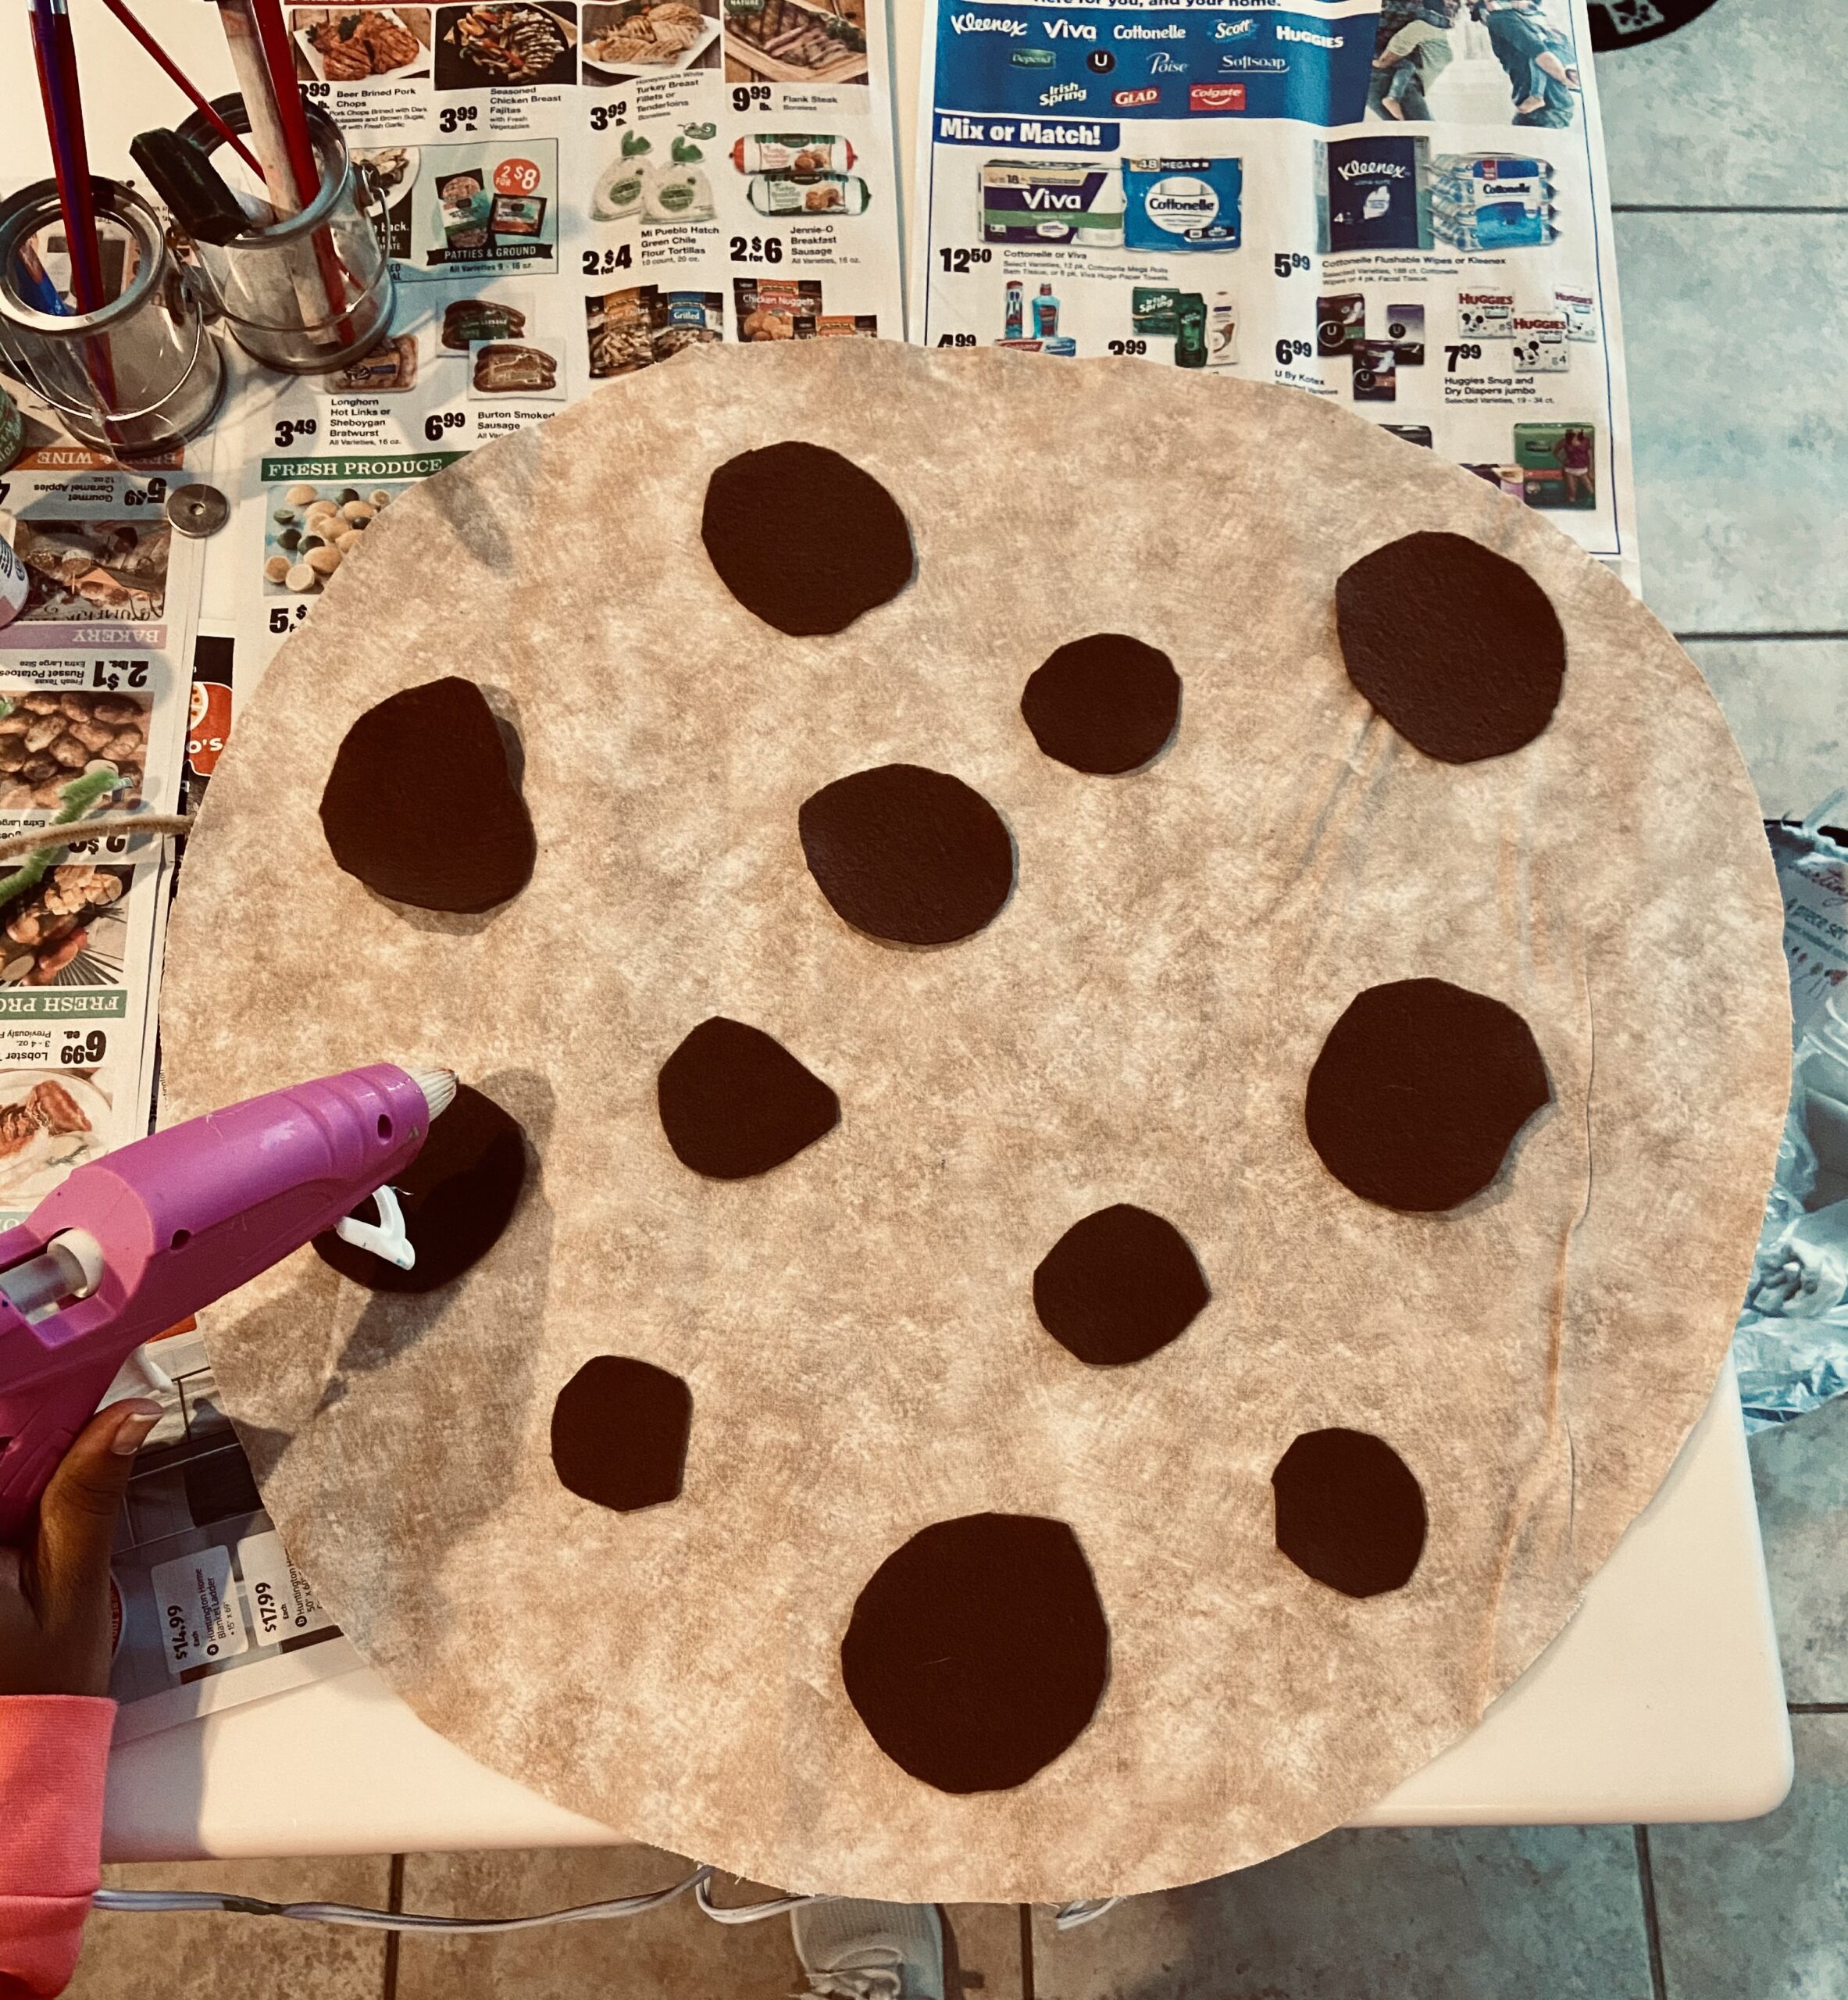
Step 3: Hot glue your “chocolate chips to your lighter brown fabric. Do this 2x for your second cookie.
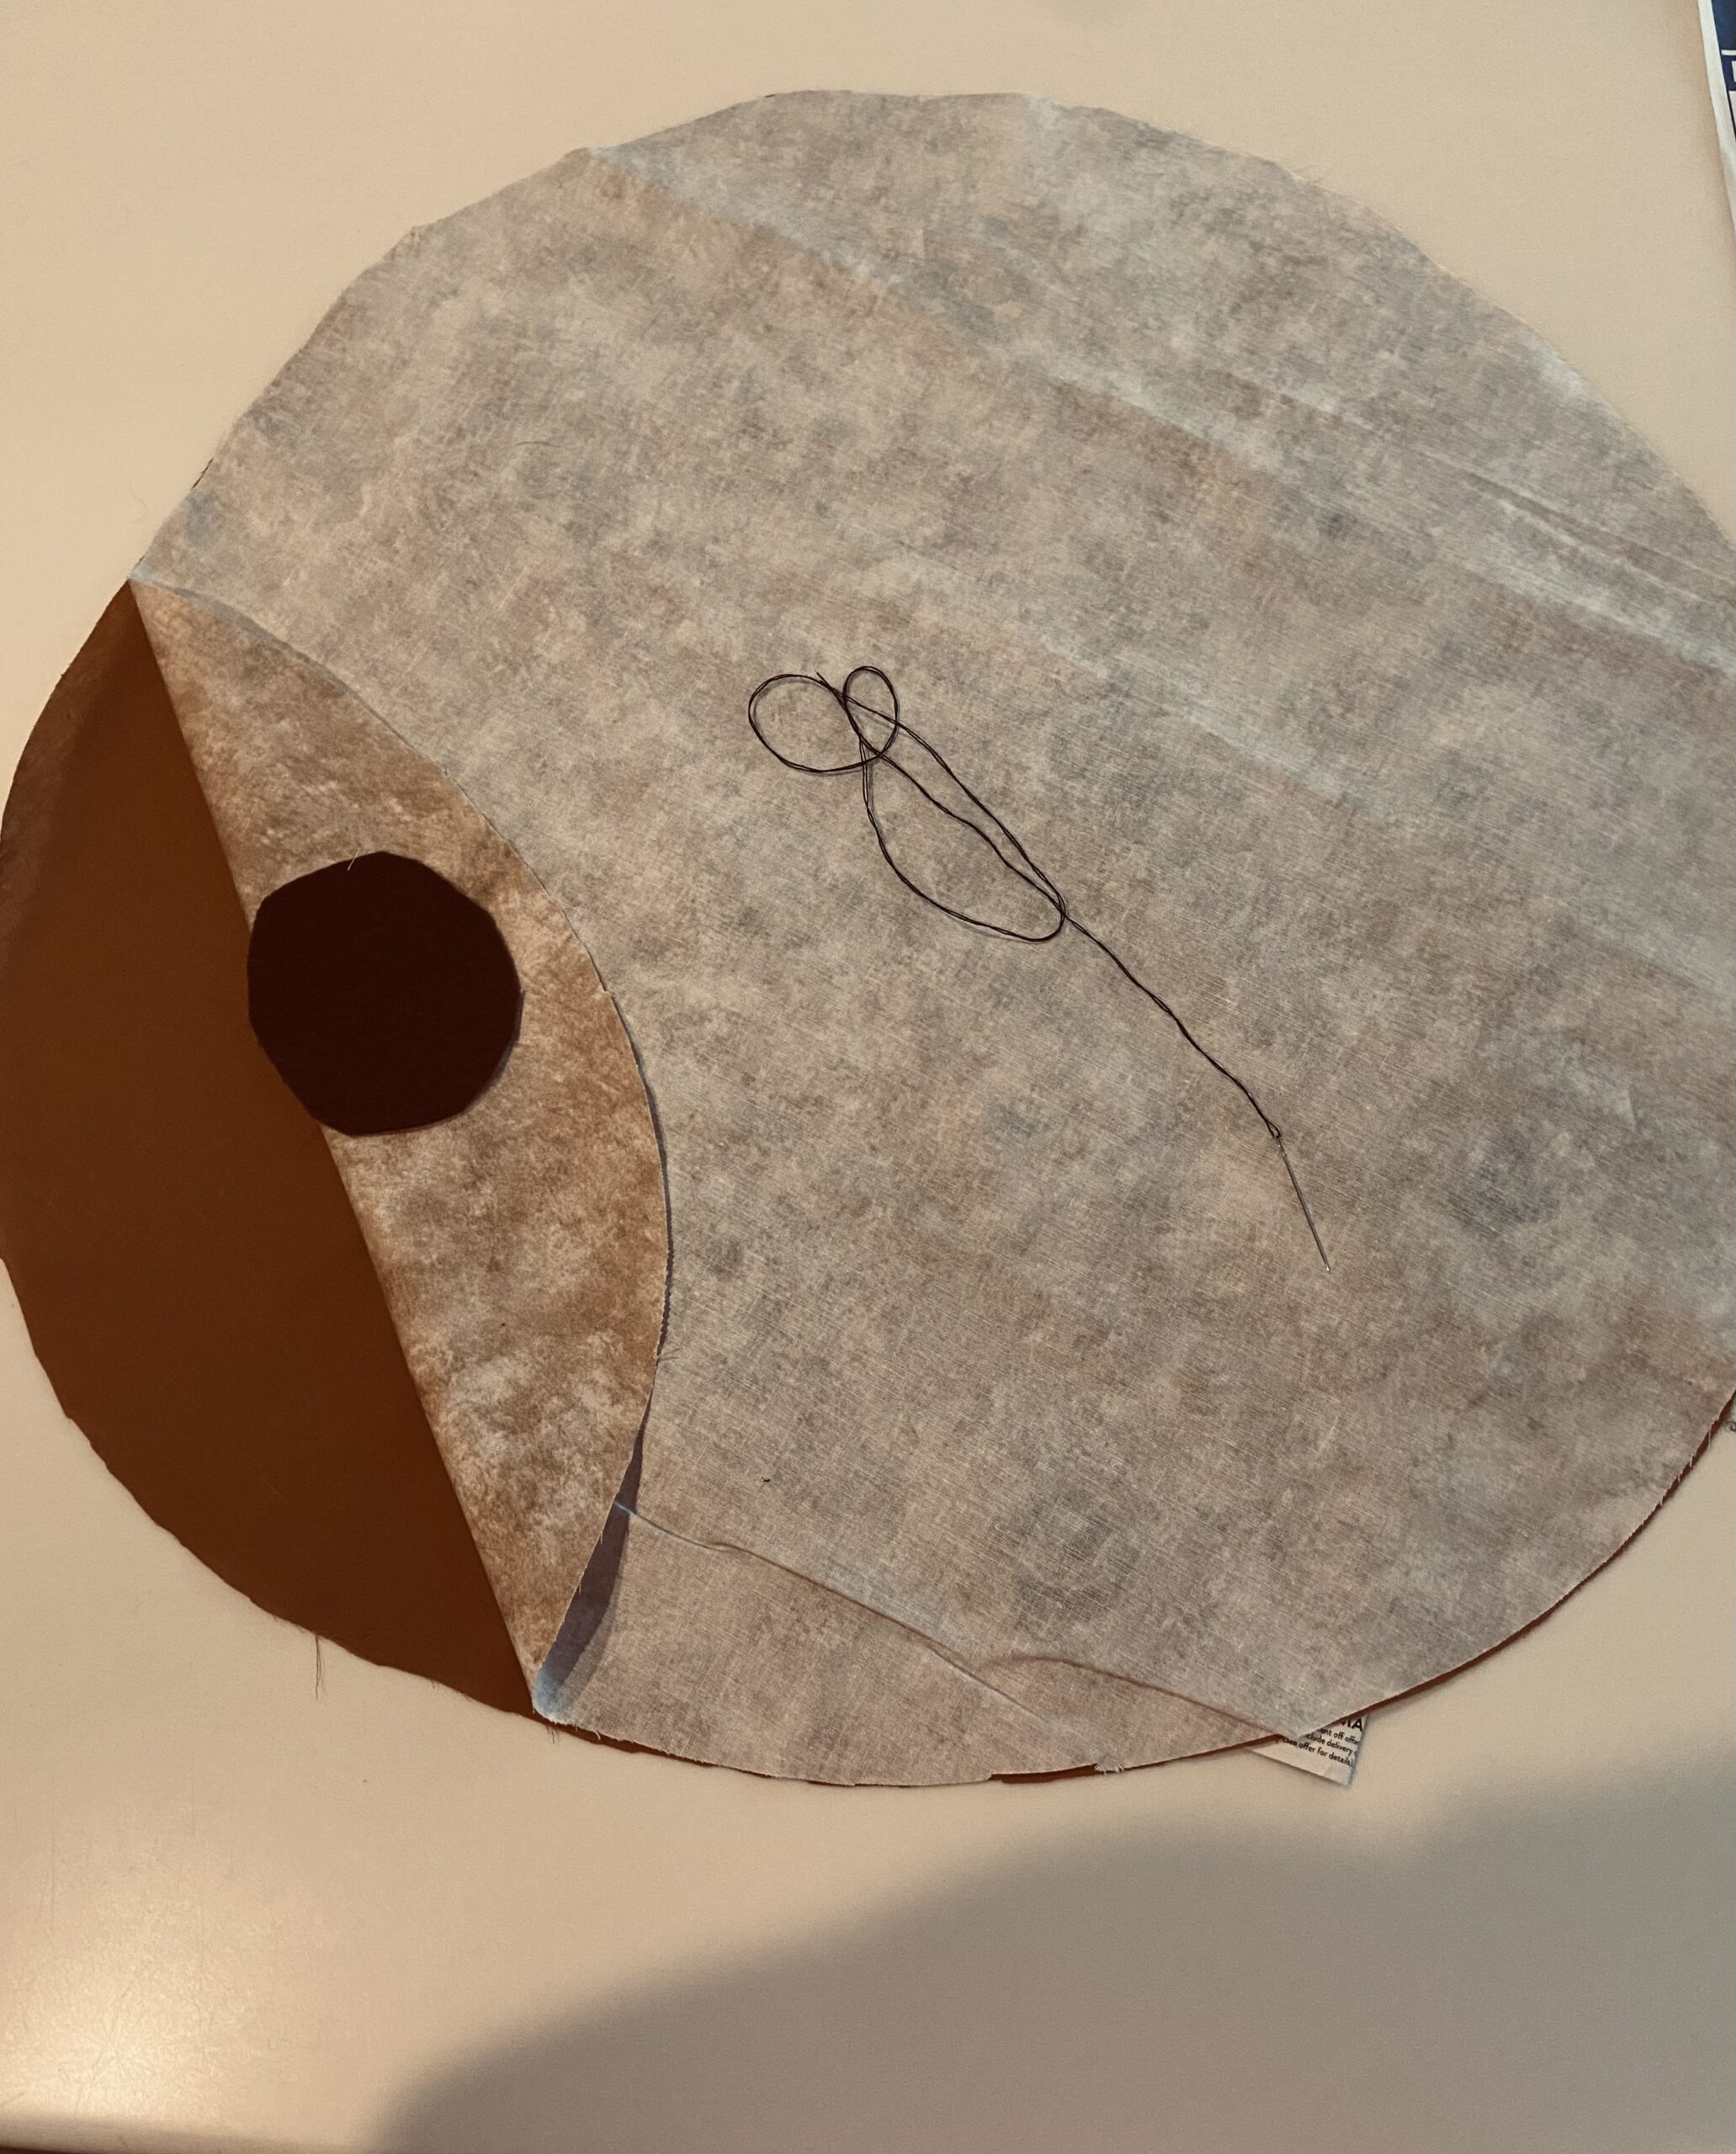
Step 4: Flip over the lighter brown fabric with the chips and line it up with your medium brown piece. You want to make sure that before you do the next step, you flip it over with the chocolate chips facing inward. If you are not going to sew the pieces together, then you can skip this step. Do this 2x.
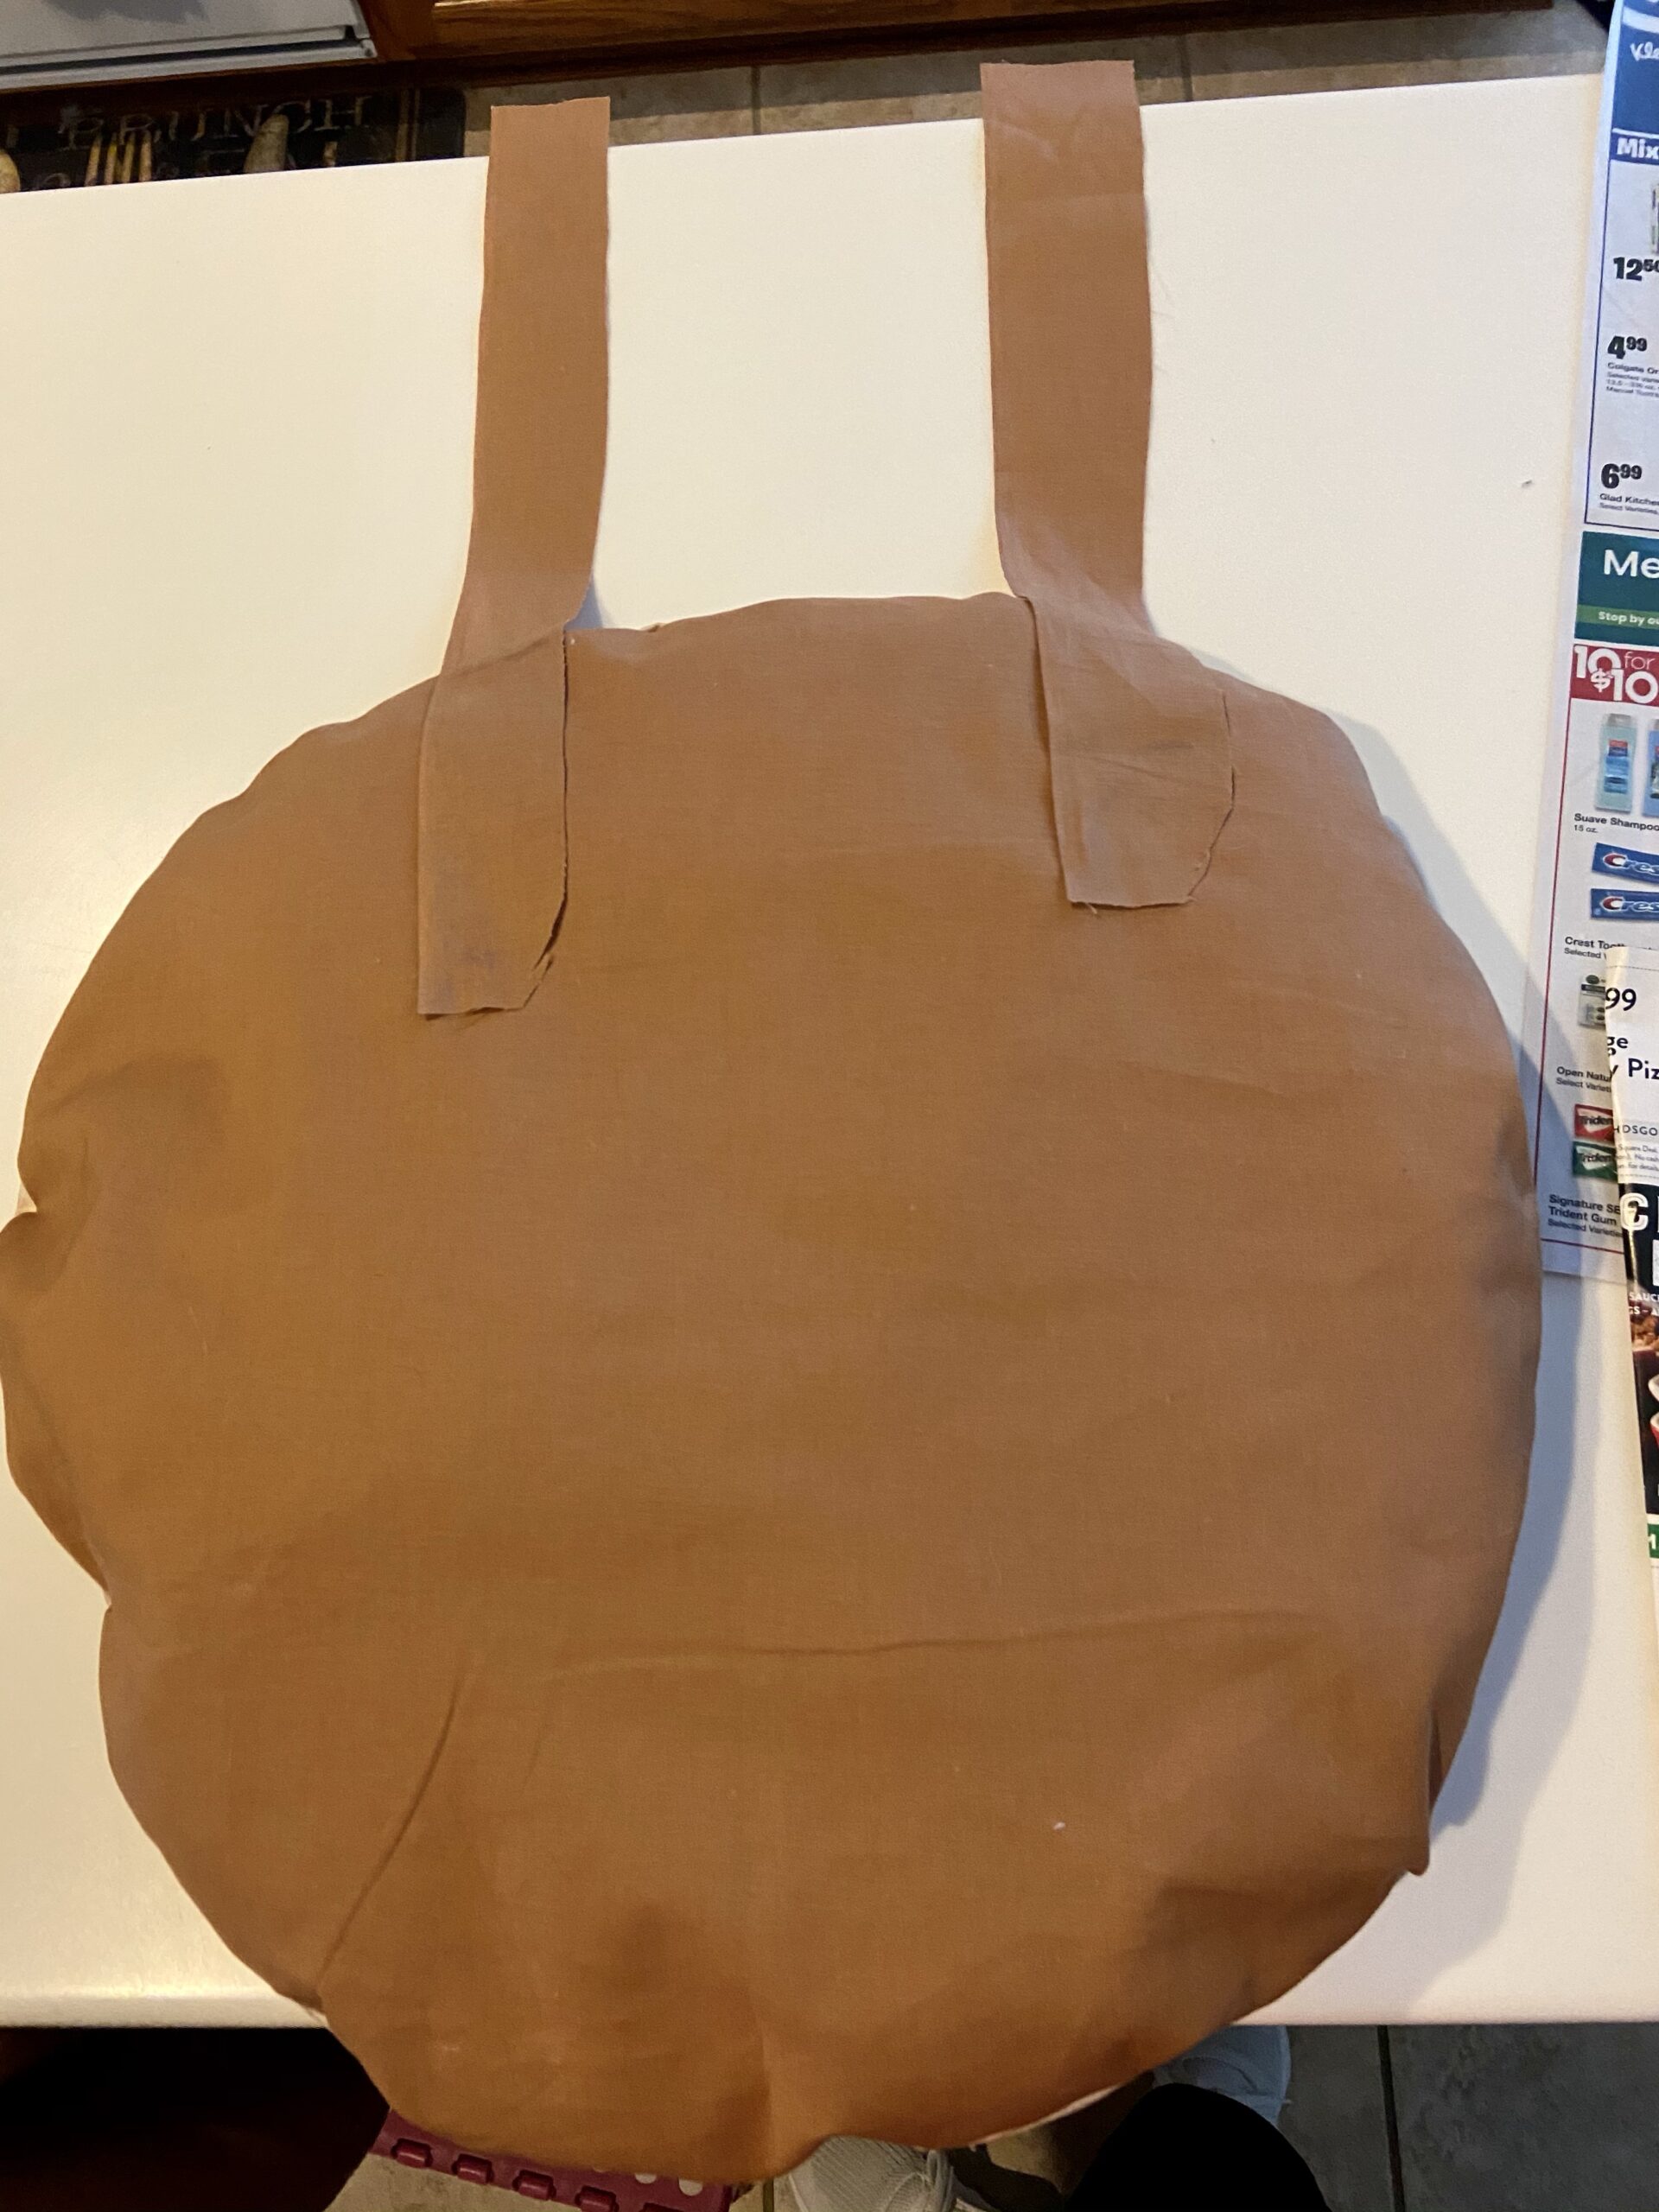
Step 5: You can choose to sew the pieces together or you could hot glue all around. Just leave a small hole that you can stick your hand through to complete the next step. If you sew the fabric, then once done, take your hand and stick it through the hole and pull it out so that your chocolate chips are facing outward. Do this 2x.
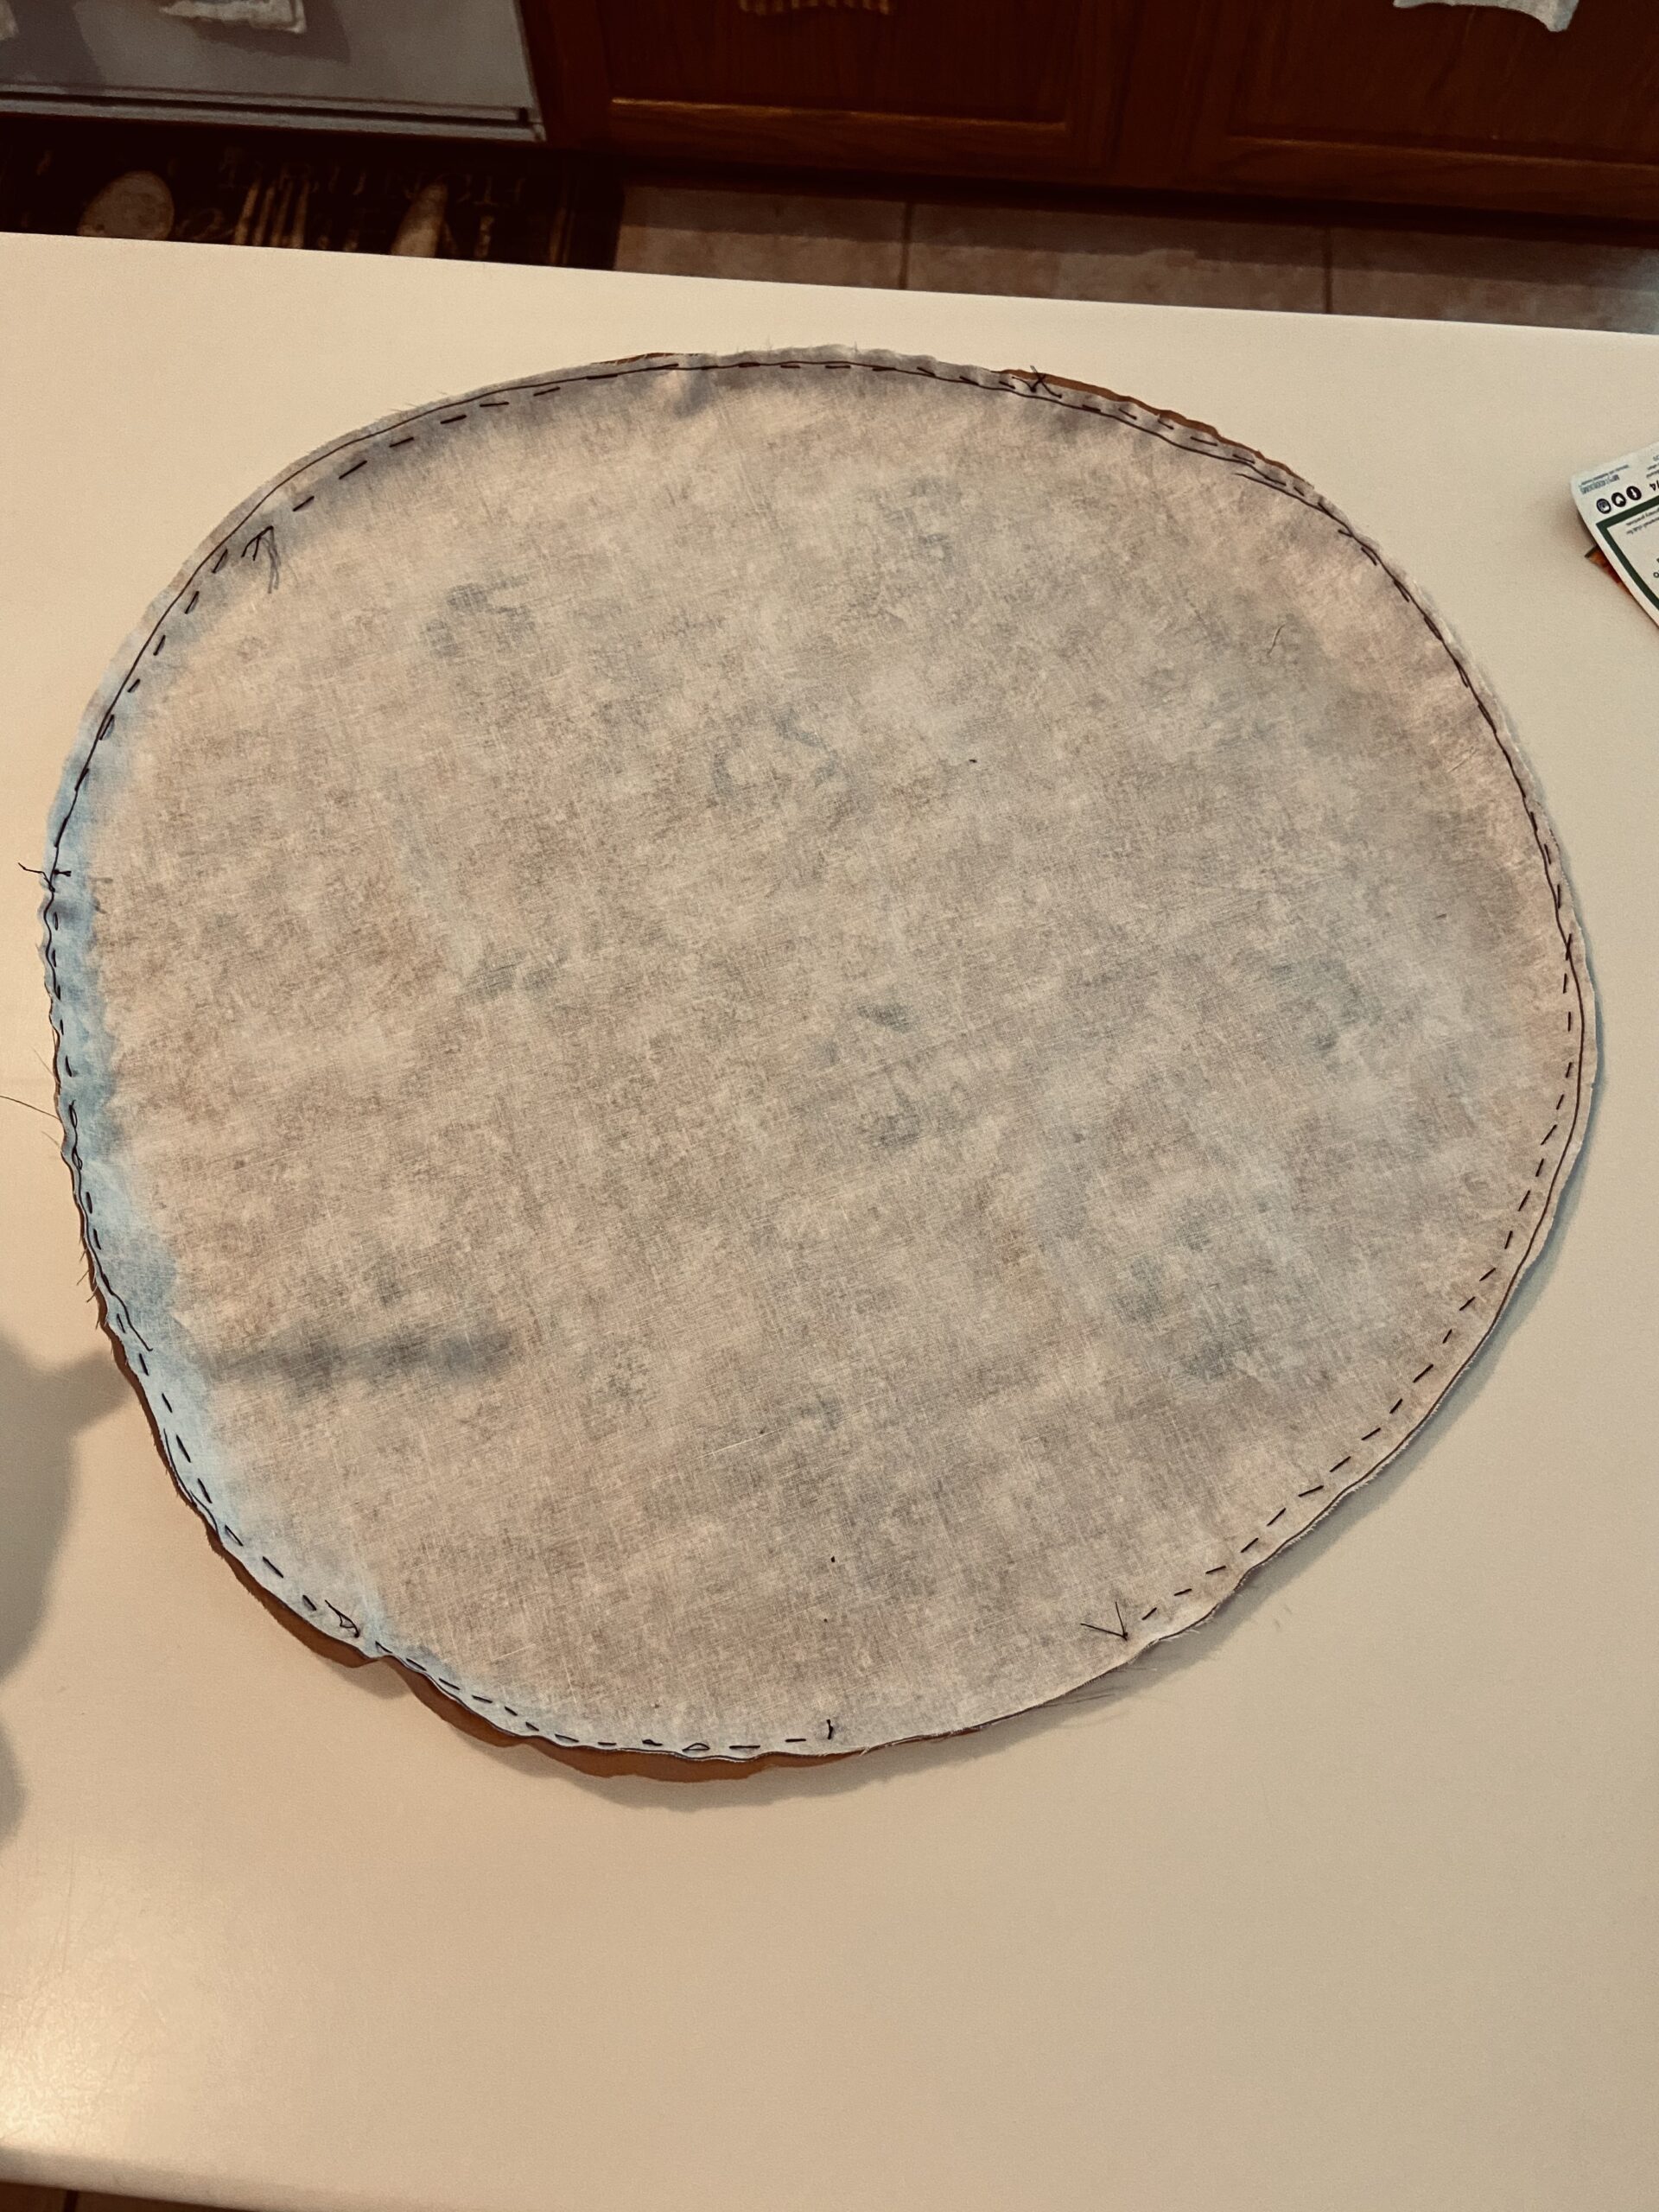
Step 6: Use the Poly-fil to stuff the cookie to add some dimension. I didn’t use a lot since a cookie is kind of flat, but just enough to give it a little fluff. I used half of the bag for both cookies. Do this 2x.
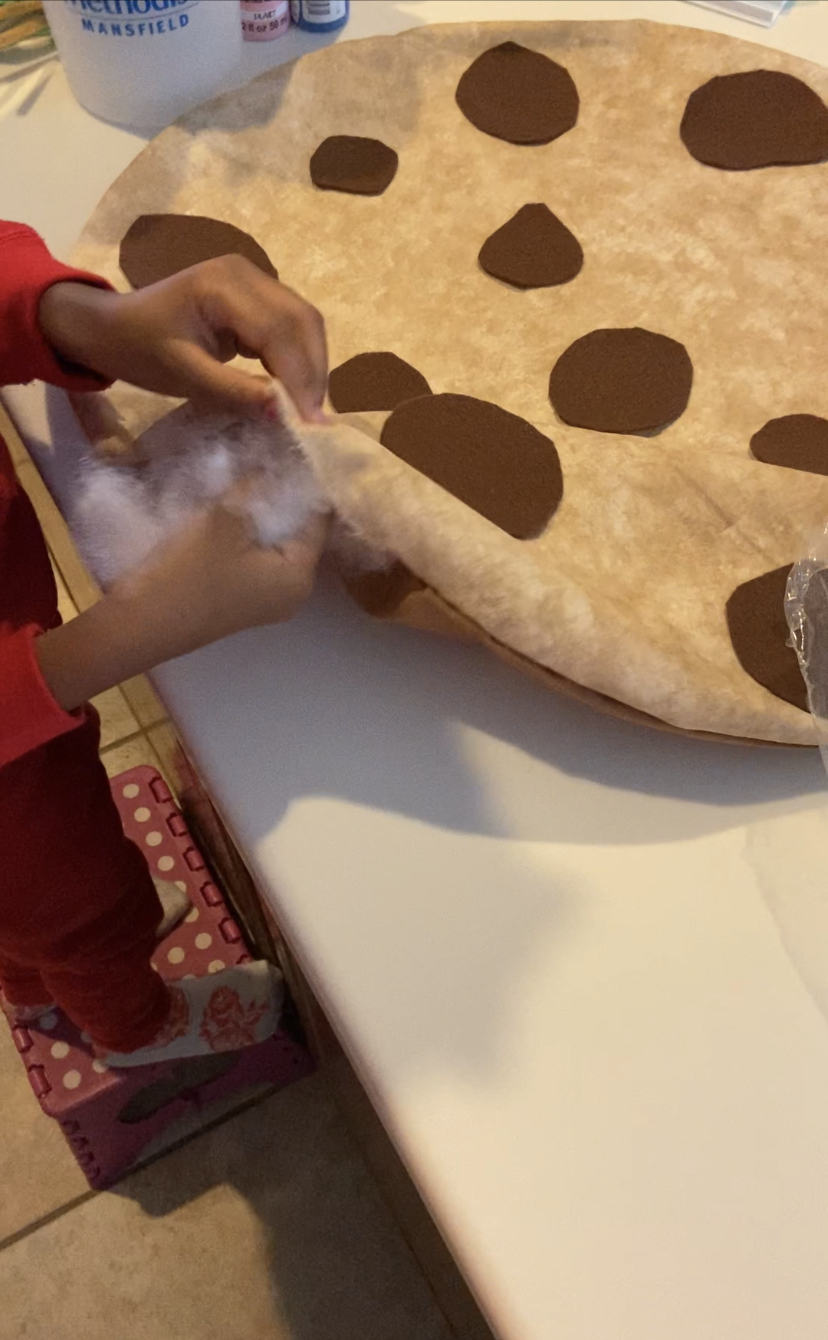
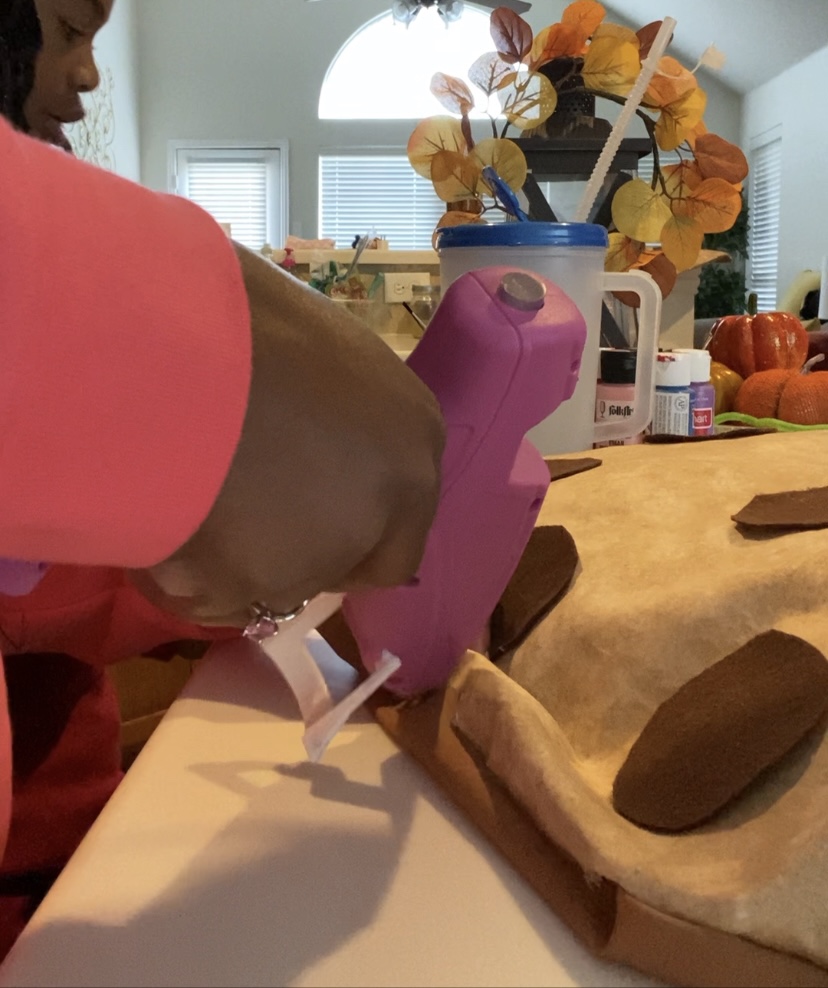
Step 7: Hot glue the hole together. Do this 2x.
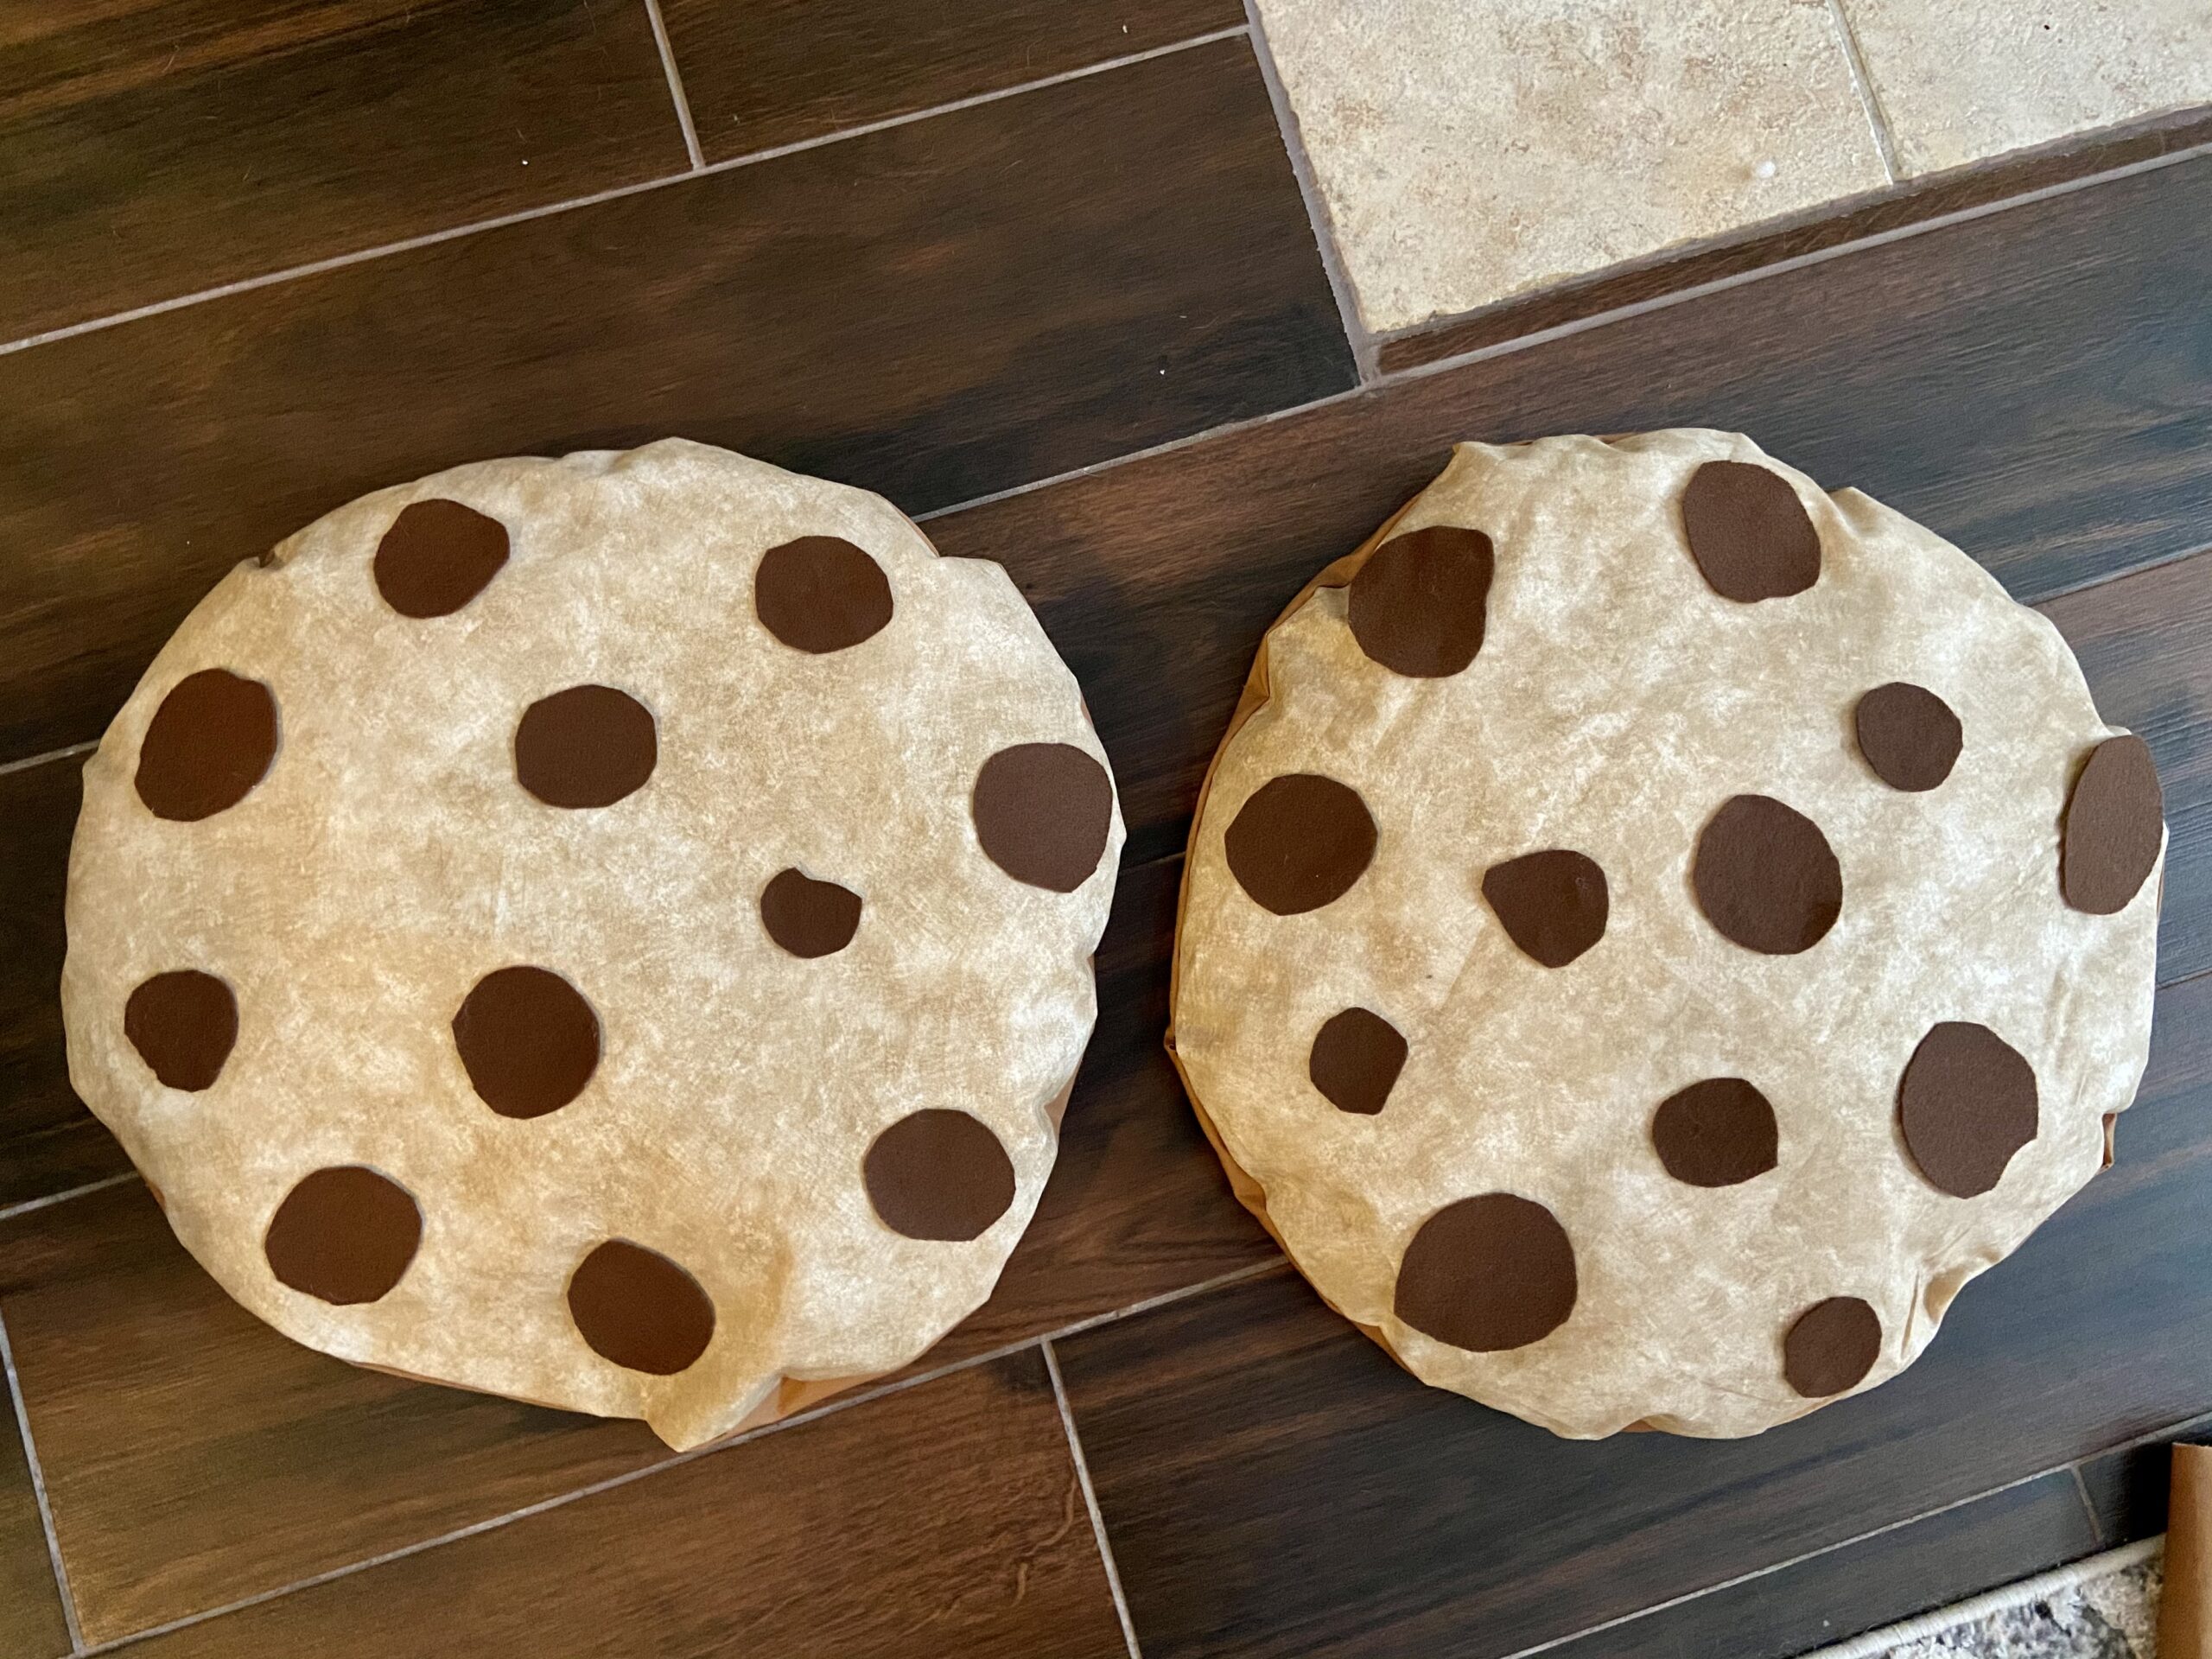
ALL DONE!!
To attach, I took some scrap fabric and safety pinned the scraps to each cookie and tied them together on each side. You could also hot glue the straps to the back side of the cookie and tie together once you’ve measured how long or short you would like it on you.
Attach some scrap fabric to both back pieces of the cookie
So now for the Milk costume.
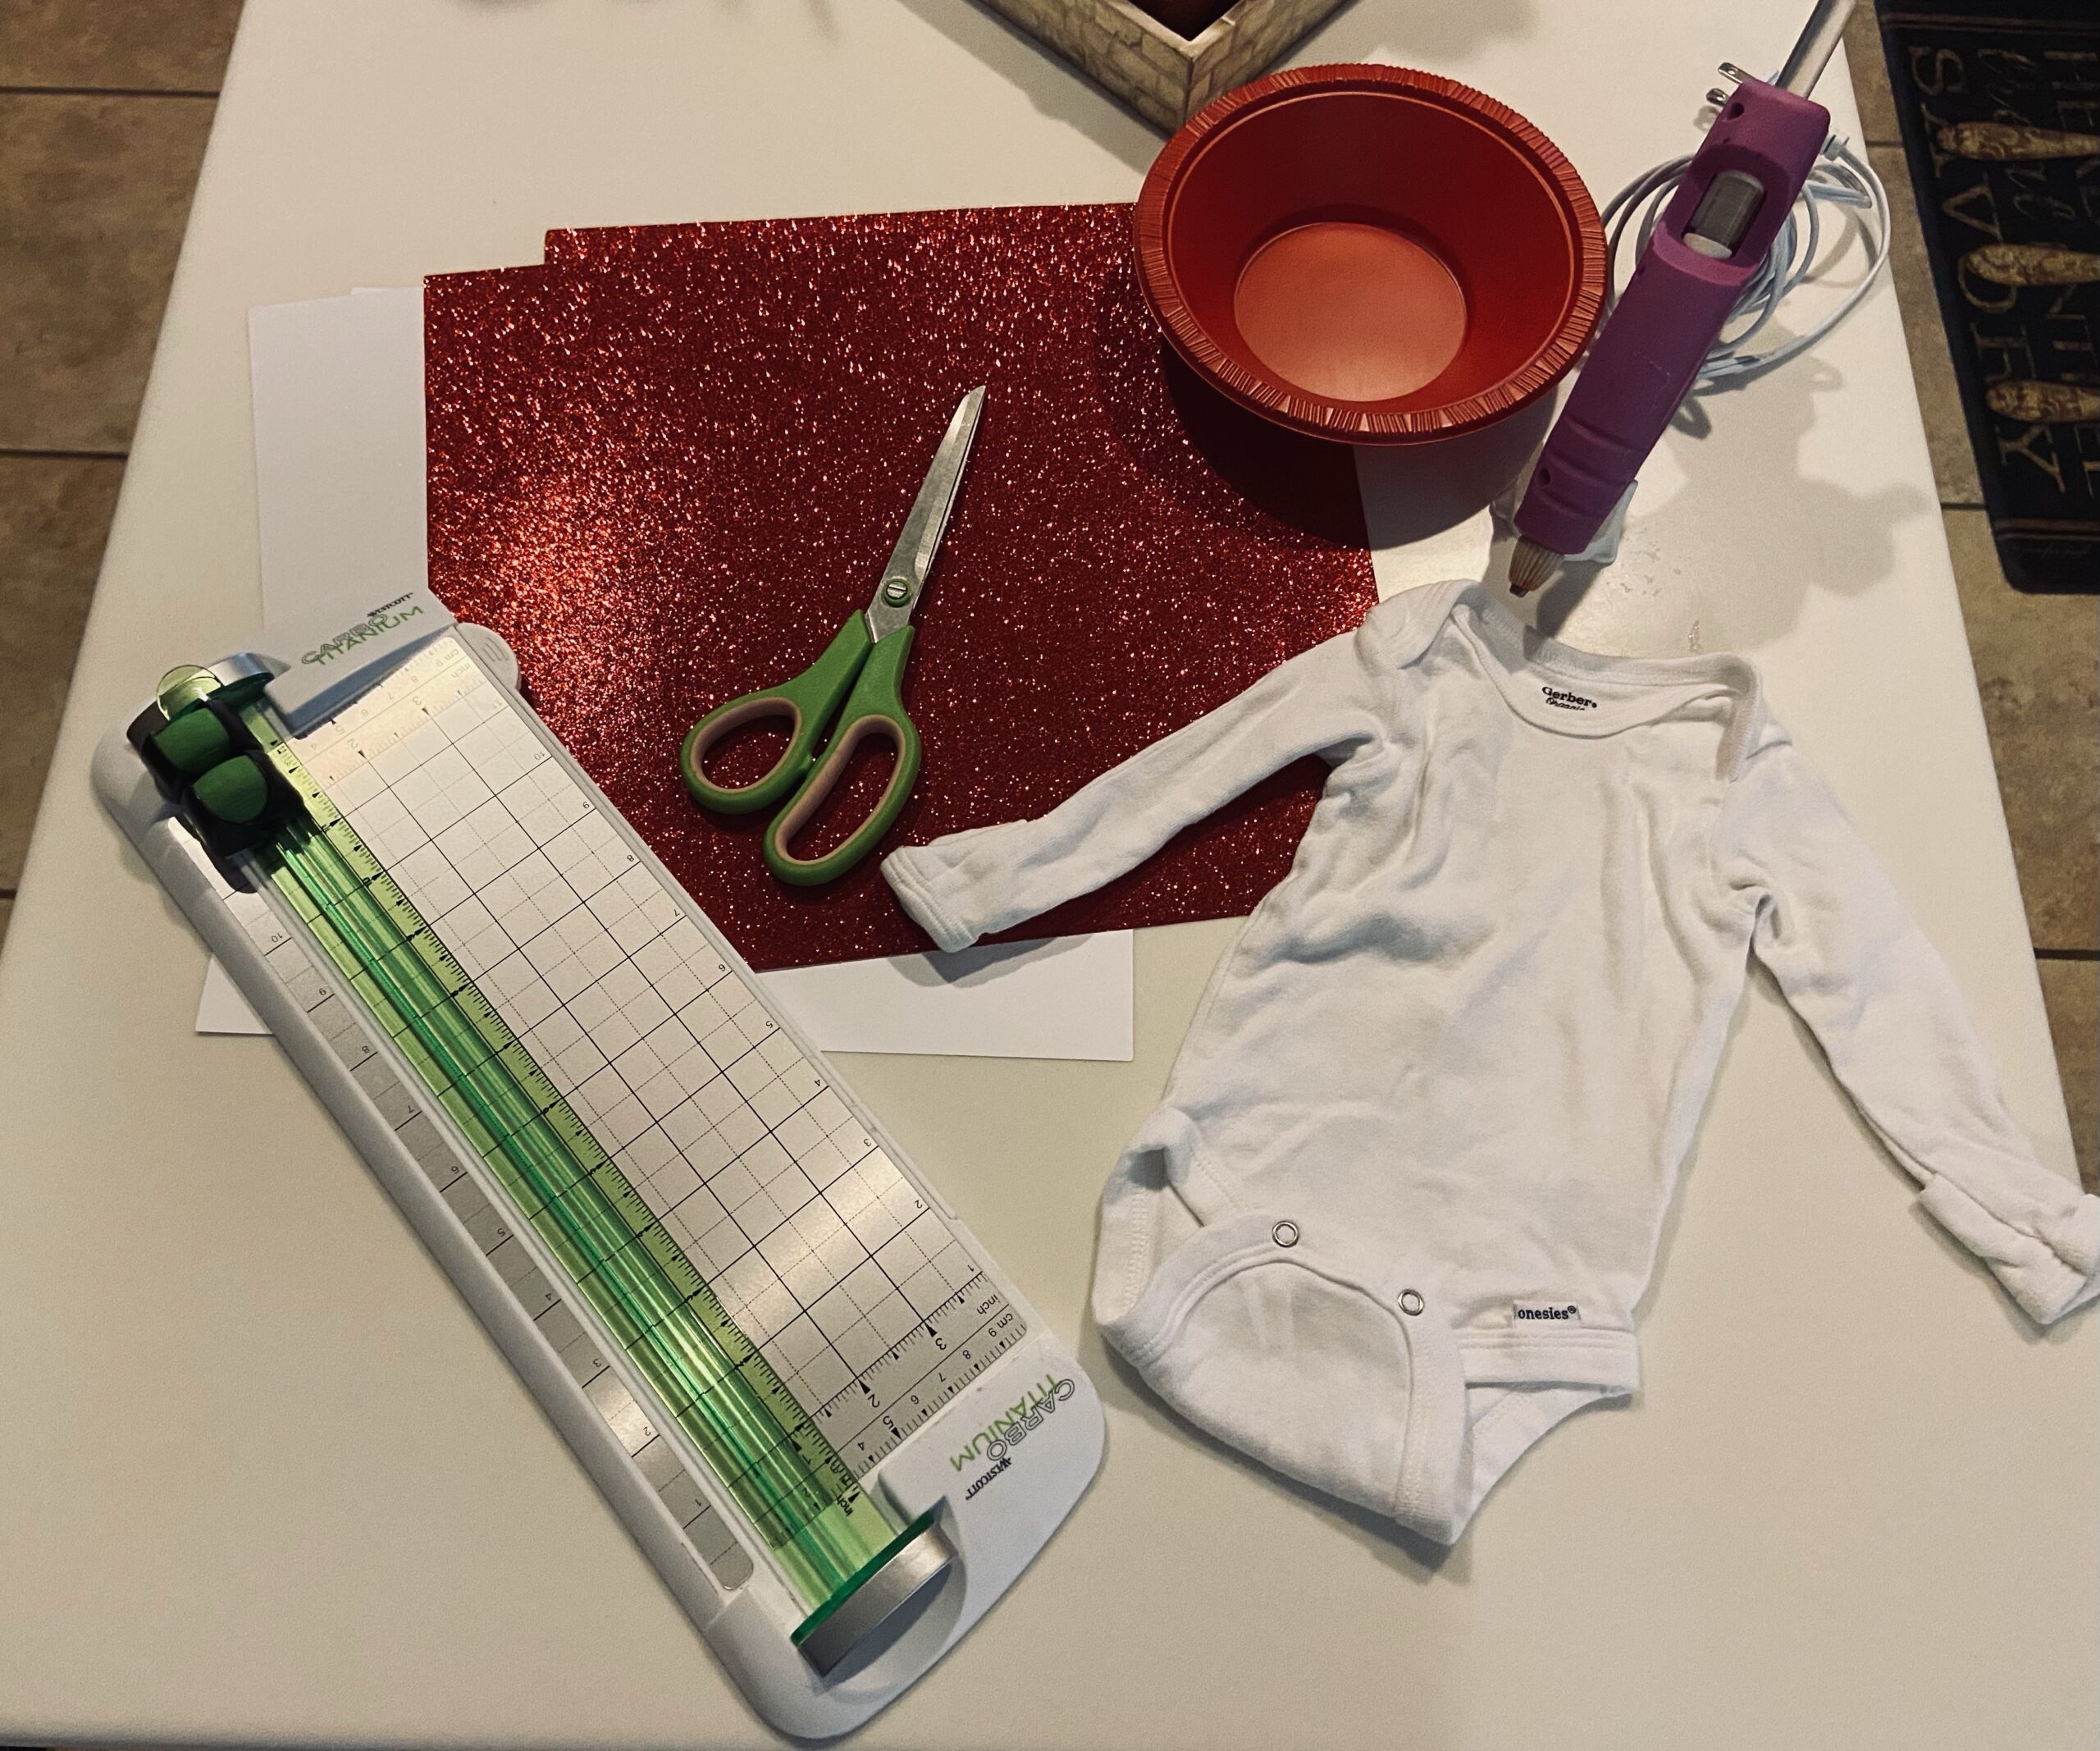
Materials:
- White Cardstock
- Red Cardstock– I loved the red glitter cardstock I saw to add some glam to the costume
- Plastic Bowl– Since I am doing this on my 2 month old, I used something smaller but you could use a plastic plate for a bigger kid or adult
- String– Any string you can find. A shoe string would be just fine or even some pipe cleaners or yarn.
- Scissors- I also used a paper trimmer to get straight cuts
- Hot Glue Gun
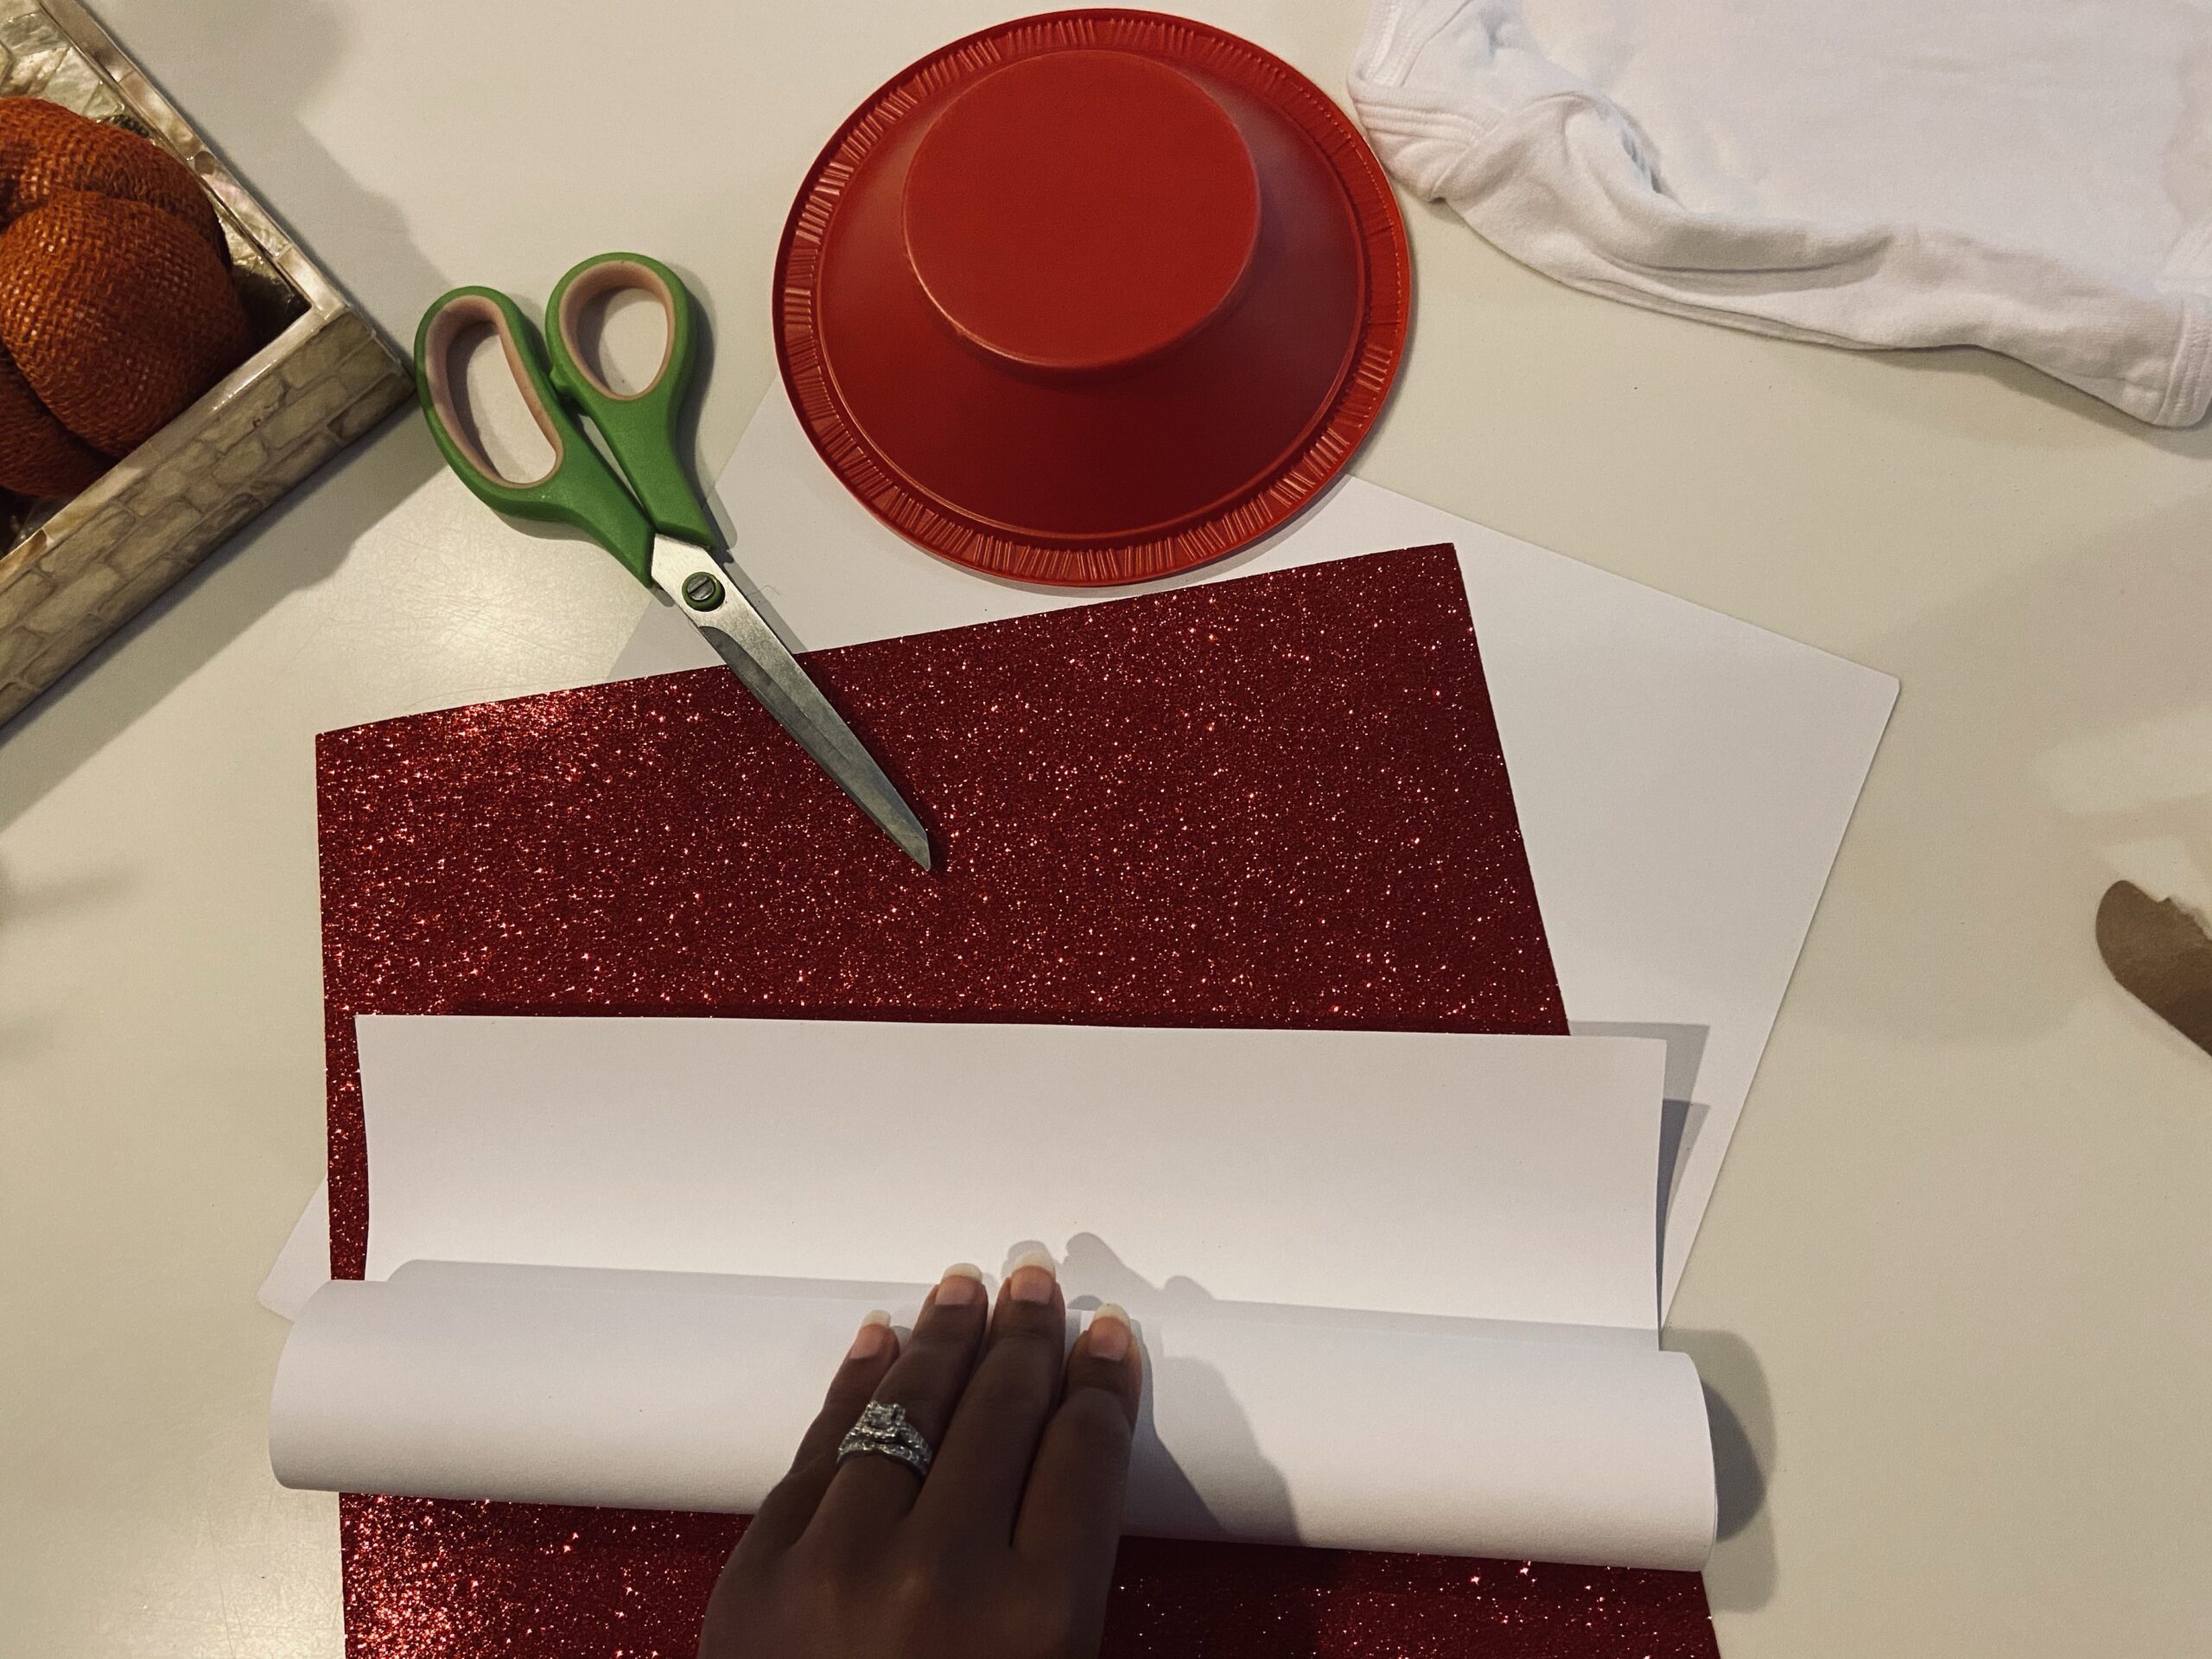
Step 1: Roll the white cardstock into a cylinder to make your straw. You can make this as thin or thick as you want. Once rolled, glue the sides. I actually ended up cutting a little off since it was going to be too long for my baby’s little head.
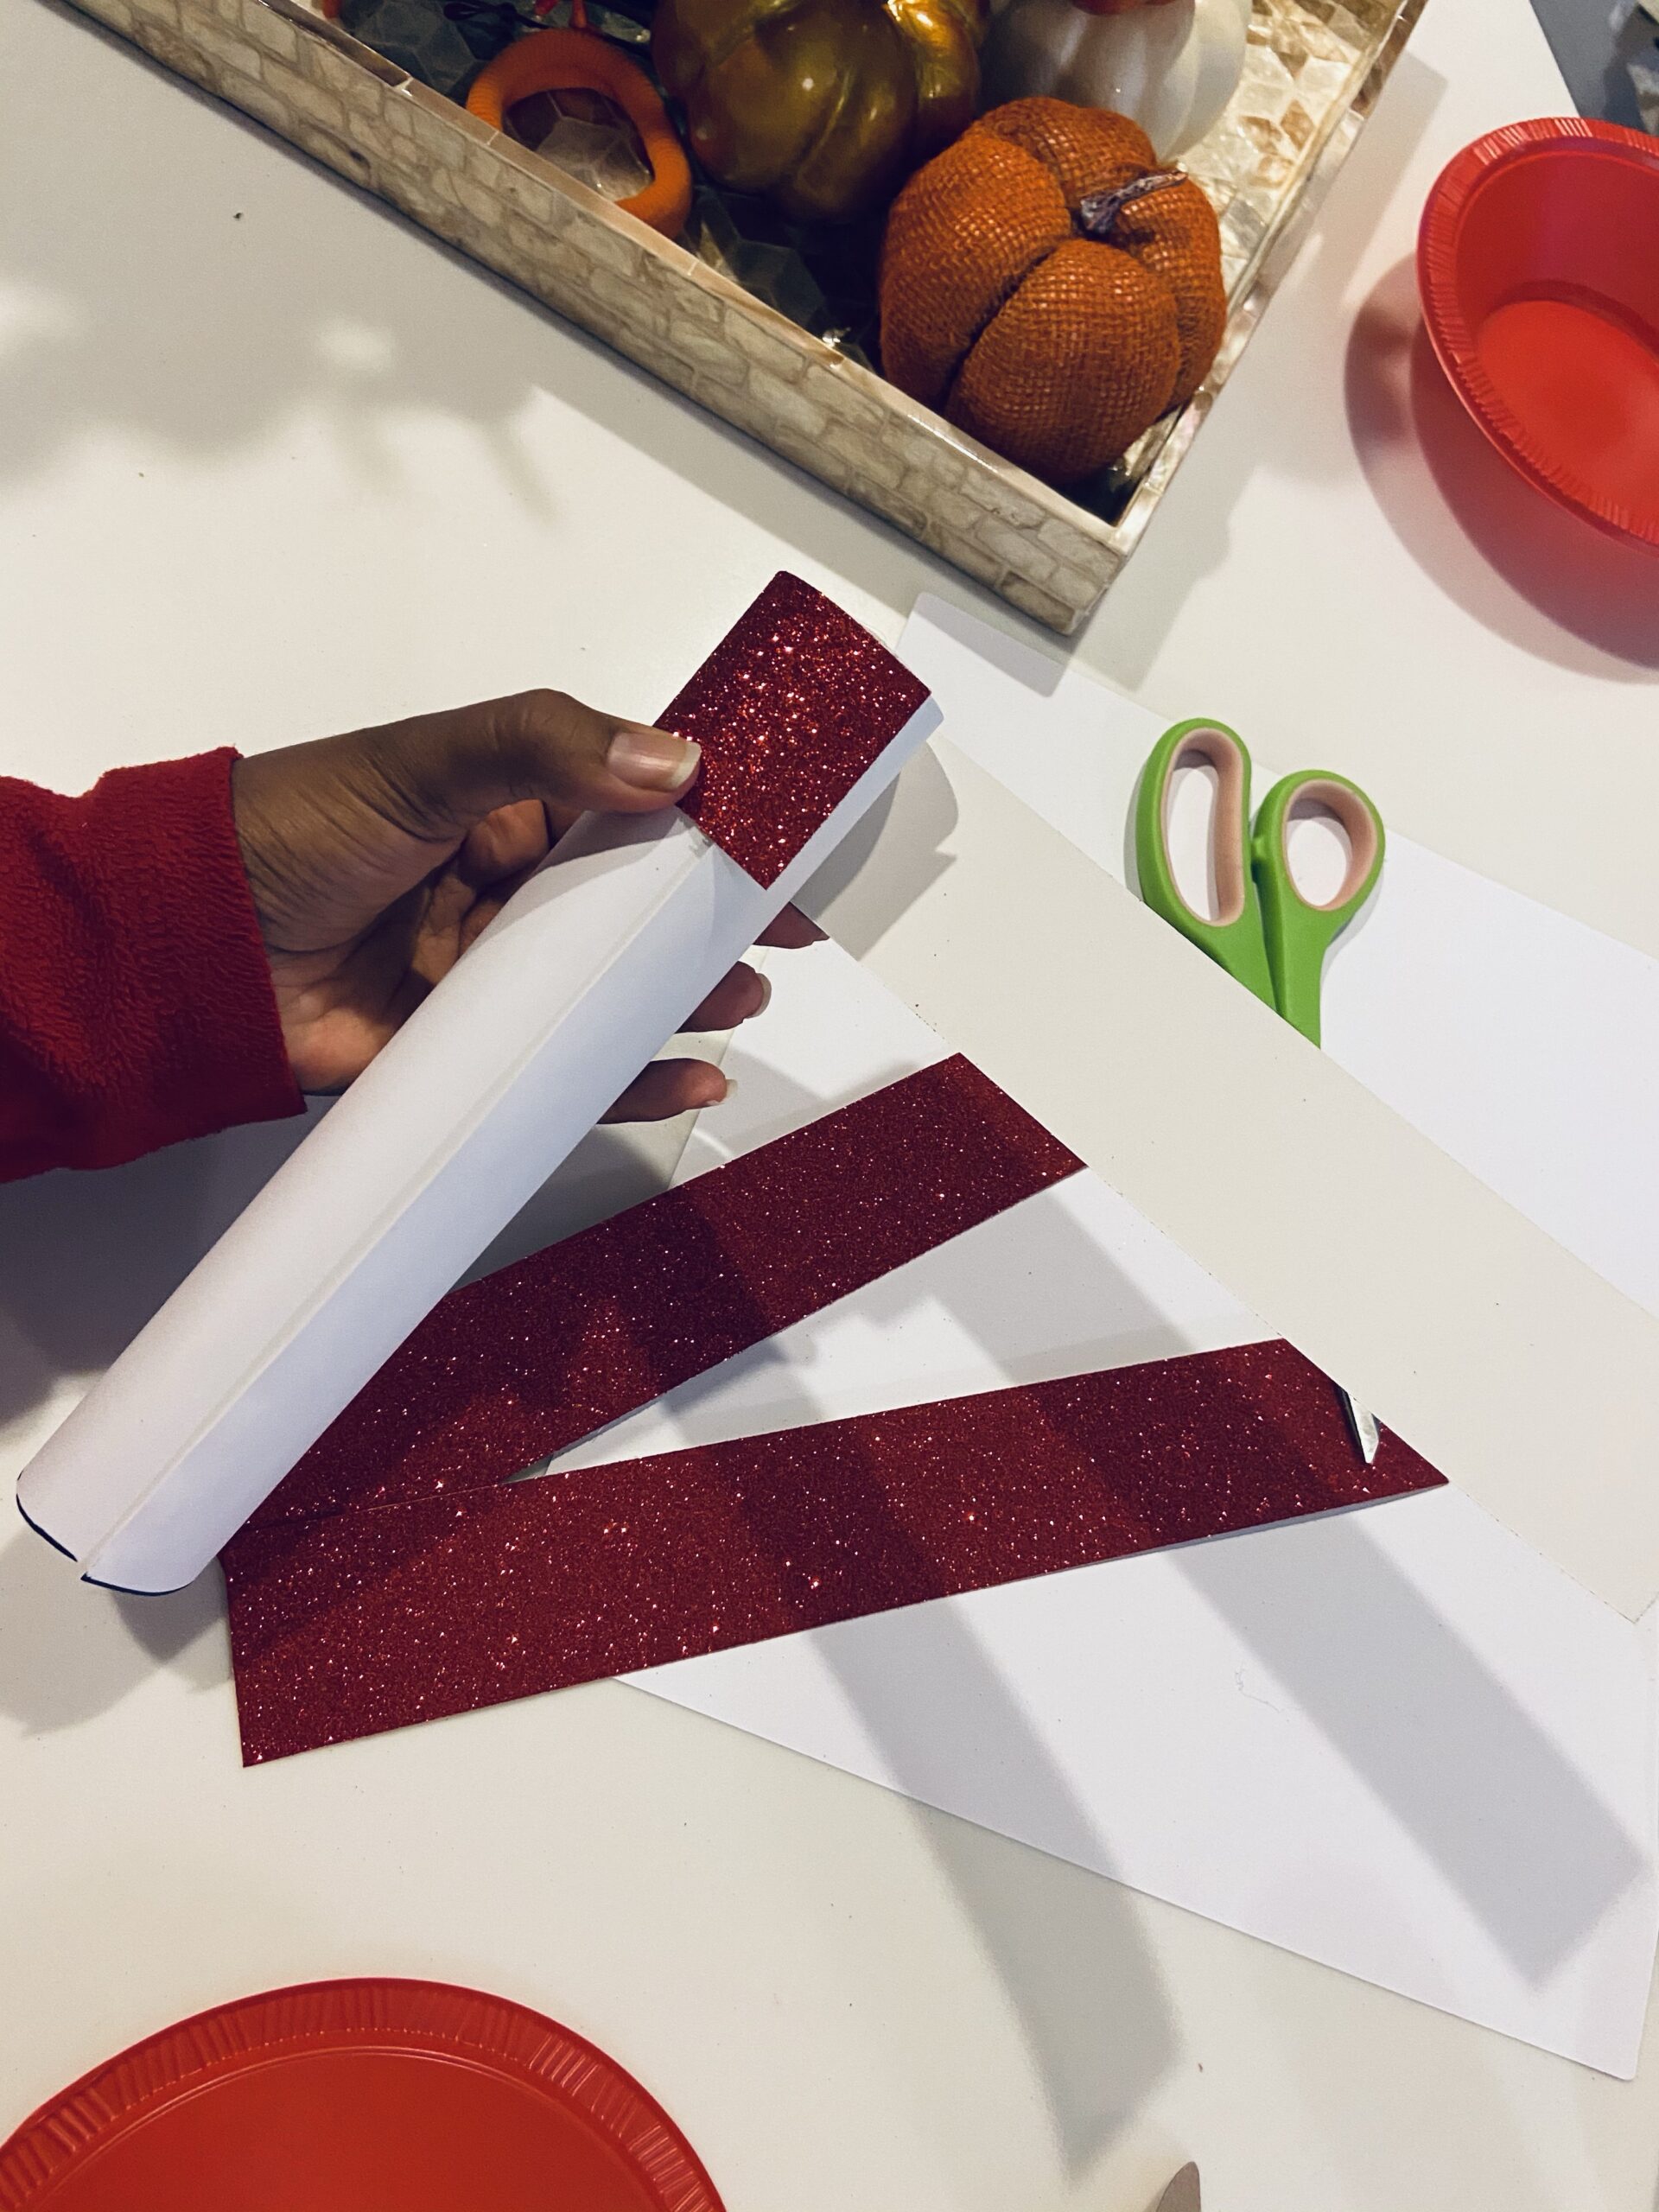
Step 2: Cut the red cardstock into strips and glue to the white cardstock, your “straw.” You can also makes these as thick or thin as you want.
I traced the circle toward the edge of the bowl so the straw could lean.
Step 3: Take your bowl and trace the end of your straw. Cut out the hole.
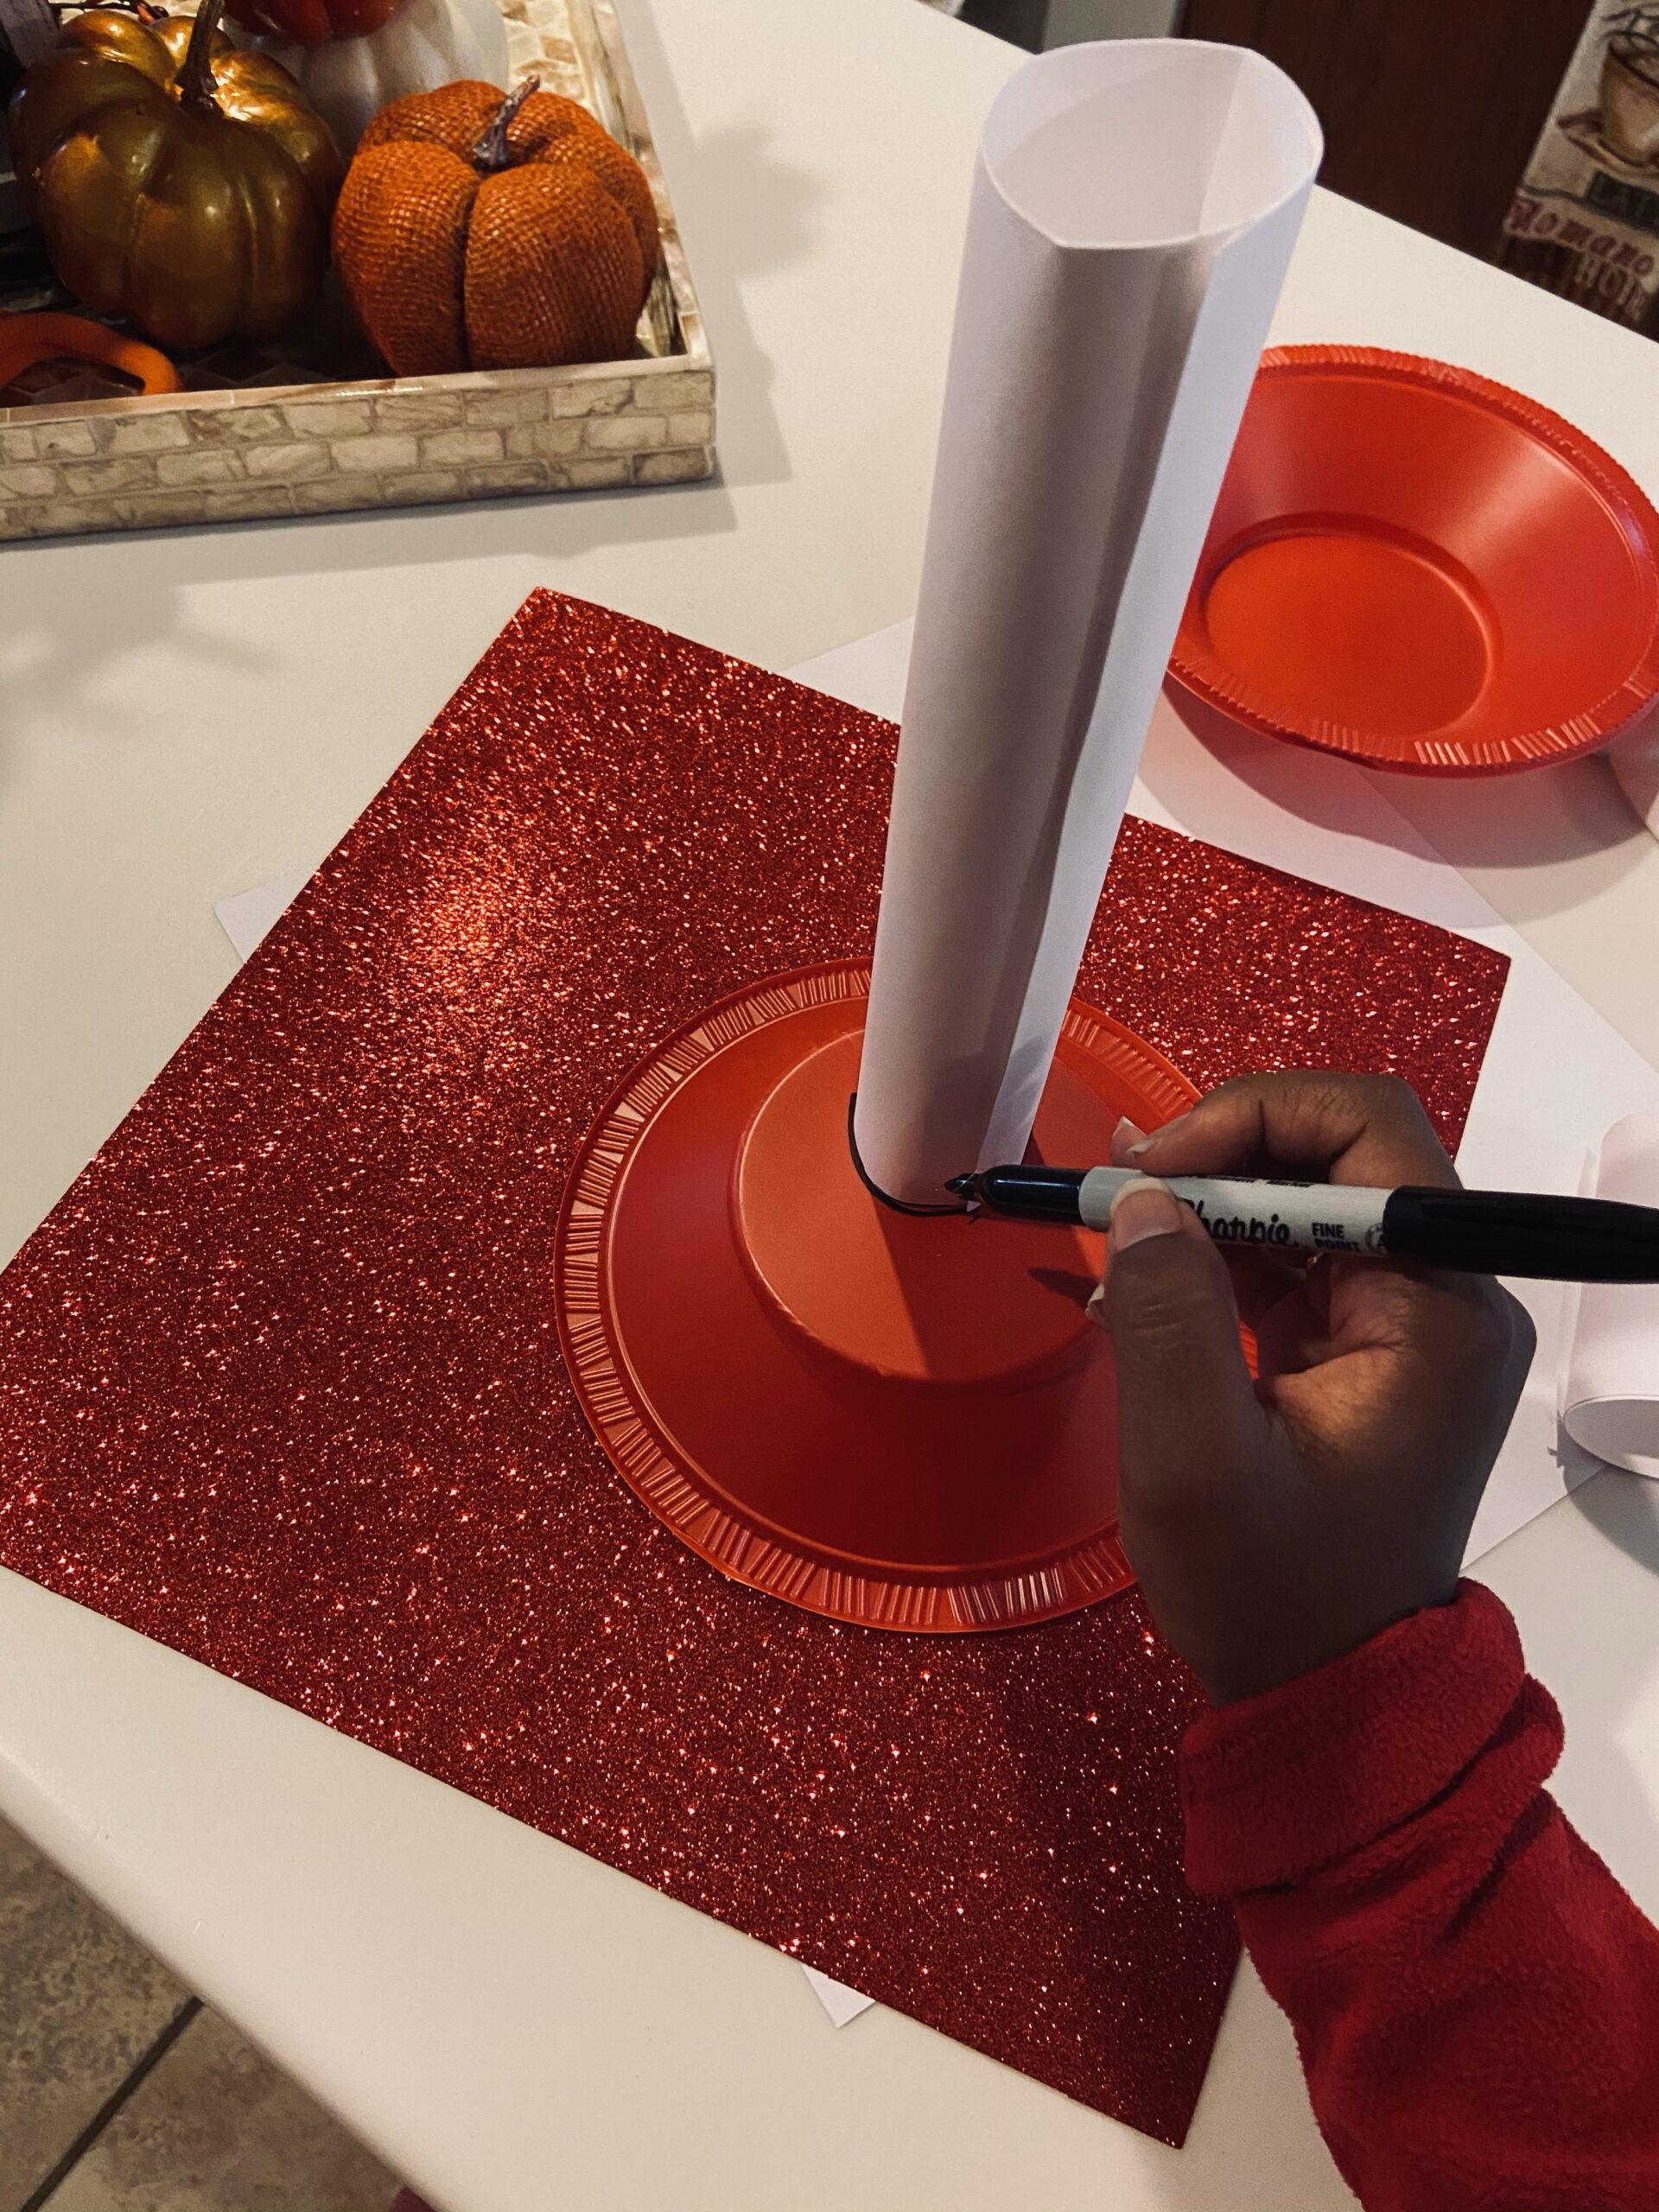
Step 4: Take the extra strips of red card stock and glue them together to make one long strip (disregard the bowl. I cut it to make it even smaller but ended up making it harder on myself so I had to start over).
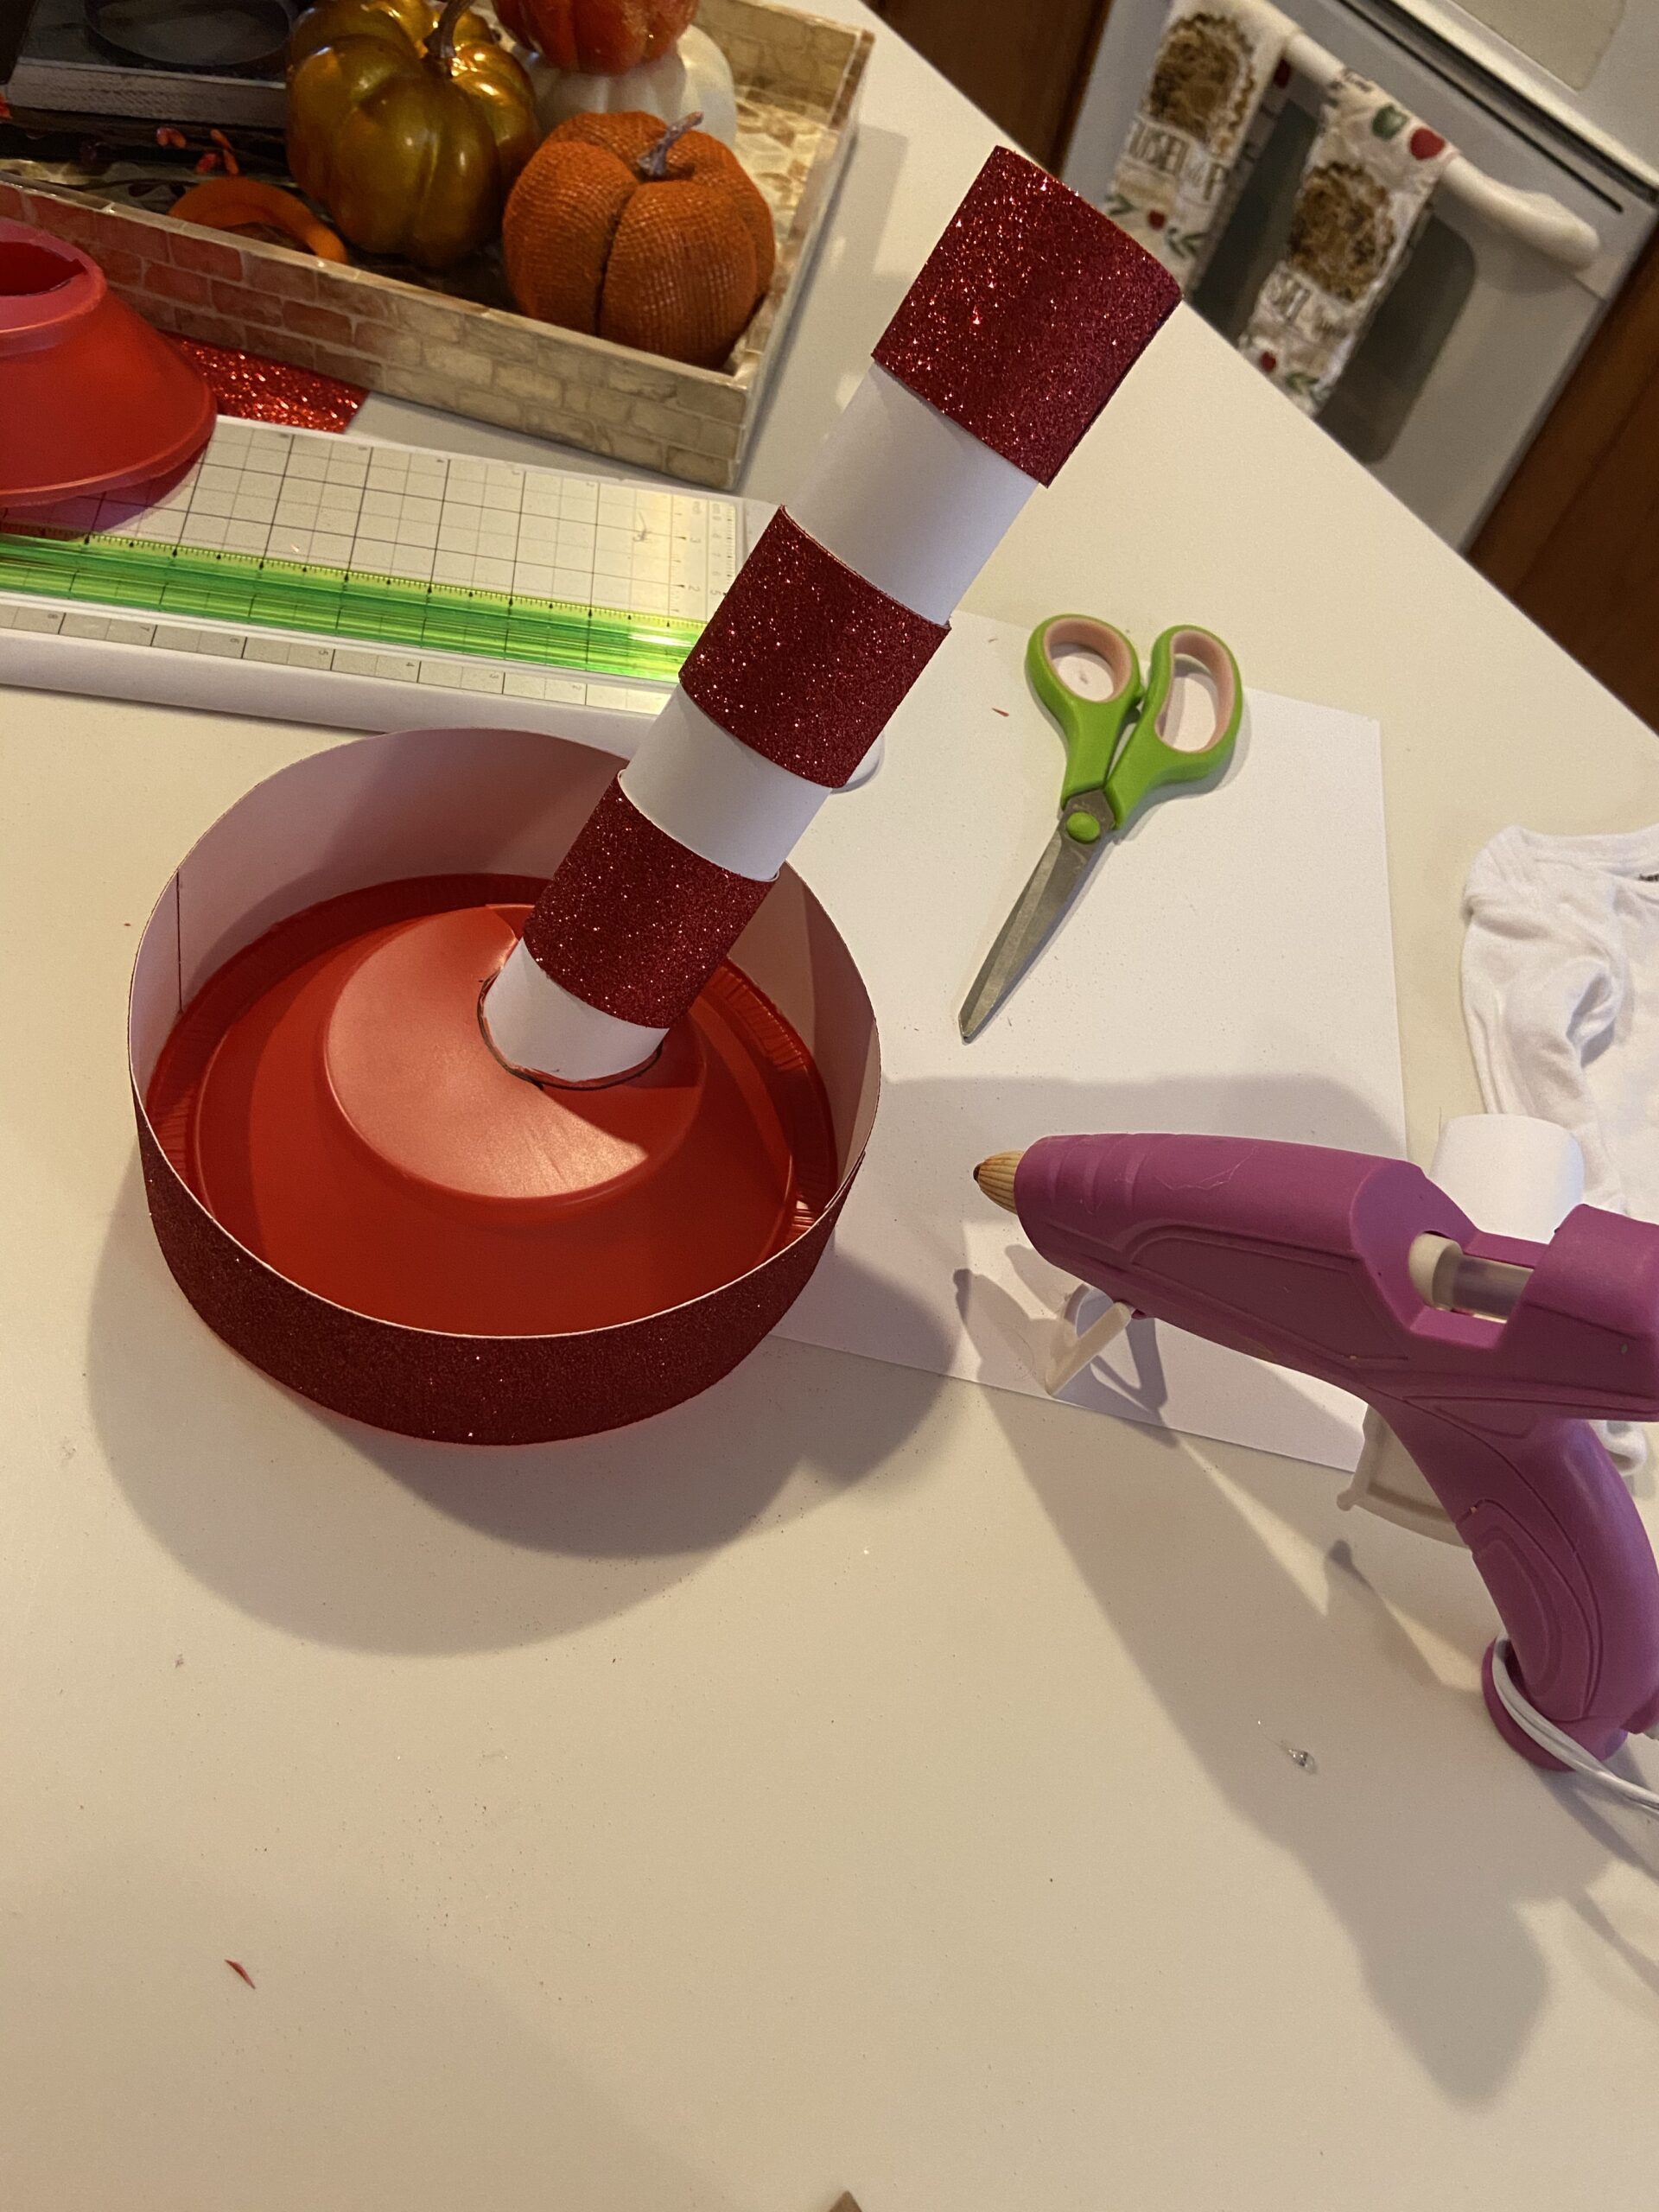
Glue the strip to the edge of the bowl..looks like this when done
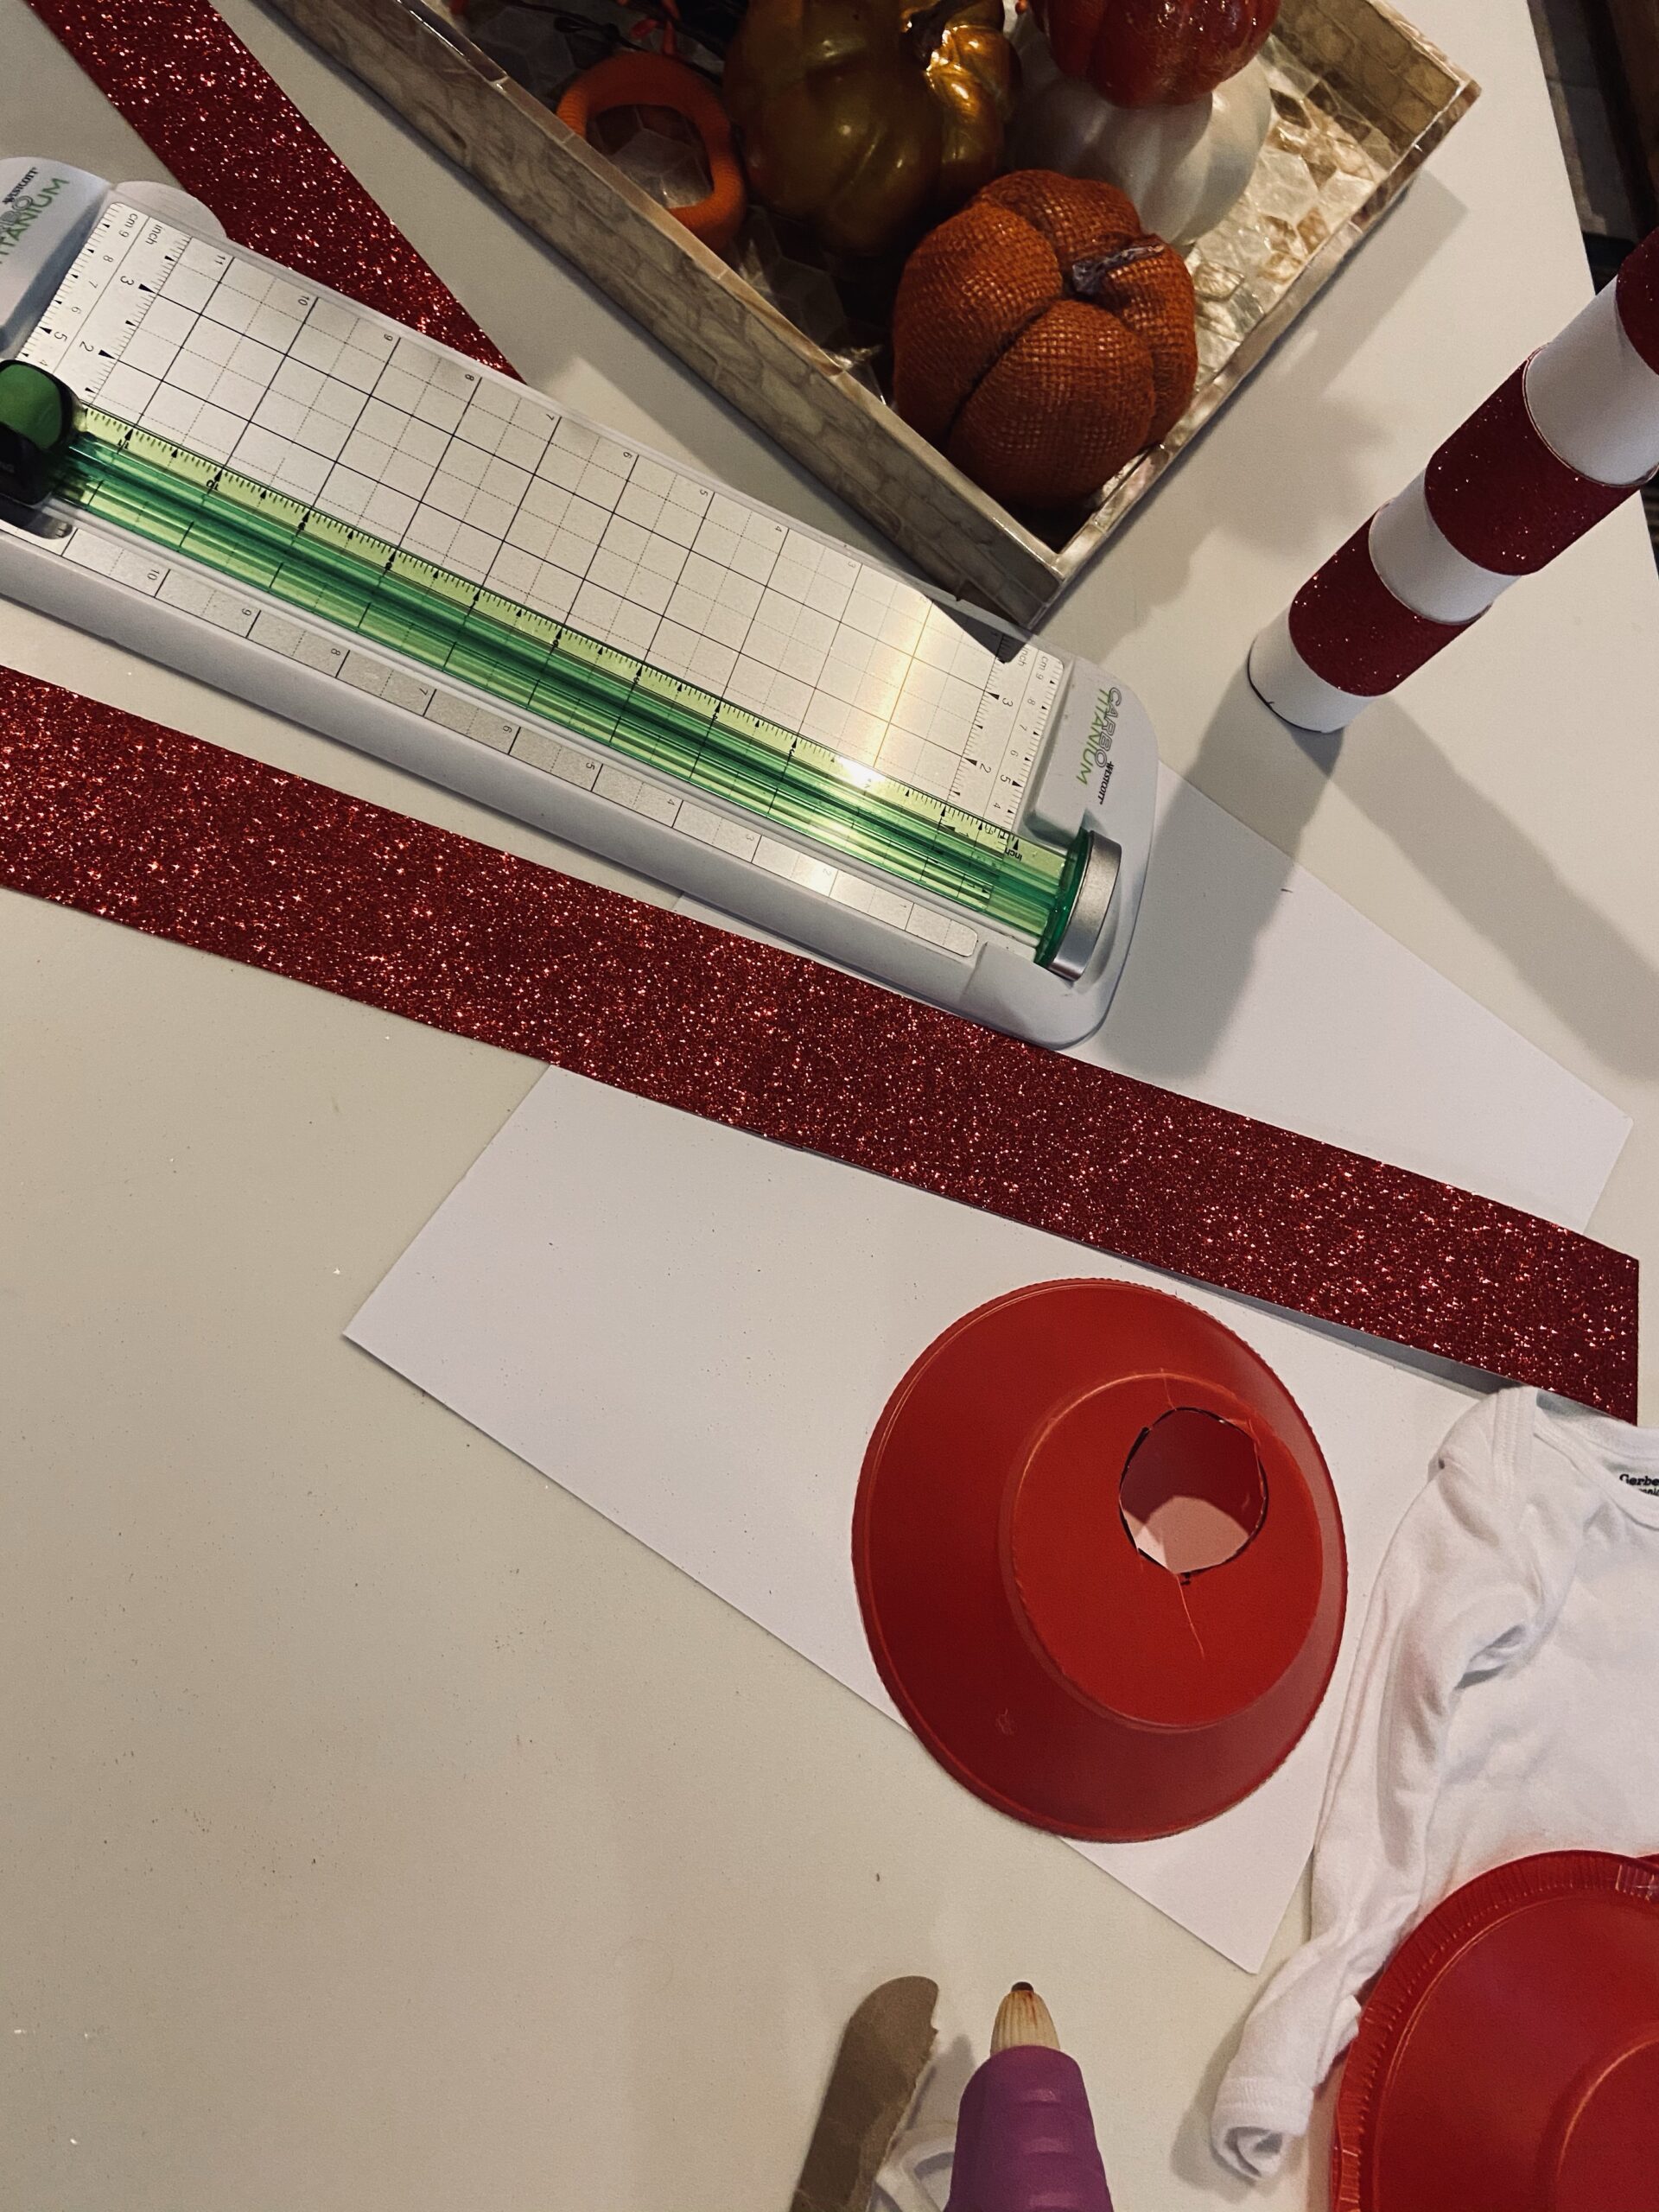
Step 5: Take the long strip and glue it to the edge of the bowl.
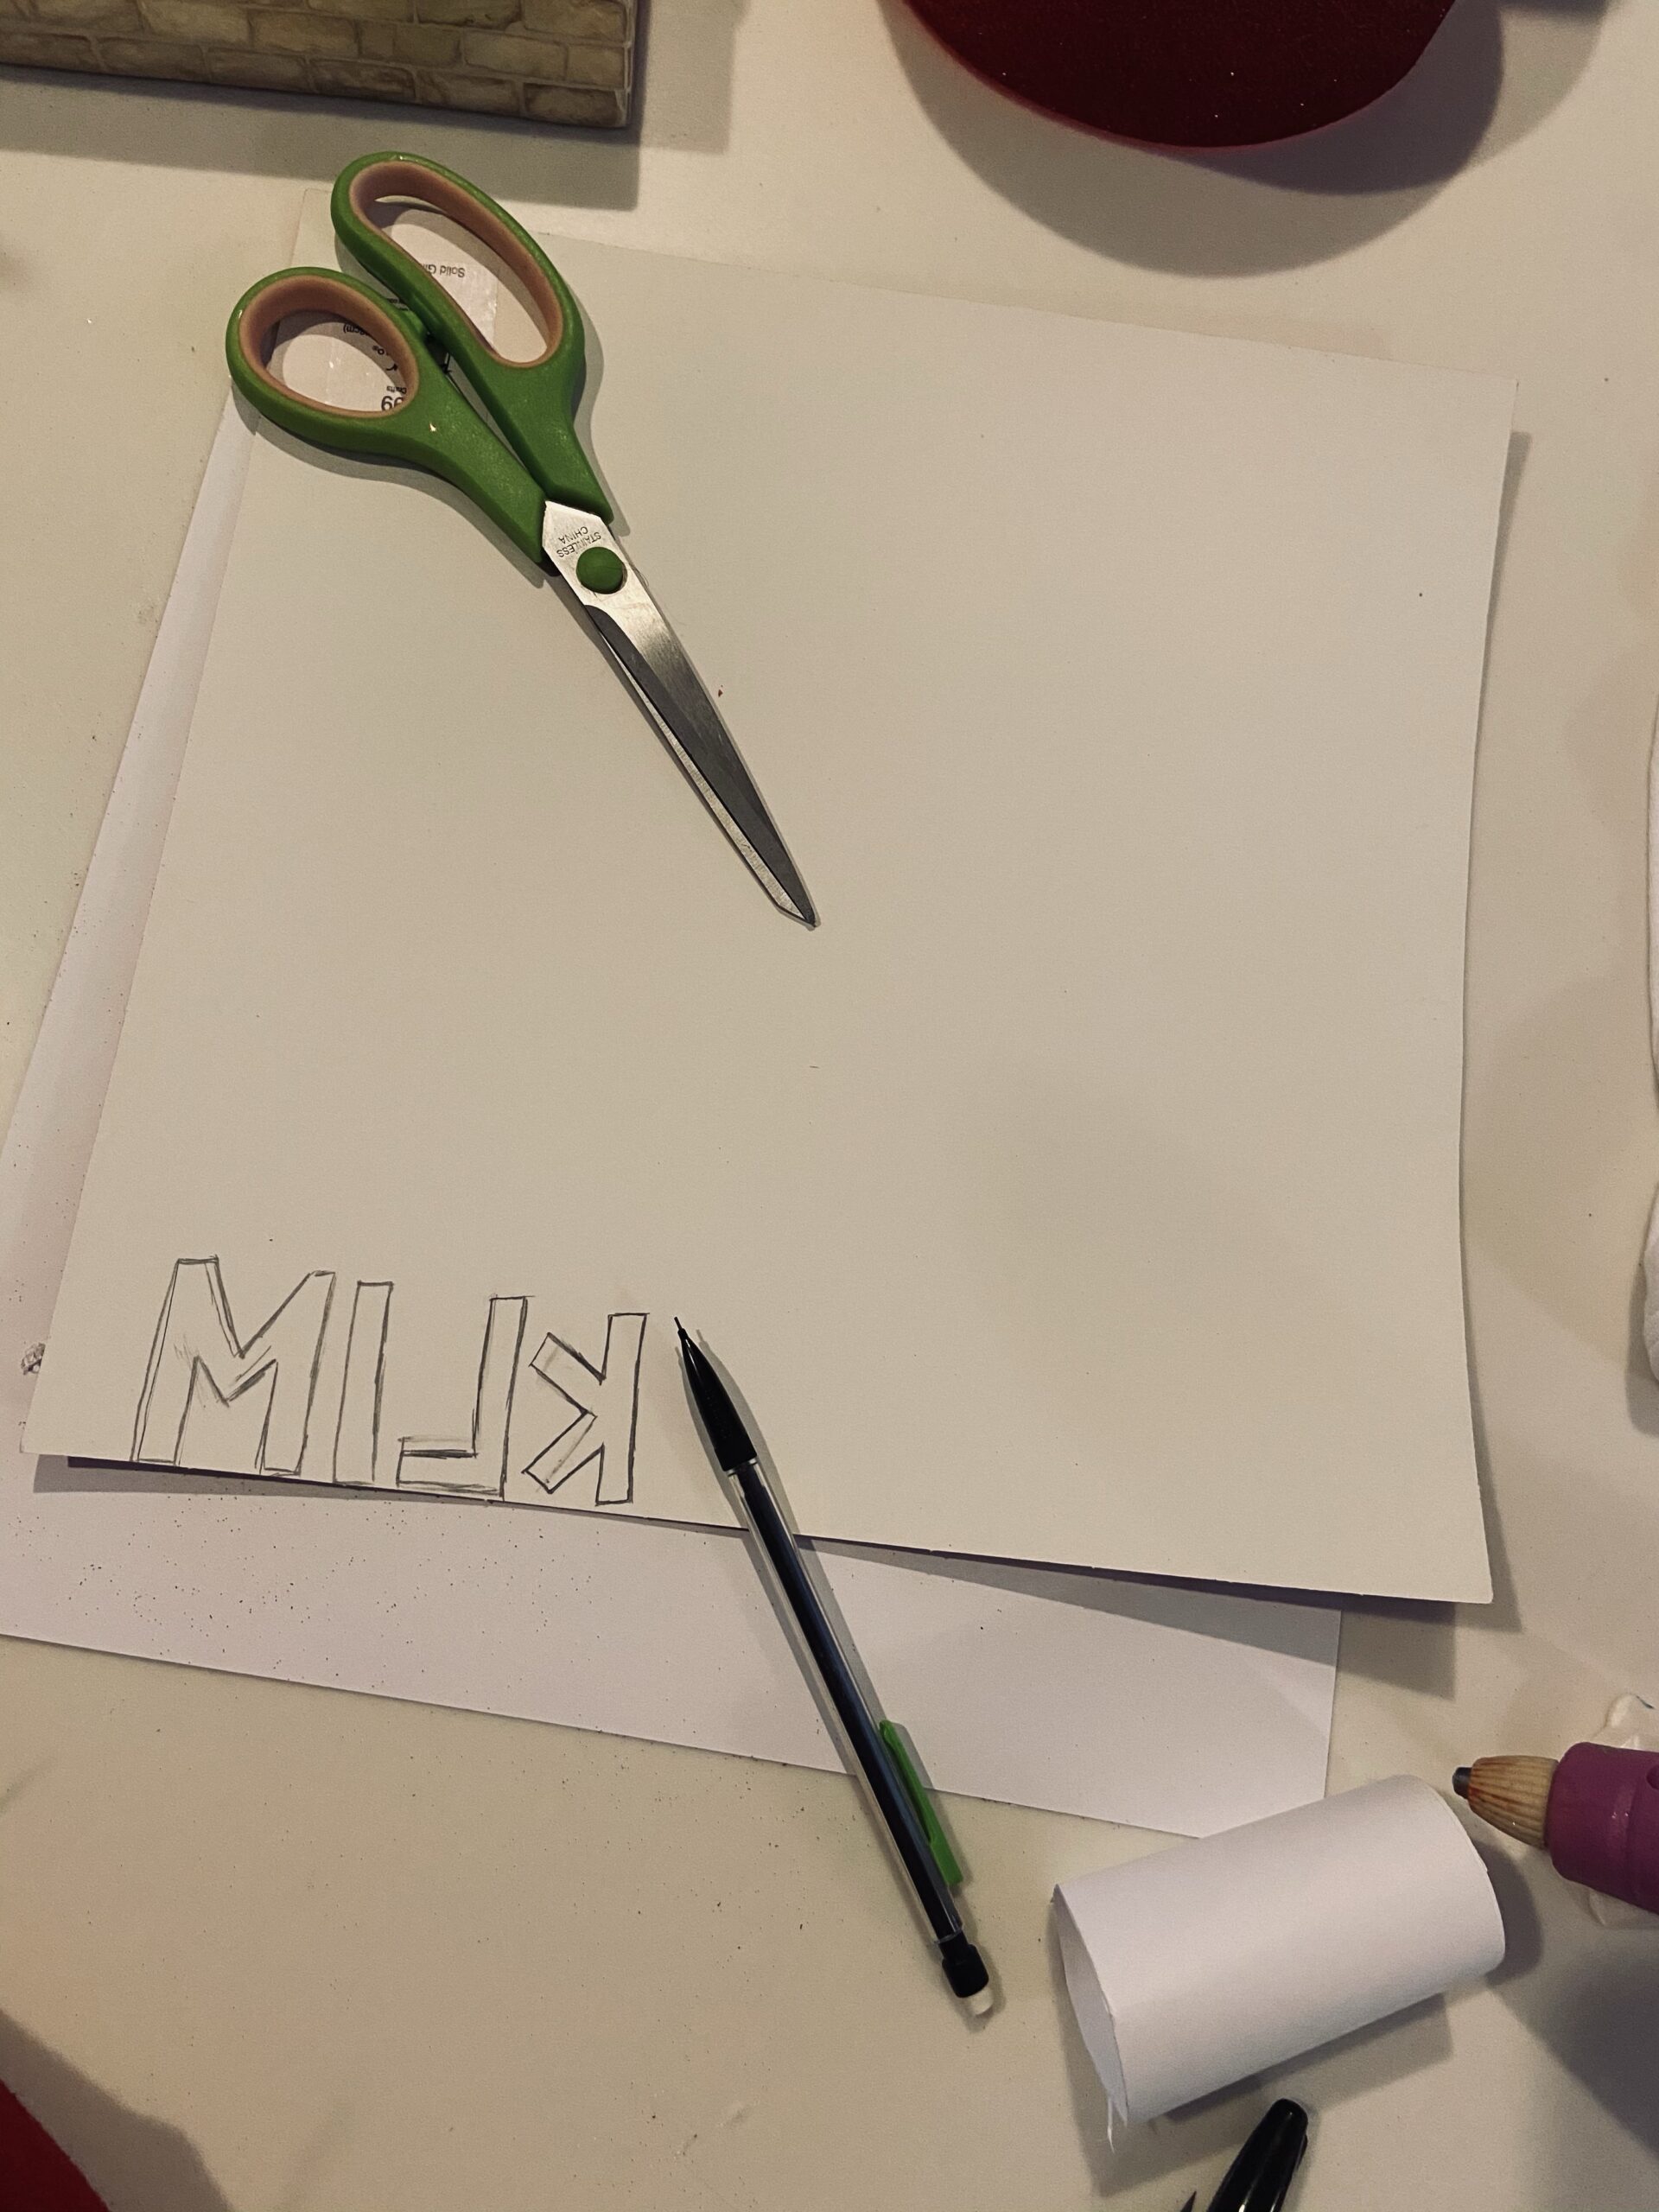
Step 6: Take the red cardstock and flip it over. I sketched some letters and cut them with an exacto knife, but you can use scissors. I had to make the letters a lot smaller to fit the onesie. You could also trace the letters on the cardstock, but I didn’t have any smaller letters so I chose to challenge my skills and draw. Make sure that if drawing or tracing, that you do it backwards on the white side so that when you flip it over, it is the correct letter.
I needed to measure on the onesie to make sure it was the right size.
Step 7: Arrange the cut letters on the piece of white card stock. I had an extra strip that I cut in half to line the top and bottom of the white cardstock. Glue all pieces to the white card stock and cut the excess.
Also this step is completely up to you. I didn’t want to ruin a onesie (I mean I like multiple uses of things). If you’re not concerned or don’t care, glue it to the onesie or shirt. I like that I can just rip it off and use the onesie again for our milestone photos!
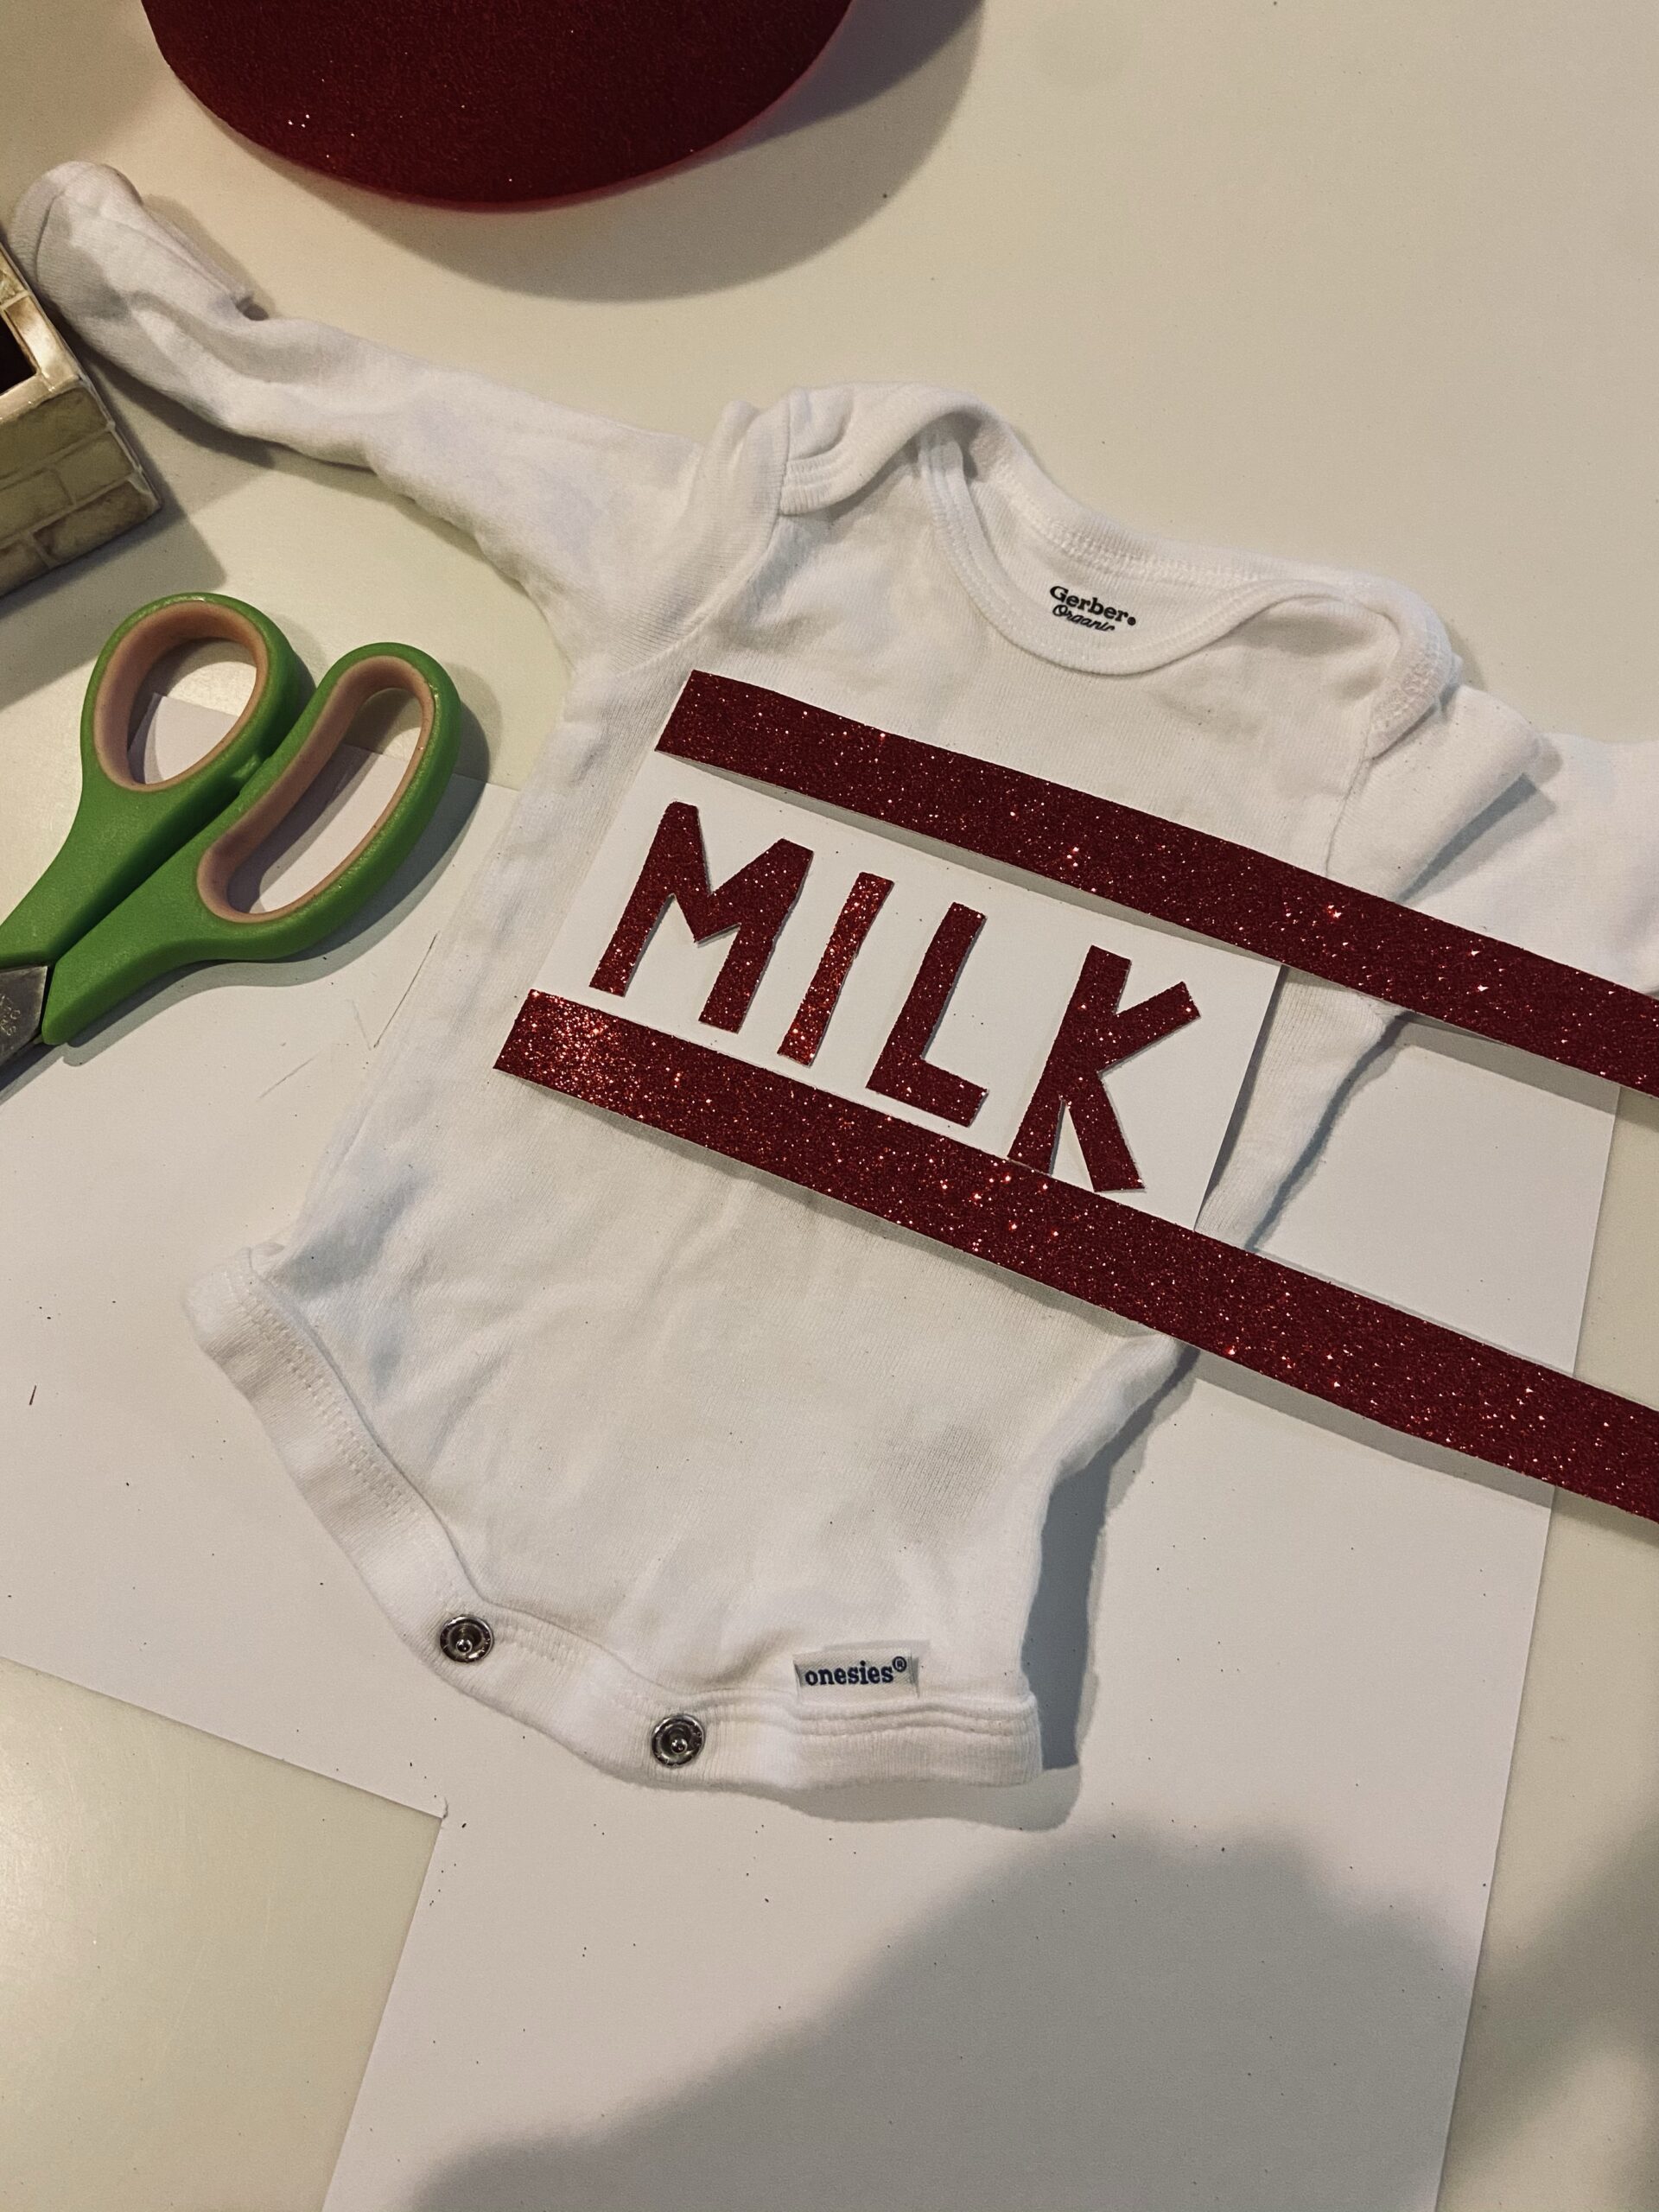
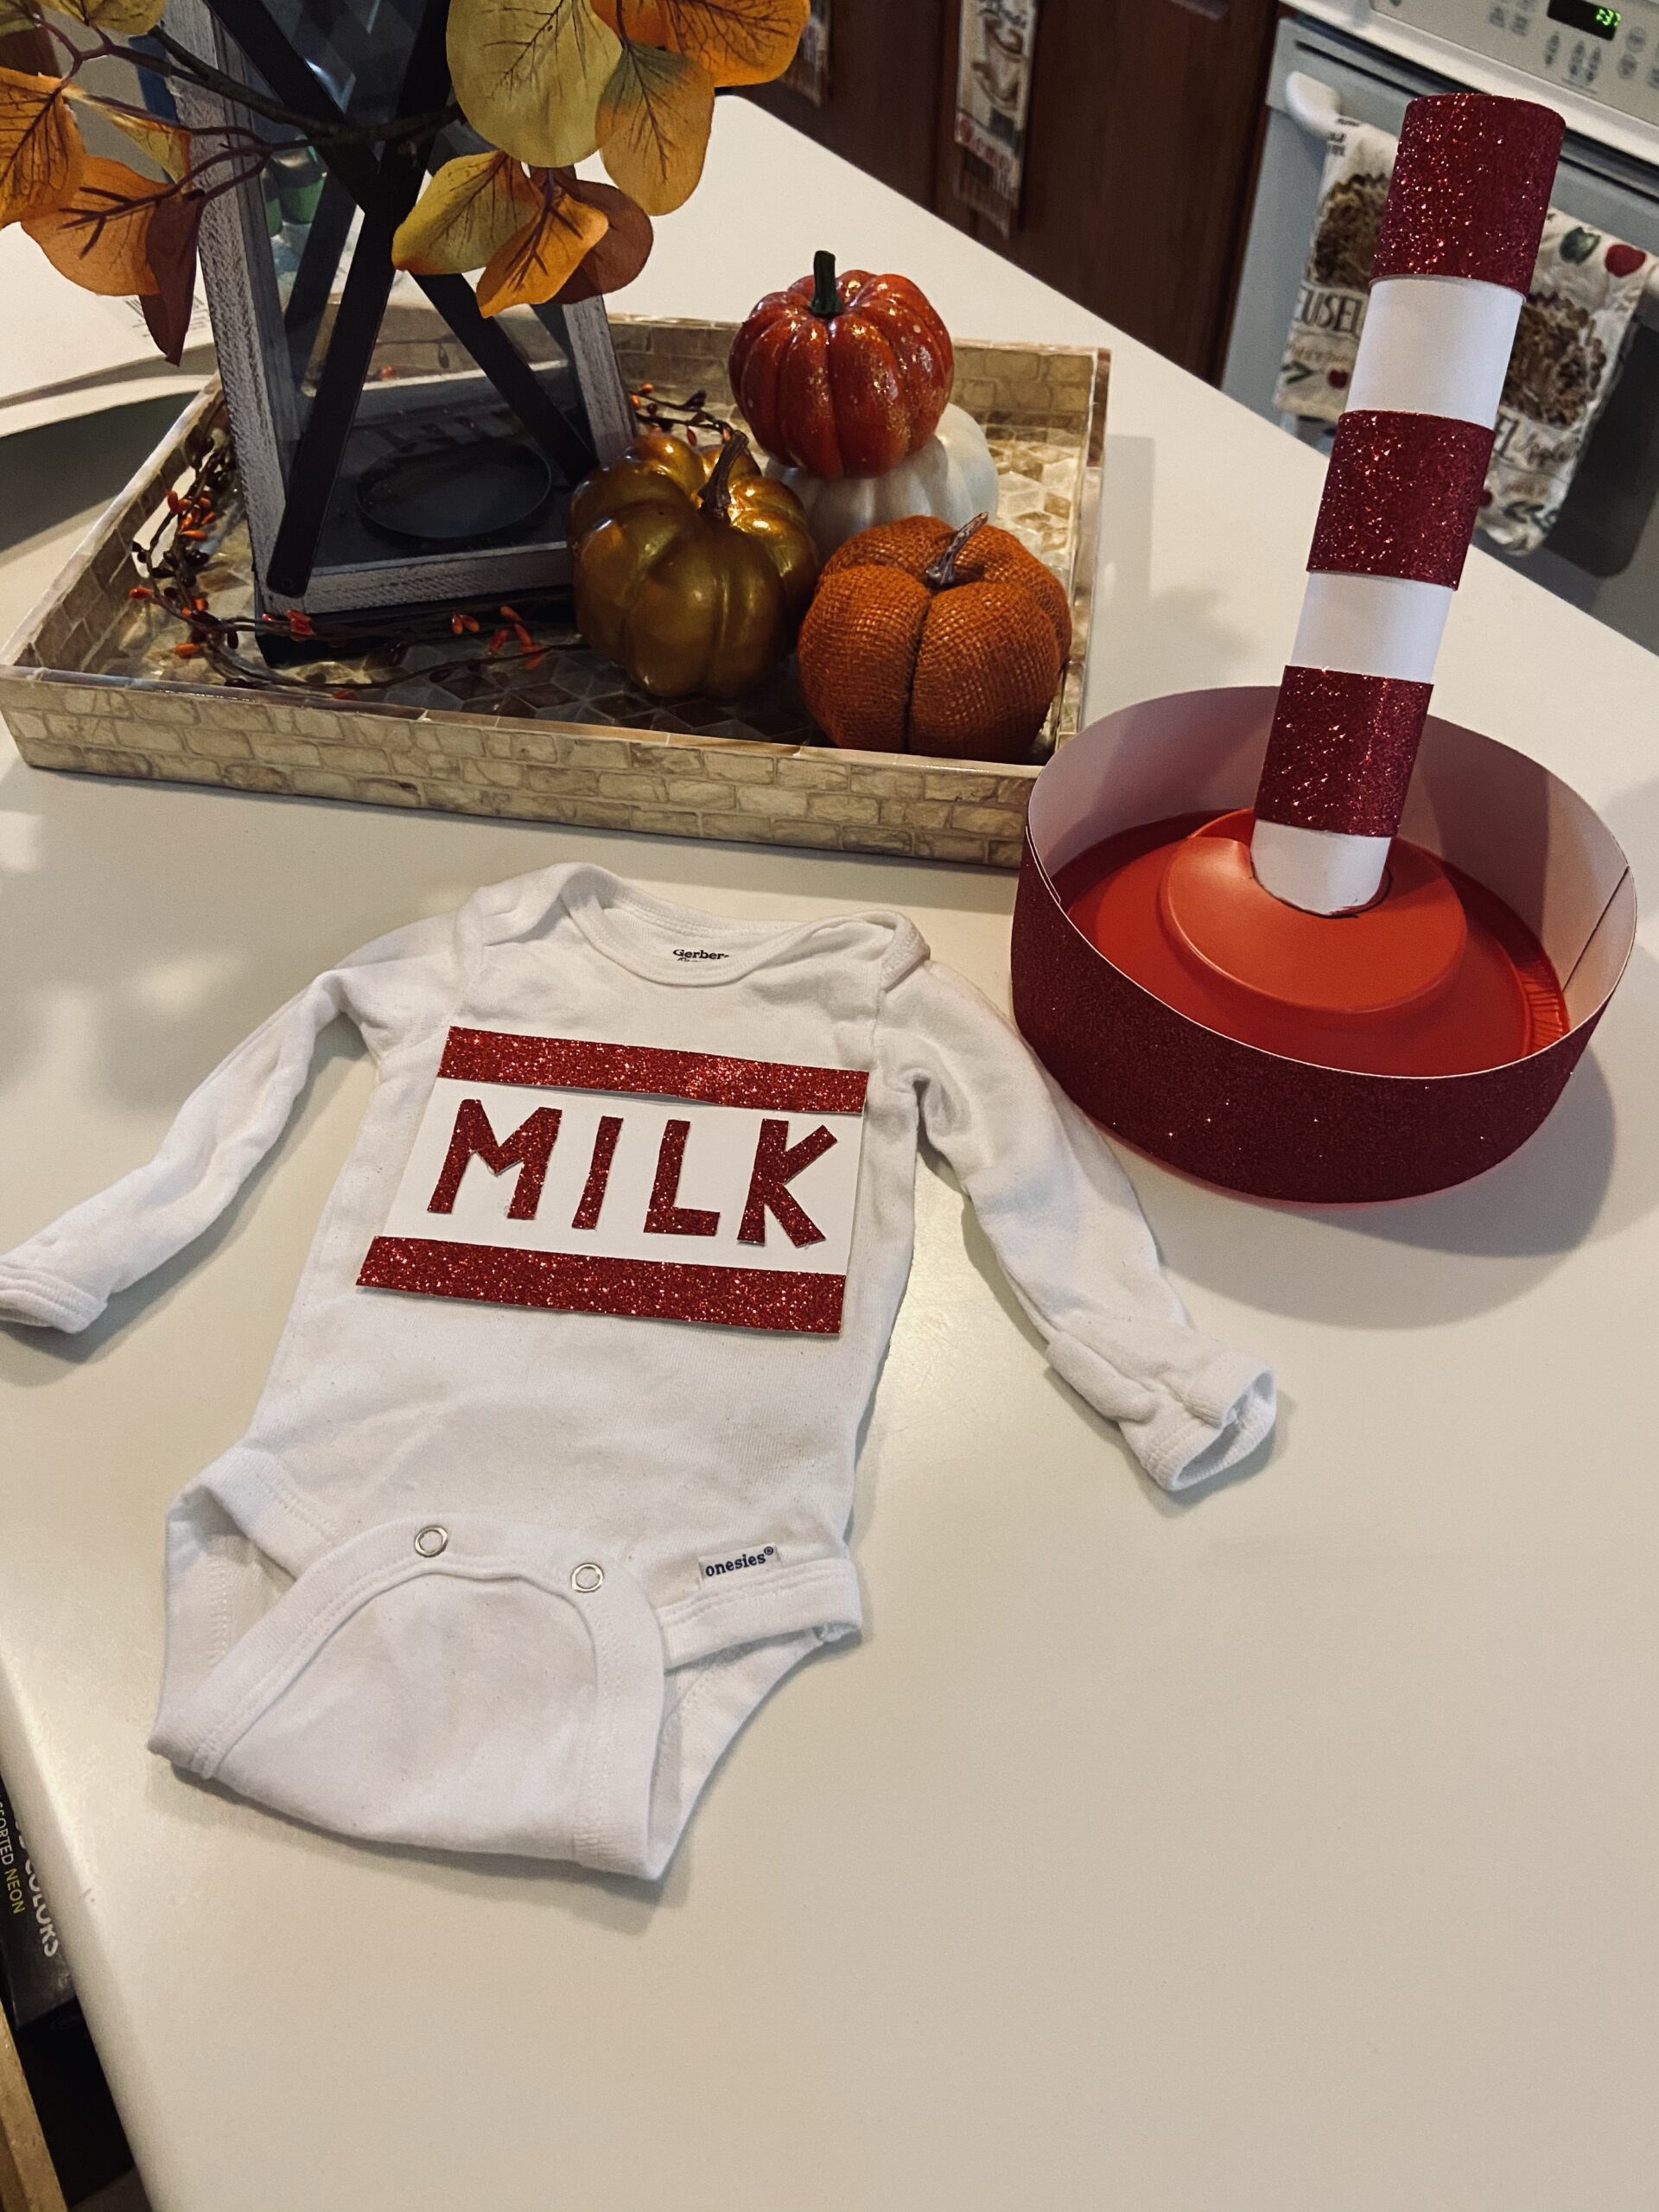
ALL DONE!!
To attach the card stock to the onesie, I used double sided tape! For the hat, use your piece of string, rope, or whatever you chose and attach it so that it stays. You may have hot glue it to the bottom of the bowl on each side and tie together under chin. I also had to use the double sided tape to keep her straw in place.
Let me know if you try it!
Have a safe and fun Halloween!
